Okay, so you want to draw anything? But…
Your sketches look clumsy and amateur?
Well, I’ve got some great news for you! : )
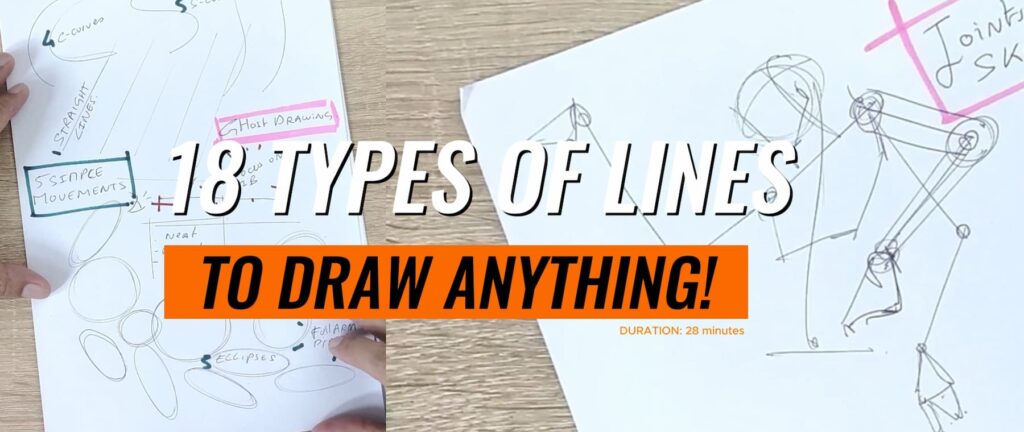
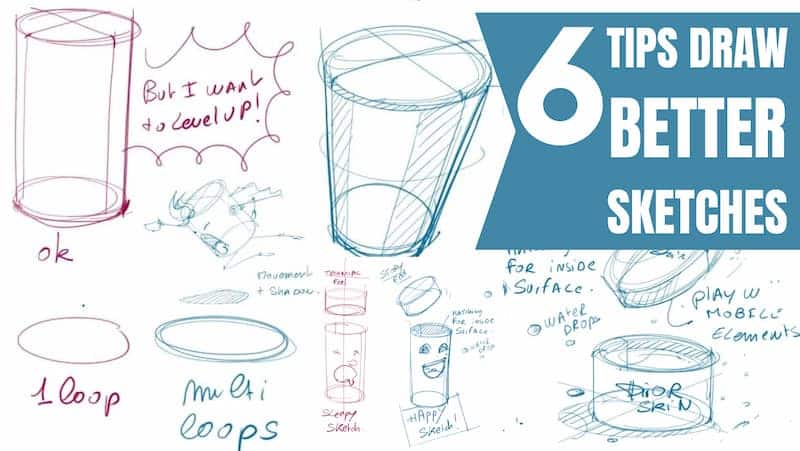
With these 18 indispensable sketching line techniques, you’ll be able to do just that.
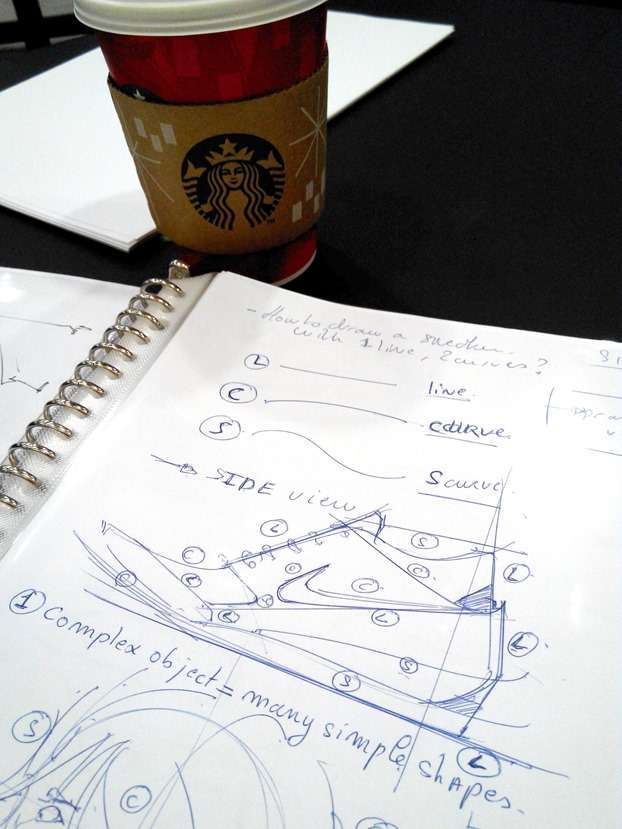
It’s super important to understand these basics because, remember, a complex drawing is just an accumulation of simple lines!
We’re going to cover everything from ghost drawing to push and pull force lines.
These techniques are like your secret weapons in the world of design sketching!
They’ll help you structure your drawings, add depth, show movement, and so much more.
It’s going to be awesome!
The 18 “Designer’s Sketching Lines” Toolkit:
A. Invisible Lines
#1 Ghost Drawing
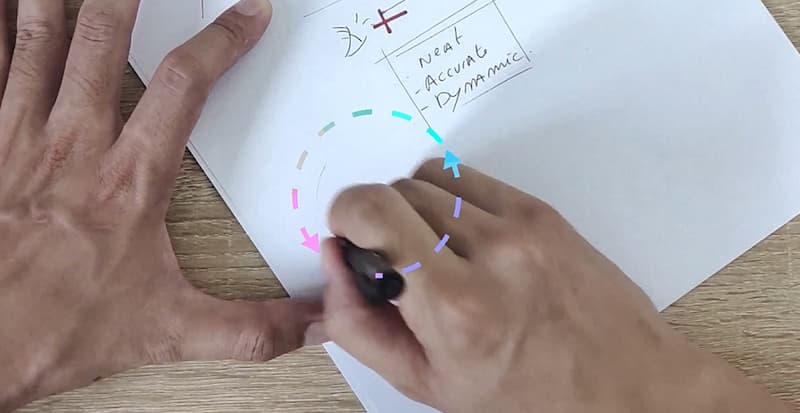

Okay, so ghost drawing is when you simulate the movement before actually drawing.
It’s super important to draw with your full arm, not just focusing on the pen nip. This is a “no no”!
What we want is to focus on the whole arm doing the movement.
This technique works for the five basic arm movements in sketching:
- Straight line
- Circle
- Ellipse
- C-curve
- S-curve
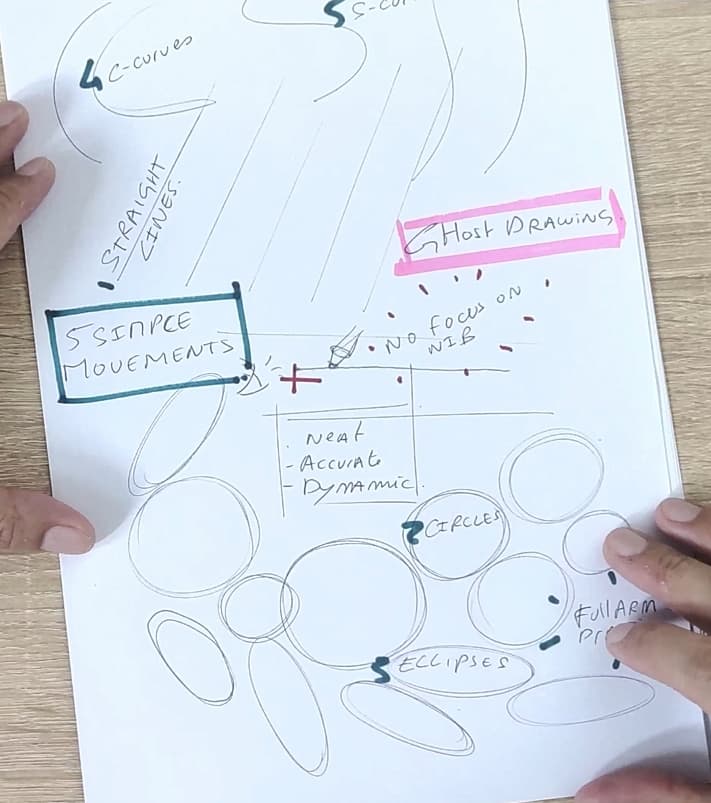
With these five elements, you can basically draw anything you want!
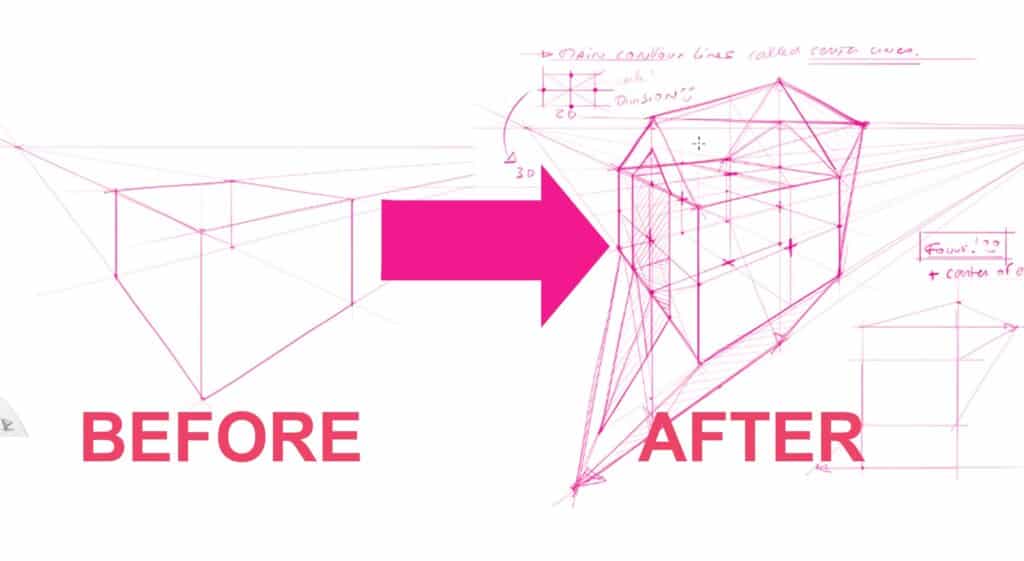
B. Construction Lines
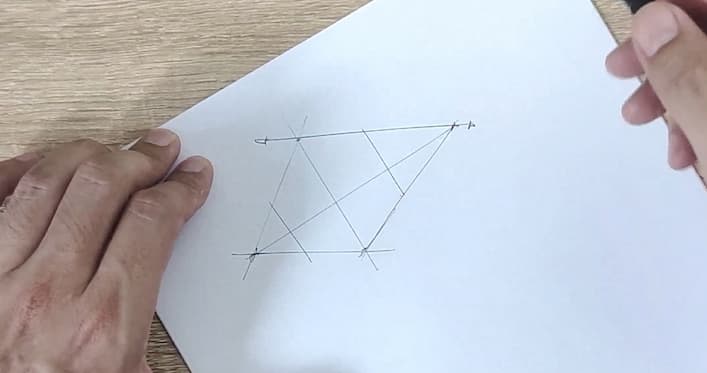
#2 Perspective Lines
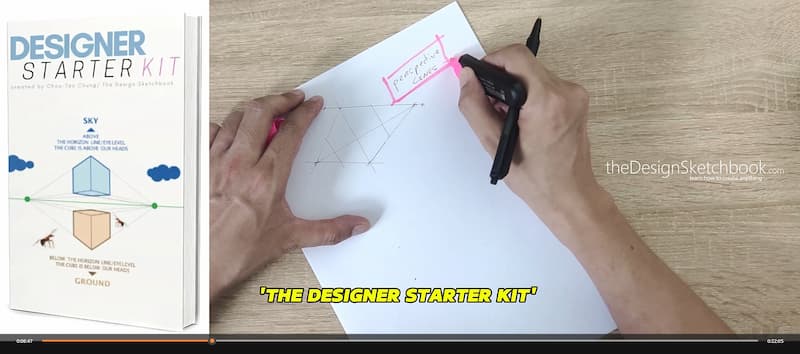
Perspective lines are imaginary lines that help you build your drawing.
Let’s say I want to draw a cube.
I start with the horizon line, vanishing points, and then “hop la!”
I connect the dots.
These lines help me structure my drawings.
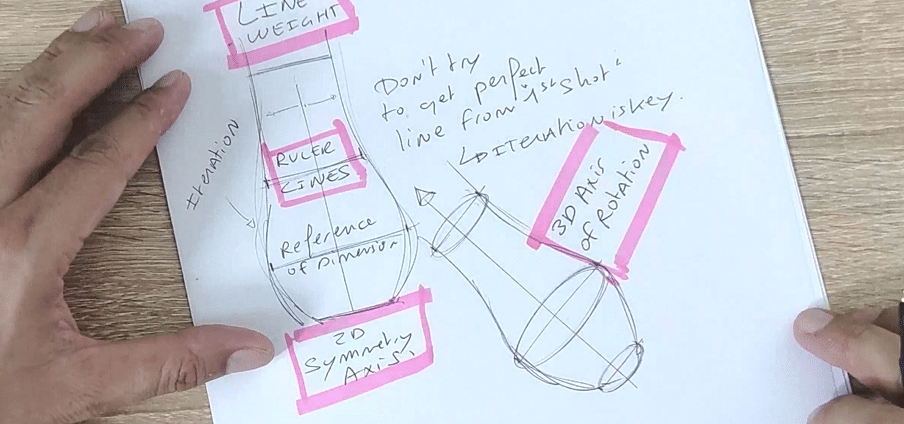
#3 Axis of Symmetry
This is like an imaginary line that helps you draw symmetrical objects or characters.
It works in 2D and 3D (as rotation axis).
Most objects around us are symmetrical, maybe more than 90%!
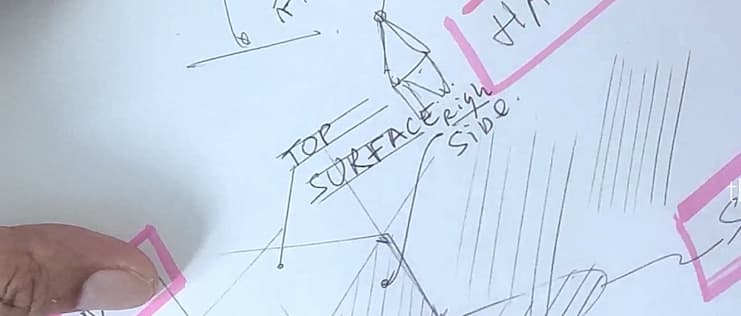
#4 Contour Lines
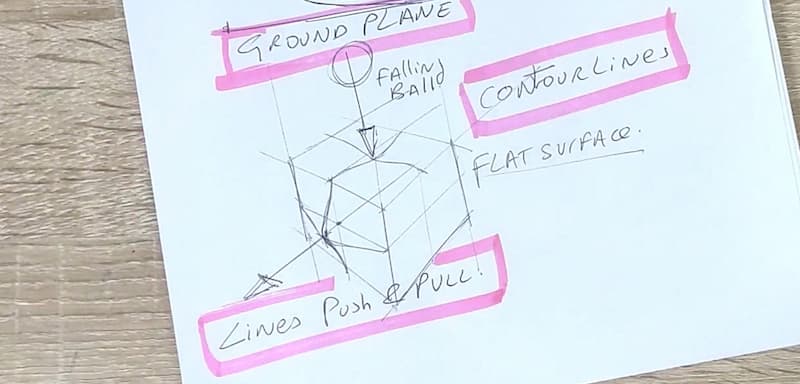
These are imaginary lines that help me communicate the surface of the volume.
By default, they express a flat surface, but you can use them to show bumps or curves!
#5 Vectors
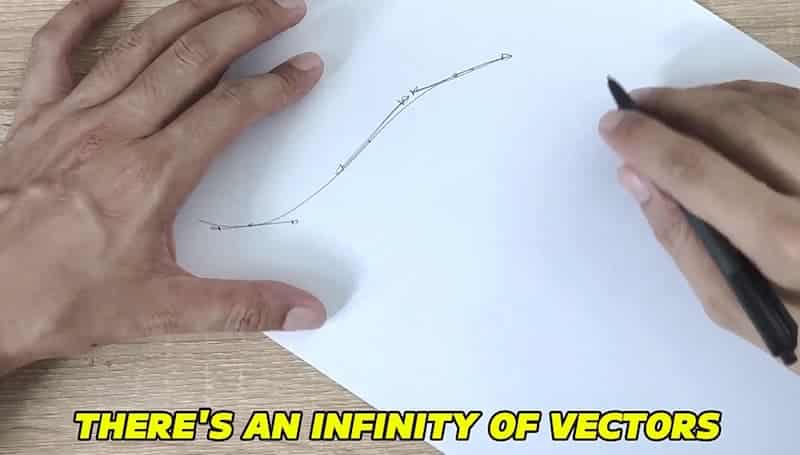
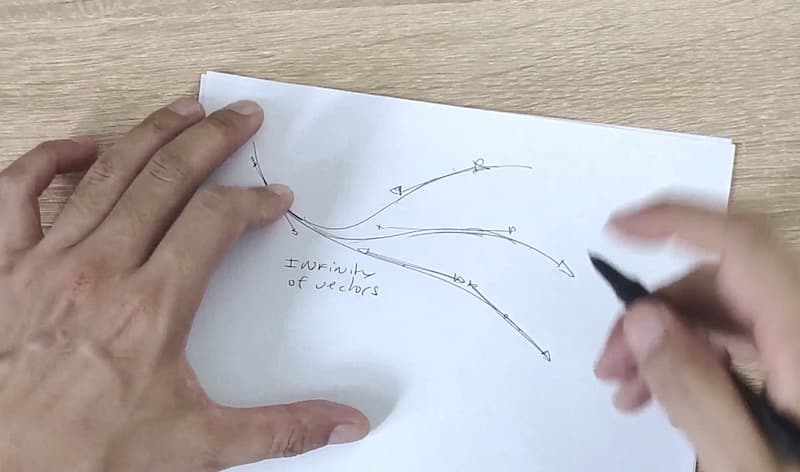
Vectors are directional lines that help you modify curves and organic forms.
They show the direction of your curve at certain points.
Great for organic forms!
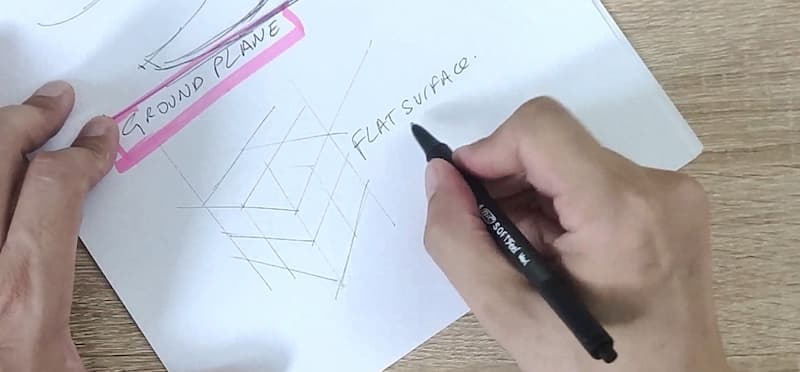
#6 Ground Plane

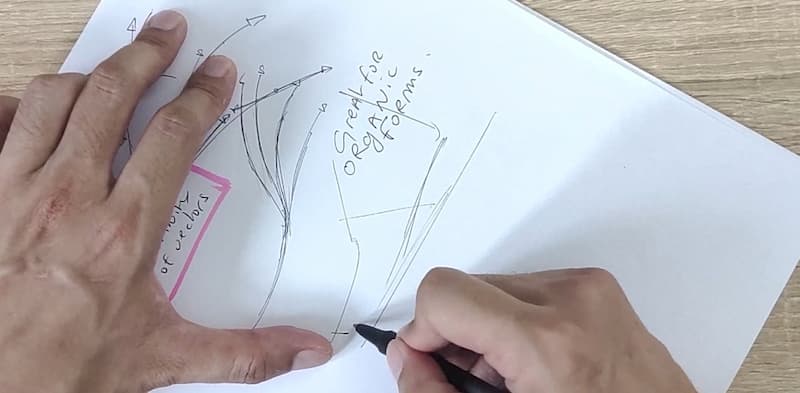
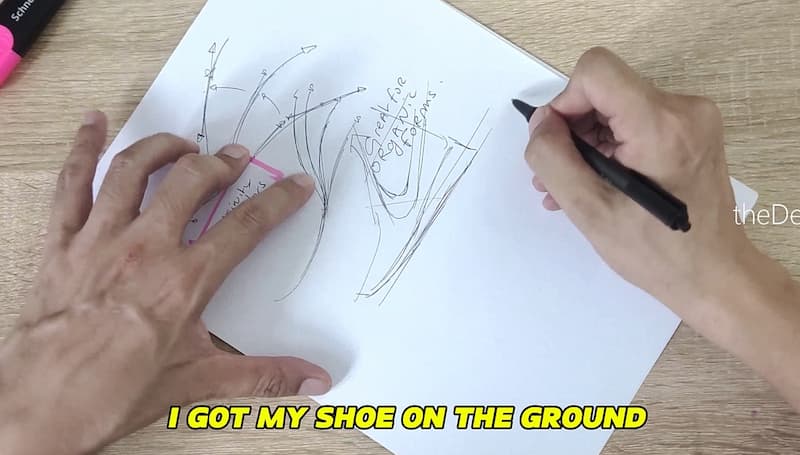
The ground plane helps you visualize objects on surfaces.
It’s super helpful when you’re drawing products or anything big on the ground or on a table.
#7 Joints & Skeleton
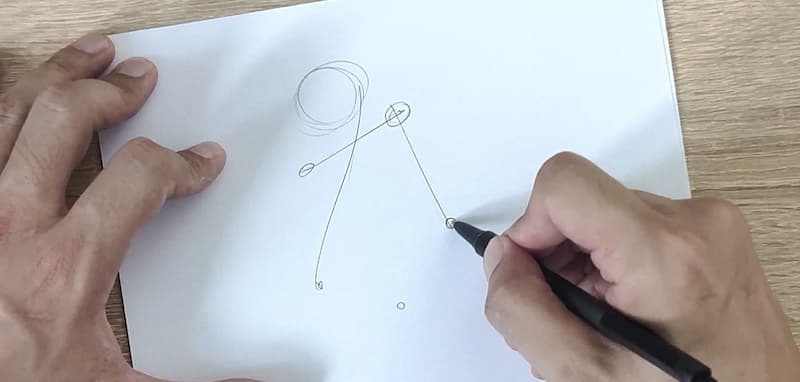
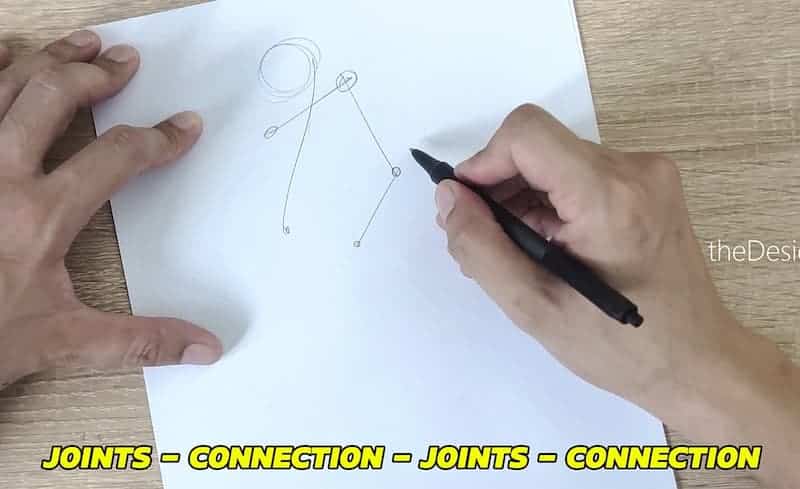
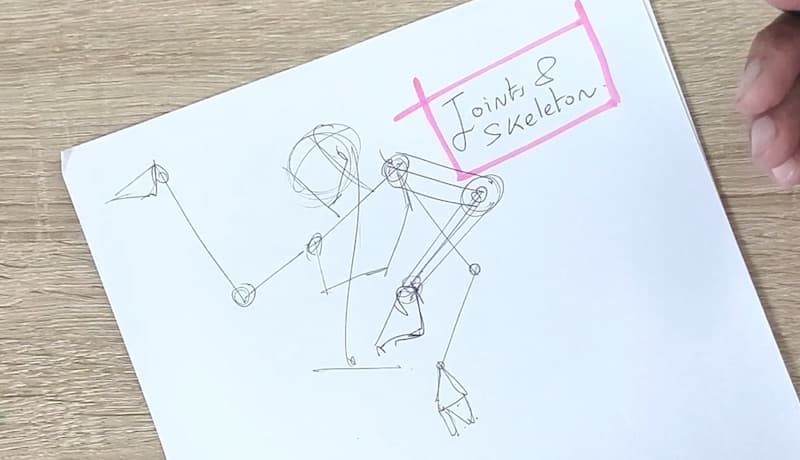
This is great for quickly sketching characters, robots, or anything with moving parts.
Instead of going through all the details, you focus on the architecture of what you’re drawing.
“Joints – connection – joints – connection!”
#8 Basic Volumes
These are simple shapes like cubes or cylinders that form the foundation of more complex objects.
Remember, a complex drawing is just an accumulation of simple lines!
C. Communicate Visually
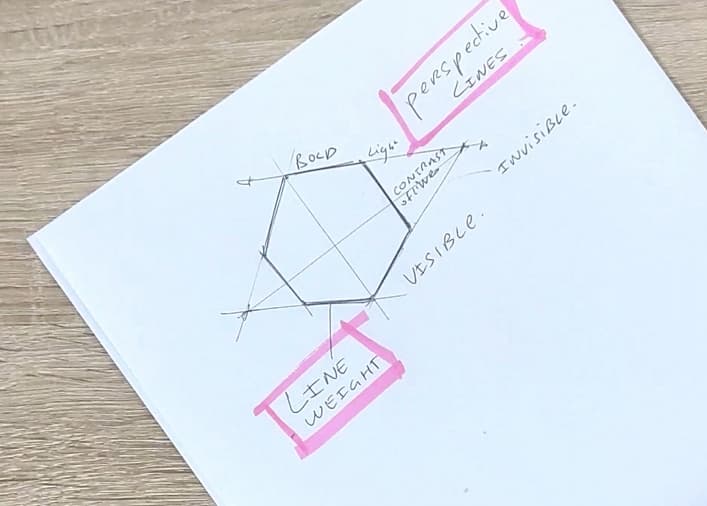
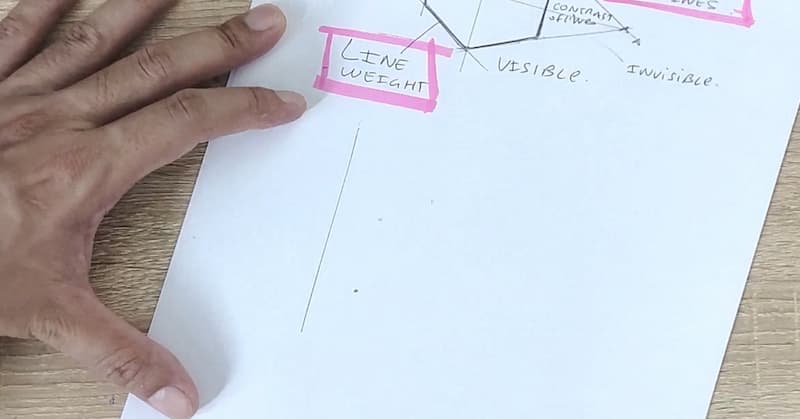
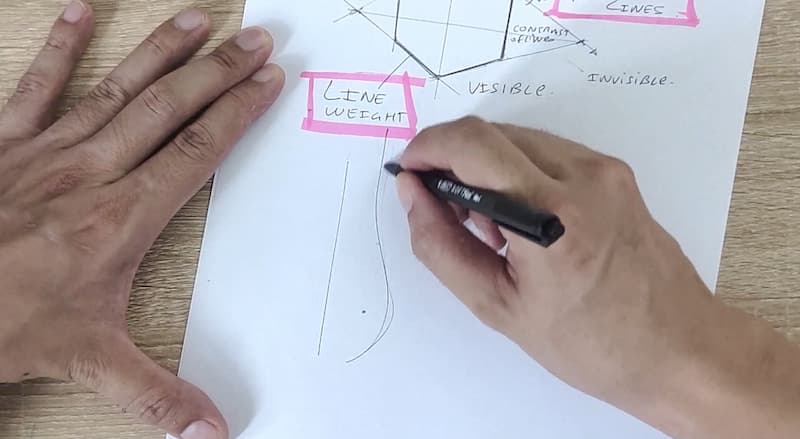
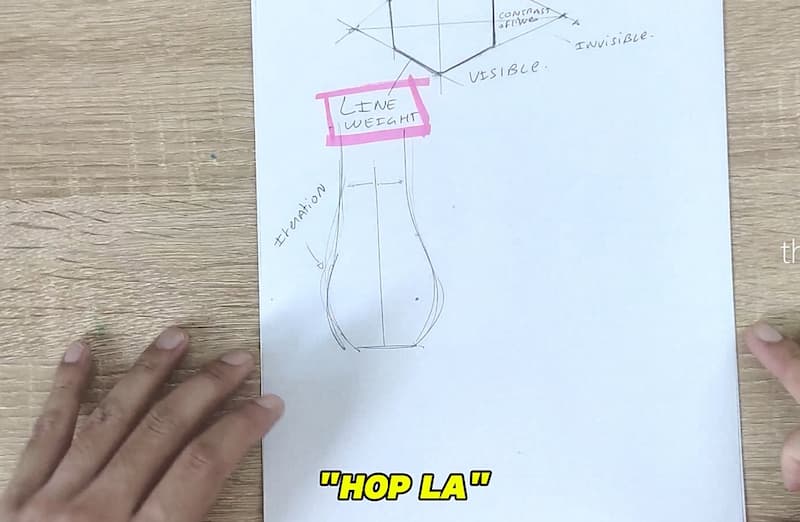
#9 Line Weight
This is all about using bold lines to make certain elements pop!
It’s called line-weight, and it’s basically giving more weight to the line to make things pop-up more.
#10 Axis of Rotation
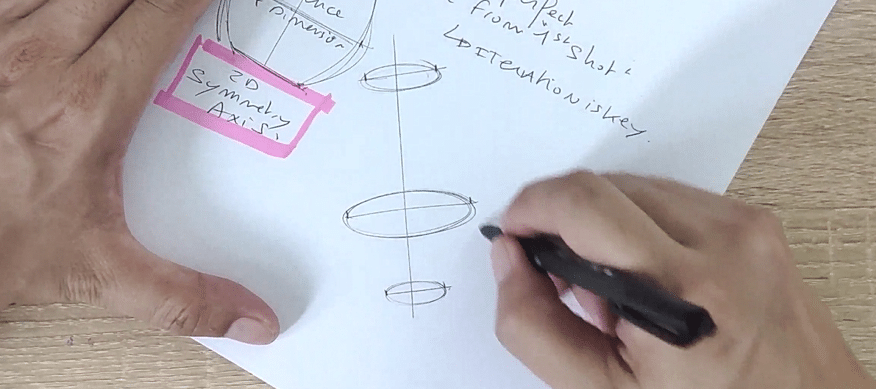
This helps you visualize the rotational movement of an object.
It’s like doing pottery, but with your pen!
#11 Ruler Lines
Draw a line to evaluate a distance so you can use it as reference to draw with good proportion.
#12 Notes
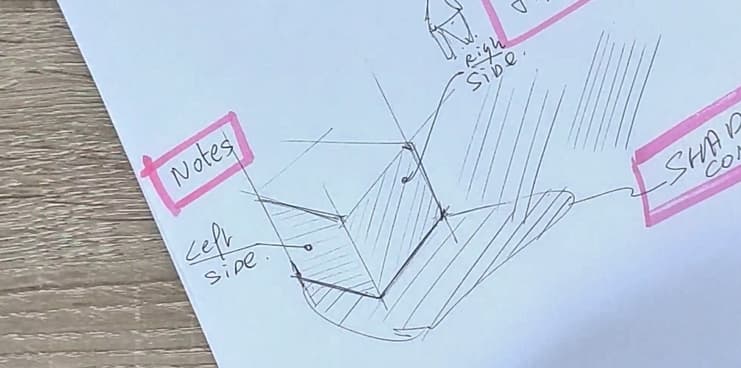
There are different styles for adding notes to your sketches.
You may draw straight lines to connect your notes, or use curves.
Here’s a cool tip:
use two parallel lines, and write inside with capital letters.
It looks super neat, especially for architecture projects!
#13 Hatching
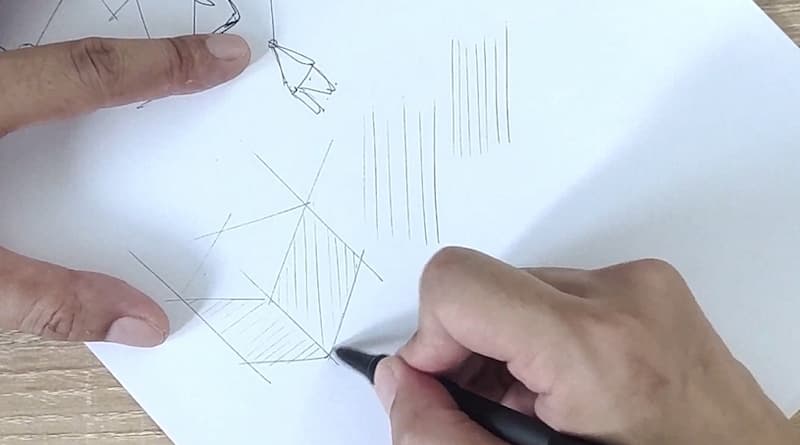
Hatching is great for adding shadow, texture, or showing sections.
You can have different types, more or less close together.
#14 Background
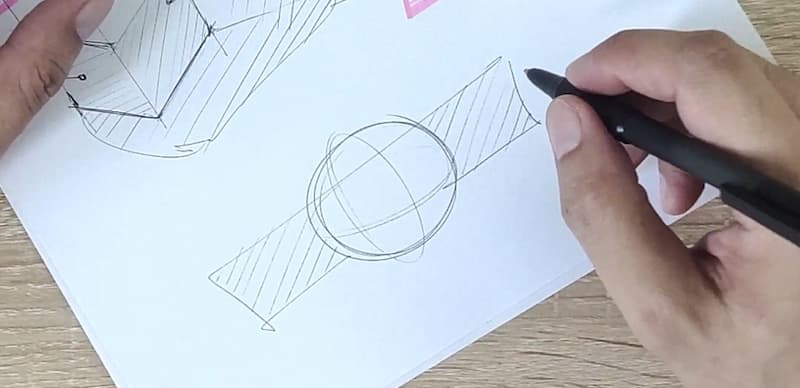
Adding a background can really make your object pop out more.
It’s a simple technique that can have a big impact!
#15 Ground Shadow
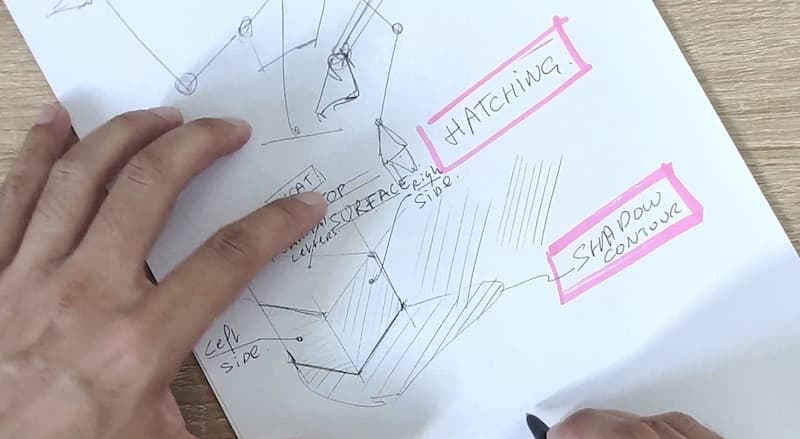
Adding a ground shadow gives more 3D effect to your product.
It’s like magic – suddenly your drawing looks more realistic!
D. Bring Action
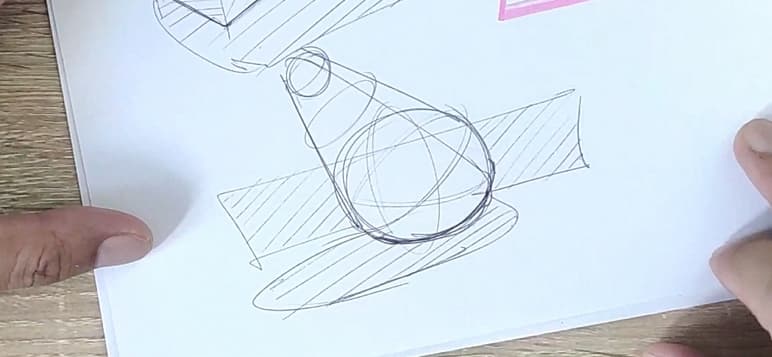
#16 Dynamics
This is all about adding movement and rotation to your sketches.
It’s particularly useful for cylindrical objects for example.
You can use the axis of rotation and add some curves to show movement.
It’s super cool!
#17 Action Lines (Gesture Drawing)
Action lines are awesome for gesture drawing.
They show the direction of movement and force.
Feel free to exaggerate the movements – it makes your drawings more dynamic!
#18 Push and Pull Force

These are like imaginary lines of force that help you visualize form changes.
If you want to pull something or push it to change the form, these lines will help you visualize it.
Super helpful!
Time to Practice some Easy Sketching Exercises!
Alright, we’ve covered a lot of ground here!
From invisible lines to action lines, these 18 techniques are your toolkit for amazing design sketches.
Remember, all these techniques are complementary.
You can mix and match them to create anything you can imagine!
The key is practice, practice, practice!
Start with ghost drawing, get comfortable with your arm movements, and then build up to more complex techniques. Before you know it, you’ll be adding ground shadows and dynamic lines like a pro!
Get your ballpoint pen and sketchbook ready!
And remember, a complex drawing is just an accumulation of simple lines and techniques used together.
You’ve got this!

Exercise I. Invisible Lines
Ghost Drawing
- Practice simulating the movement of drawing without actually touching the paper
- Perform ghost drawing for the 5 basic arm movements: straight line, circle, ellipse, C-curve, and S-curve
Exercise II. Construction Lines
Perspective
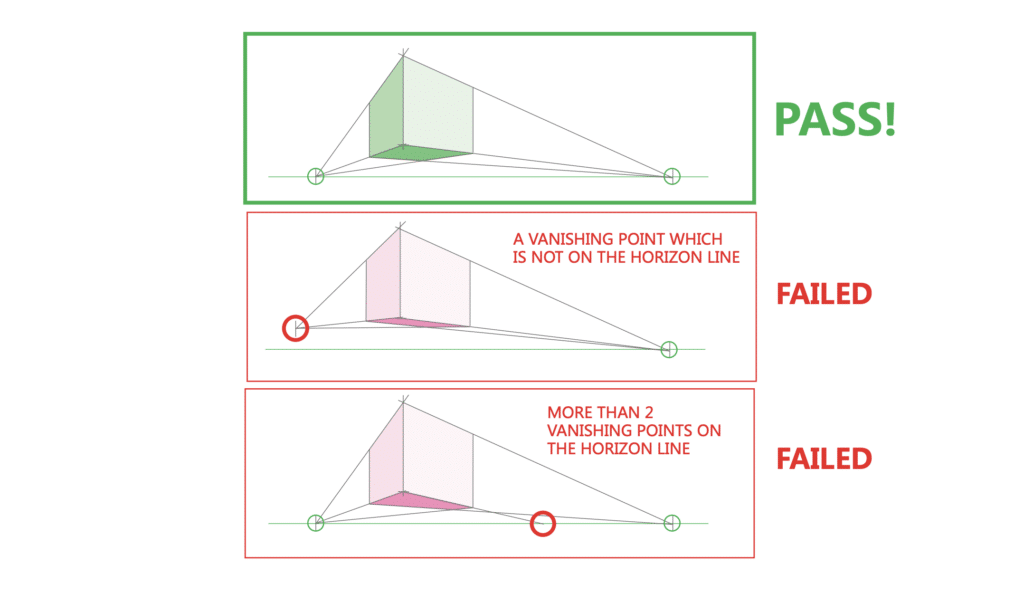
- Draw a horizon line and vanishing points, then connect them to create a cube
- Practice the “Move the Dot Technique” for 2-point perspective
Axis of Symmetry
- Draw symmetrical objects like bottles or glasses using a central axis
Contour Lines
- Practice drawing simple objects, focusing on representing their surface with contour lines
Basic Volumes
- Draw basic shapes like cubes and cylinders as foundations for more complex objects
Exercise III. Communication Lines
Line Weight
- Practice varying line thickness using two pens: one thin and one thick
- Bold the lines opposite the light source in your drawings
Hatching
- Create gradients by drawing parallel lines with varying pressure and spacing
- Practice different hatching patterns to represent shadows and textures
Background and Ground Shadow
- Add simple backgrounds to make objects stand out more
- Practice adding ground shadows to give a 3D effect to your sketches
Exercise IV. Action Lines
Dynamics (around cylinder)
- Draw cylinders and add curved lines around them to show rotation or movement
Action Lines (Gesture Drawing)
- Practice quick gesture drawings of people or animals, focusing on capturing movement with minimal lines
Push and Pull Force
- Draw simple objects and add arrows or lines to indicate areas of pushing or pulling force
Remember to practice these exercises regularly and have fun while learning.
Don’t aim for perfection; focus on improvement and developing your skills over time.
Happy sketching session, guys!
Cheers,
Chou-Tac
Video Tutorial Timestamps:
- 00:00 Introduction
- 00:32 #1 Ghost Drawing
- 05:37 #2 Perspective Lines
- 07:40 #3 Line Weight
- 08:10 #4 Axis of Symmetry
- 10:01 #5 Axis of Rotation
- 10:40 #6 Ruler Lines
- 11:42 #7 Vectors
- 14:07 #8 Ground Plane
- 15:51 #9 Contour Lines
- 17:56 #10 Push and Pull Force
- 18:50 #11 Joints & Skeleton
- 20:43 #12 Hatching
- 21:23 #16 Ground Shadow
- 22:06 #14 Notes
- 23:41 #15 Background
- 25:18 #16 Section
- 25:25 #16 Dynamics (around cylinder)
- 26:55 #17 Action Lines (Gesture Drawing)
NEXT TUTORIAL
Learn how to draw complex form starting with a basic box.
You will use the“Move the dot technique”!


5 comments