@Pdelpel on Youtube suggested me a few days ago to create a tutorial on How to improve your line quality.
WISHES GRANTED! Hehe.
Here we go! 🙂
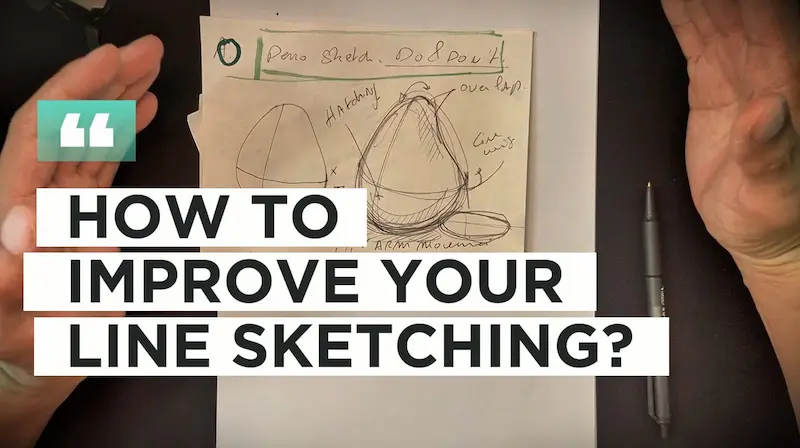
I’ve got something truly exciting to share with you today.
Remember those times when you looked at your drawings and felt they were a bit… well, bland?
We’ve all been there, trust me.
But what if I told you that with a 6 simple exercises,
you could transform your line work from “meh” to “wow”? : )
Yep, it’s totally possible for any beginner, and I’m here to show you how!
First things first: What is a Good Pen?
Now, you might think the fanciest,
most expensive pen is the key to great sketches.
Spoiler alert: it’s not!
In fact, sometimes the simplest tools can be the best.
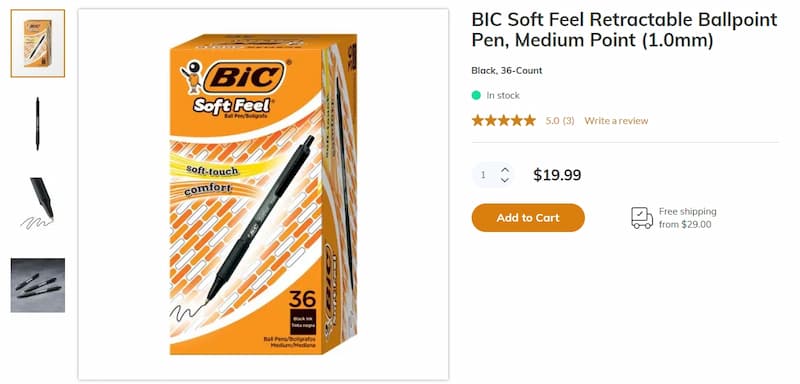
I’ve found that a good old BIC Soft Feel pen can work wonders.
It’s all about finding what feels right in your hand and gives you the line quality you’re after.
Let’s break it down a bit more.
When choosing a pen, consider these factors:
- Ink flow: You want a pen that gives you consistent lines without blobbing or skipping.
- Tip size: Different tip sizes can create various effects. Start with a medium tip and experiment from there.
- Comfort: The pen should feel good in your hand, even during long sketching sessions.
- Versatility: Look for a pen that can create both light and dark lines with varying pressure.
My pen recommendation of the day is: the BIC SOFT Feel Pen Medium.
The Artist Callus
Guess what I just found out sharing with you about in the video?
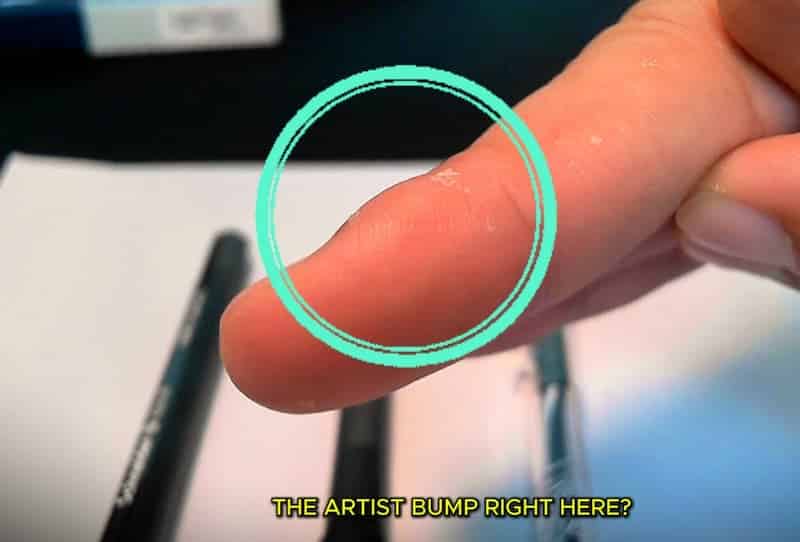
It’s this thing I call the “artist bump,” and it’s so cool!
So, you know how we’re always doodling and sketching, right?
Well, apparently, all that drawing leaves a mark – literally!
Check this out:
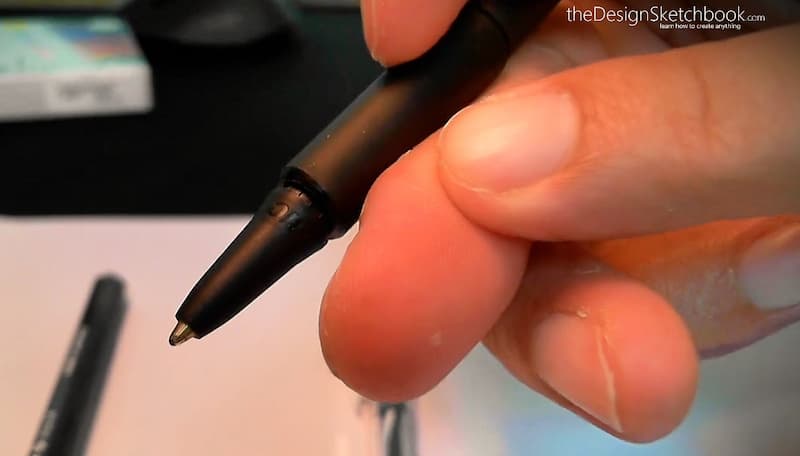
There’s this tiny bump that forms on your finger where you hold your pen or pencil.
It’s like your body’s way of saying, “Yep, this person’s an artist!”
I noticed it on my middle finger, right where my pen usually sits.
At first, I thought it was weird (since I do not have it on my left hand),
but then I learned it’s actually a badge of honor for artists and writers!
The best part?
The more you draw, the more pronounced it gets.
It’s like leveling up in real life!
I feel I won a Sketcher’s Trophies!
Isn’t that awesome?
It’s like our fingers are keeping score of how much we create.
And don’t worry, it’s totally harmless – just a cool little reminder of all the time
we spend bringing our ideas to life on paper.
Next time you’re sketching, take a look at your fingers.
I bet you’ve got one too!
It’s our secret artist handshake, but on our hands.
How cool is that?
(I just realised that writers nowadays might write mostly on computers keyboard now.
I guess they do not develop that callus anymore?! But we, as sketcher still draw with a pen!)
The secret sauce: Confidence and freedom
Here’s the real game-changer:
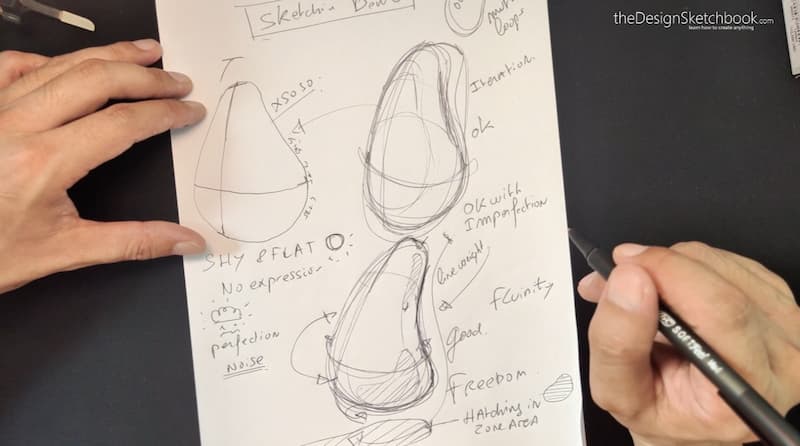
It’s not about perfection, it’s about expression.
When you’re just starting out, it’s easy to draw timidly, creating flat, lifeless lines. But the pros?
They draw with confidence, allowing their lines to flow freely.
It’s like dancing on paper!
To cultivate this confidence:
- Practice regularly: Set aside time each day, even if it’s just 10 minutes.
- Embrace mistakes: They’re not failures, they’re learning opportunities.
- Focus on the process, not the outcome: Enjoy the act of drawing itself.
- Experiment with different styles: Try loose, gestural drawings one day and precise, detailed work the next.
Let’s break it down: 5 Exercises to level up your line game
EXERCISE 1. The Overlap Technique
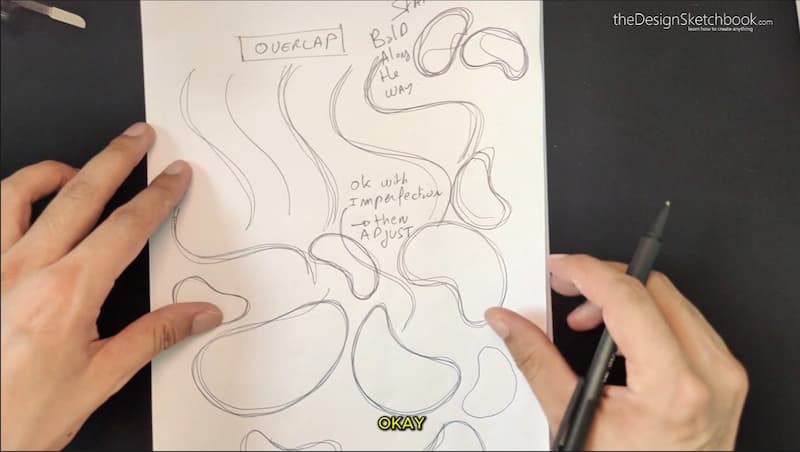
Instead of trying to nail that perfect curve in one go, try overlapping your lines.
Draw, then come back over it.
It’s like giving yourself permission to refine as you go. (also called iteration)
Plus, it adds a lovely, dynamic quality to your sketches.
Here’s how to practice:
- Start with simple shapes like circles, ovals or bean shapes.
- Draw the shape lightly, then go over it again, slightly adjusting the line.
- Repeat this process 3-4 times, each time refining the shape without stopping your pen movement.
- Gradually increase the complexity of your shapes as you get more comfortable.
EXERCISE 2. Play with Pressure
Experiment with how hard you press.
Light touch for whisper-thin lines, more pressure for bold strokes.
It’s amazing how much depth this can add to your drawings!
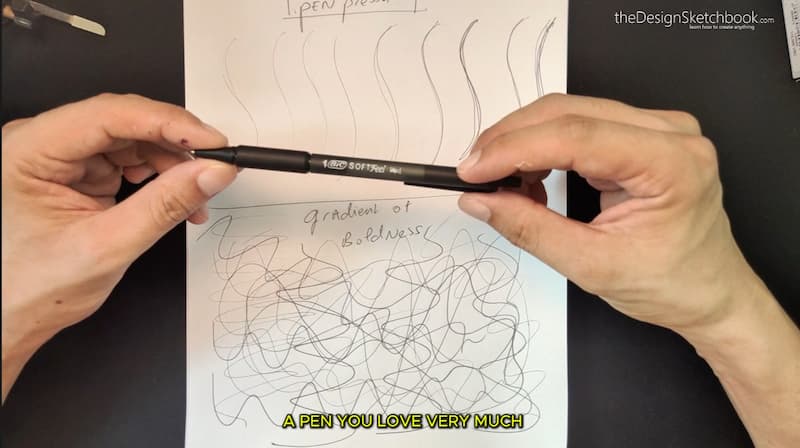
Try this exercise:
- Draw a series of S-curves, starting with very light pressure and gradually increasing to your pen’s maximum pressure.
- Draw infinite random curves. Practice transitioning from light to heavy pressure within a single line.
EXERCISE 3. Trajectory Control
Imagine a sun shining on your sketch. Where would the shadows fall? Use thicker lines on the “shadow” side to create instant depth. It’s like magic!
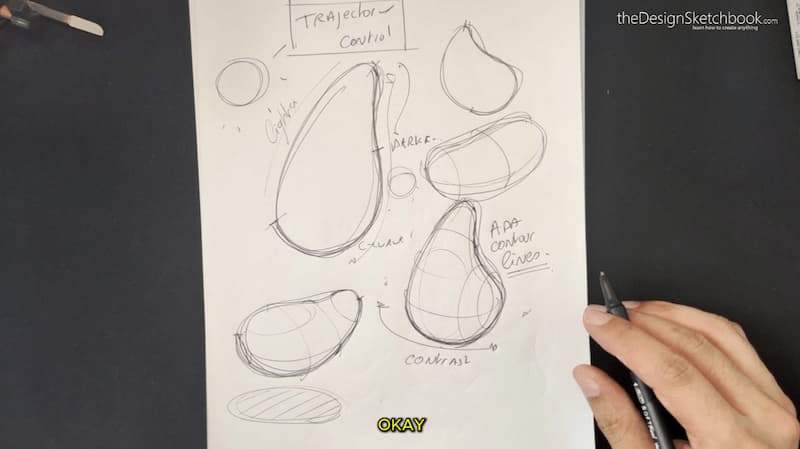
Here’s a step-by-step approach:
- Draw a simple object like a bean.
- Decide where your light source is coming from.
- Use thicker lines on the side opposite the light source.
- Gradually thin out the lines as they approach the light source.
- Practice this with various shapes and light directions.
EXERCISE 4. Line Control (Distance evaluation)
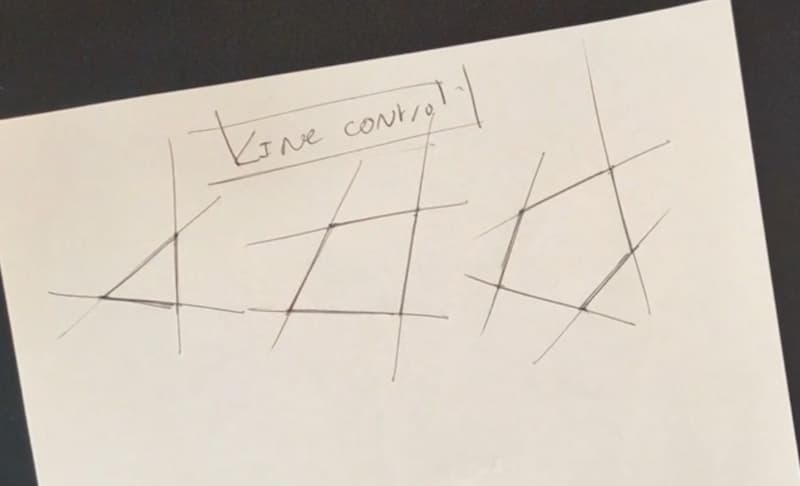
Here’s a step-by-step approach:
- Draw multiple strokes that intersect each other
- Bold the internal form by overlapping the edge of that form.
- Make sure to use the ghost drawing to simulate the distance.
EXERCISE 5. Hatching with Precision
Try hatching within defined areas.
It’s a great way to add texture and shadow while improving your line control.
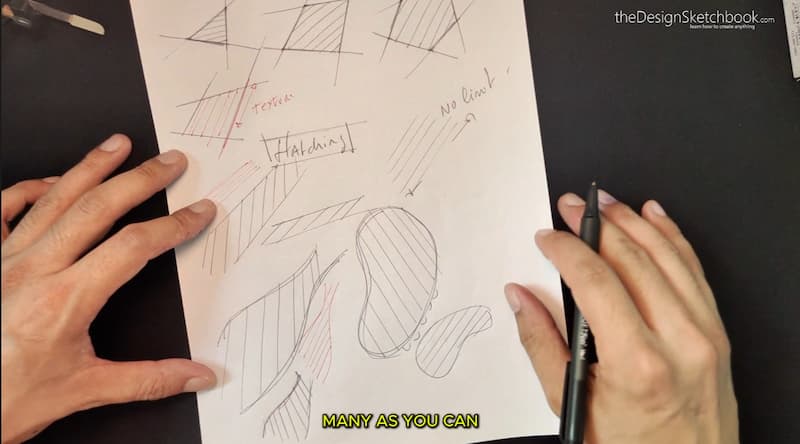
Expand your hatching skills:
- Start drawing 2 parallel lines
- Experiment with hatching between the lines
- Try curved forms, and draw hatching inside
- Repeat the operations with random bean form
EXERCISE 6. Embrace Happy Accidents
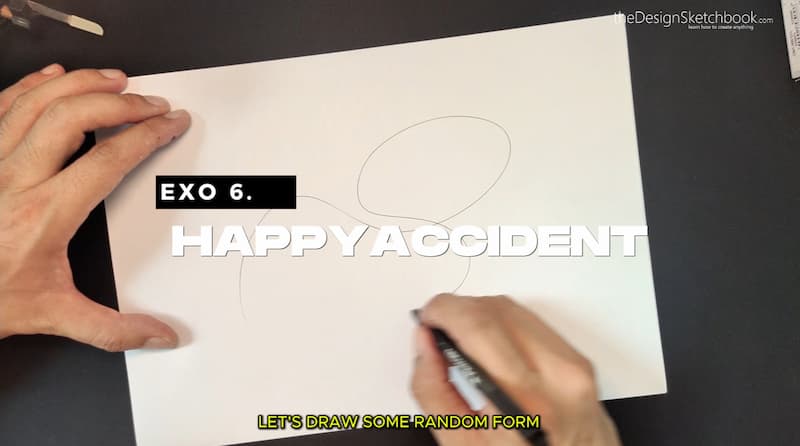
Sometimes, the best sketches come from random scribbles.
Draw some abstract shapes and see what emerges.
It’s a fantastic creativity booster!
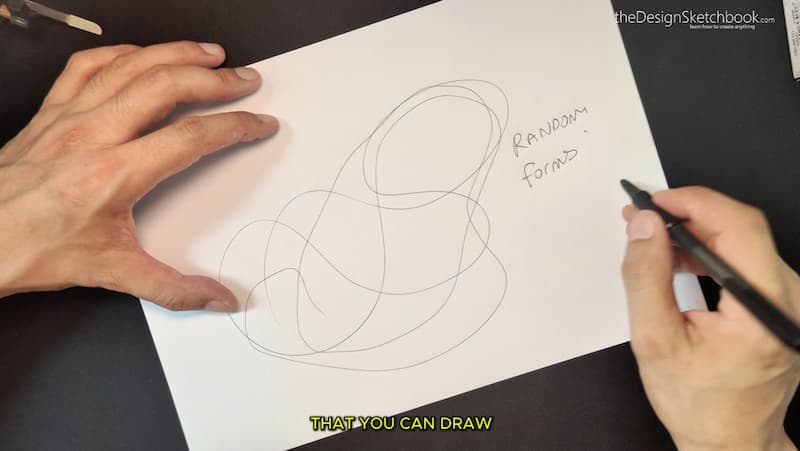

Make the most of happy accidents:
- Start with random, loose scribbles.
- Look for shapes or forms within the scribbles.
- Emphasize and develop these forms with additional lines.
- Use your other techniques (line weight, hatching) to bring the accidental drawing to life.
Remember, it’s all about practice and patience
Look, I know it can be frustrating when your hand doesn’t quite do what your brain wants it to.
But here’s the thing: every single artist you admire started exactly where you are now.
The key is to keep at it, have fun, and celebrate your progress, no matter how small.
To stay motivated:
- Keep a sketchbook and date your drawings. Look back periodically to see how far you’ve come.
- Join online communities or local sketching groups for support and inspiration.
- Set small, achievable goals for yourself, like filling one page a day or mastering a new technique each week.
- Remember that even “bad” drawings are valuable practice. Every line you draw is improving your skills!
Your artistic journey is unique
As you work through these exercises, remember that your style is yours alone.
These techniques aren’t about making you draw like someone else – they’re tools to help you express your unique vision more effectively.
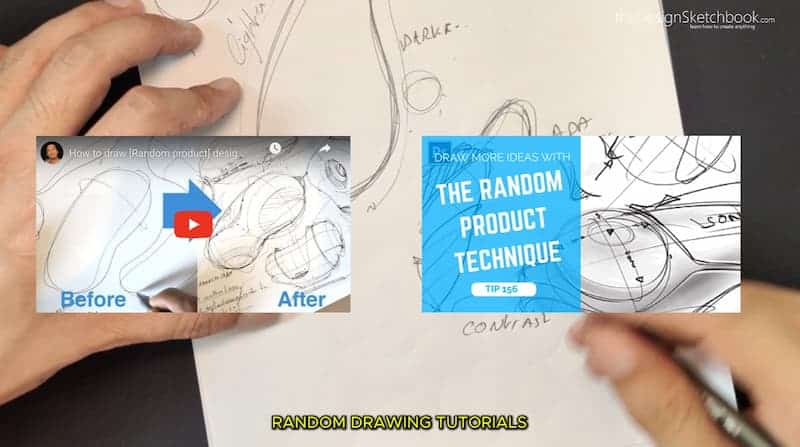
To practice further, below some extra tutorials teaching you the Random Produc technique!
To develop your personal style:
- Experiment with different subjects and techniques to see what resonates with you.
- Look at the work of artists you admire, but don’t try to copy them exactly.
Instead, analyze what you like about their work and incorporate those elements into your own drawings. - Pay attention to the lines and shapes that come naturally to you.
These can be the foundation of your unique style. - Don’t be afraid to blend techniques or invent new ones.
Art has no rules!
So, grab that pen (whichever one feels right to you), find a comfy spot, and let those lines flow.
Before you know it, you’ll be creating sketches that are full of life and personality.
And hey, don’t forget to share your progress – I’d love to see how these exercises work for you!
Conclusion
In wrapping up, I want to encourage you to dive into these exercises with an open mind and a willingness to learn. Sketching is not just about creating art; it’s about building confidence in your lines and expressing your unique perspective.
Whether you’re starting from scratch or looking to refine your skills, the journey of improvement is always rewarding.
Remember, each line you draw is a step towards better craftsmanship.
The key is consistent practice, and with these exercises, you’re well on your way to transforming your sketching abilities.
Remember, every great artist started as a beginner.
Your journey is just beginning, and it’s going to be an amazing adventure.
Embrace the process, celebrate your progress, and most importantly, have fun with it.
You’re not just learning to draw; you’re learning to see the world in a whole new way.
Now go forth and create some magic on paper.
You’ve got this, my friend!
And remember, I’m here cheering you on every step of the way.
Your lines are waiting to come alive.
Happy sketching!
Cheers,
Chou-Tac
PS: Get ready to onboard my upcoming course: SKETCH LIKE THE PROS!
You can already join the Waiting List here.
Video Timestamps:
- 00:00 Introduction to line sketching techniques
- 00:25 What is a good pen?
- 01:48 Pen Test (3 ballpoint pens)
- 11:59 Exercise 1: Mastering The Overlap Technique
- 14:50 Exercise 2: Perfecting Pressure Play for depth
- 17:00 Exercise 3: Trajectory Control for professional sketches
- 21:04 Exercise 4: Line Control
- 22:24 Exercise 5 The Hatching
- 25:53 Exercise 6: Embracing Happy Accidents in design
- 28:04 Wrap-up and Practice Tips for continuous improvement






Add comment