
- Why Do You Need to Draw Grooves?
- Step 1: Warm Up and Get Ready
- Step 2: Draw a Simple Box
- Step 3: Choose Where to Add Your Groove
- Step 4: Draw Double Lines for the Groove
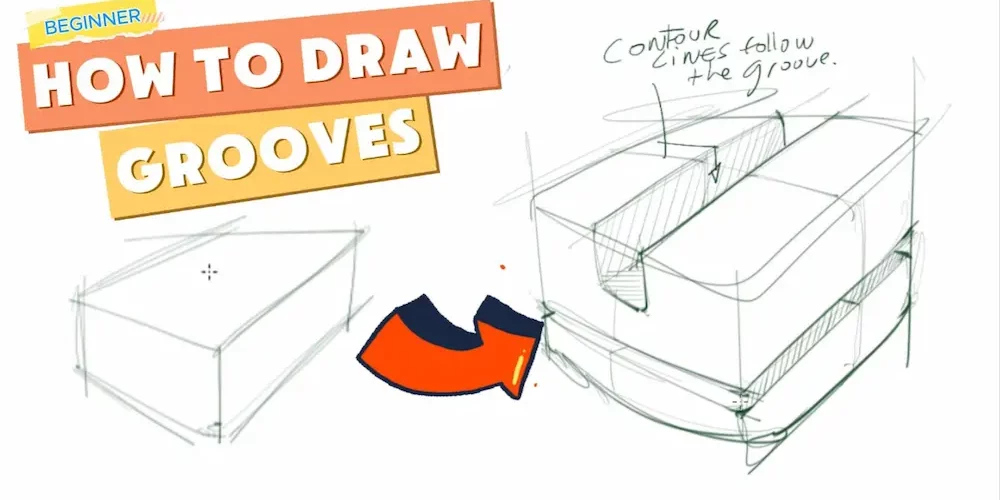
- Step 5: Add a Contour Line Inside the Groove
- Step 6: Shade the Groove for Realism
- Step 7: Play With Line Weight and Contrast
- Step 8: Practice Fast Sketching
- Step 9: Explore More Shapes and Techniques
- Bonus: Try the Random Product Technique!
Hey Design Sketchers!
In my design school, I had an amazing Product Designer teacher who sketch flawlessly.
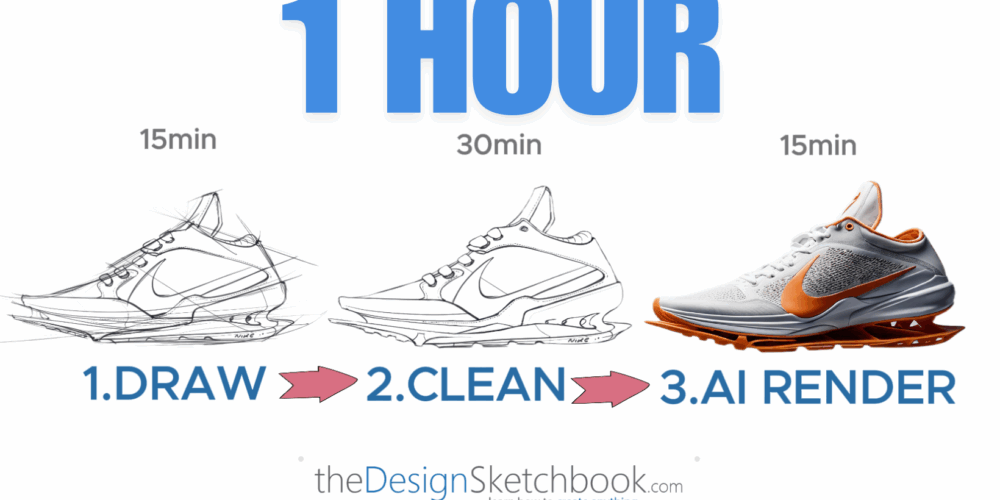
Today, I show you a simple trick he showed me once (only!), DRAWING GROOVES.
That is a game-changer at drawing realistic and professional products!
Implement this trick in your drawing routine, and you will instant level up your sketching results!
Don’t worry if you’re just starting out—I’ll guide you through each step, as usual, just like a friend sharing their favorite sketching secrets.
Ready? Let’s get started!
NOTE: You can download the original file of the tutorial at the end of this article.
Why Do You Need to Draw Grooves?
Before starting,
Let me show you a practical example of grooves.
Most product are made of plastic, and use assembled pieces. In between them, there are grooves. These elements are visually a great signal to use for your sketches to give a realistic effect.
To train drawing grooves, we start with this simple box.
You’ll see exactly how grooves and other details bring a product sketch to life, step-by-step—from using reference pictures to drawing from memory, and even how to make your details pop!
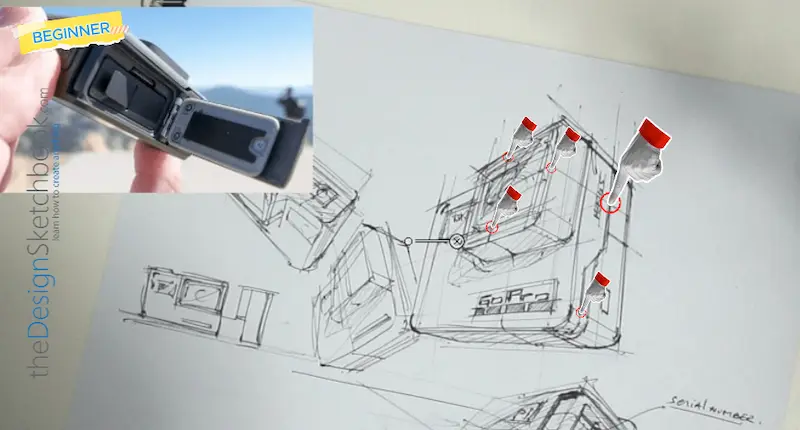
Pro Tip: If you want to see how these techniques are used on real products, I highly recommend checking out my GoPro camera sketching tutorial.
Step 1: Warm Up and Get Ready
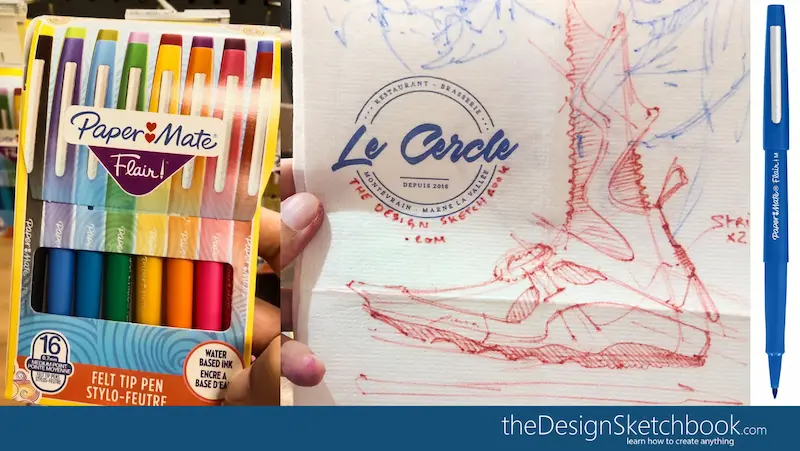
Before we jump in, make sure you have your favorite pen and some blank paper( or graphic tablet).
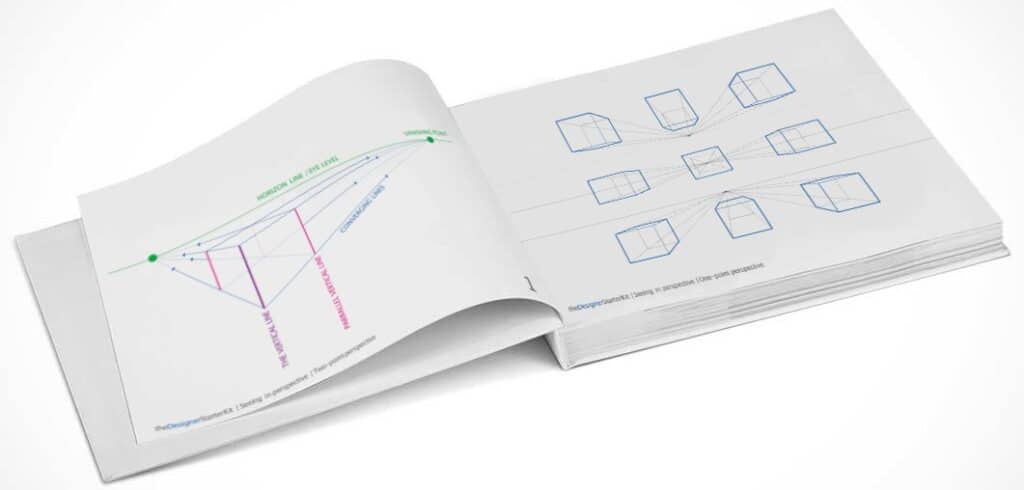
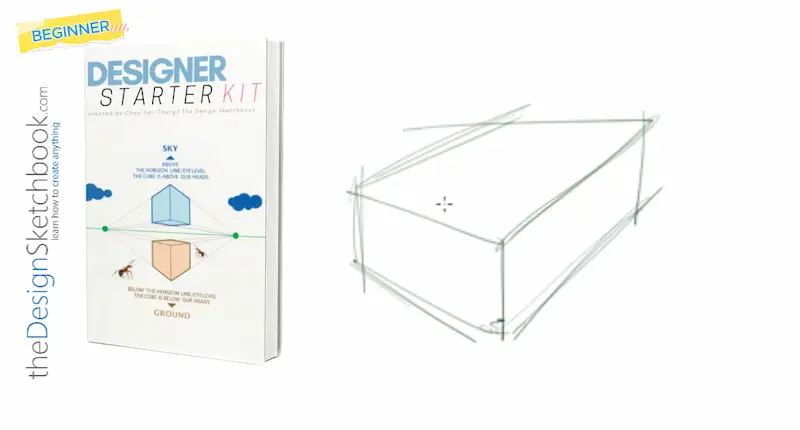
If you’re new to sketching in perspective, I recommend downloading the Designer Starter Kit—it’s a great way to get comfortable with drawing boxes, which we’ll use as our base shapes.
Gain Confidence in Drawing: 15 TIPS to Draw with Confidence Like a Designer Rockstar!
Step 2: Draw a Simple Box
Start by sketching a basic box in perspective.
Don’t stress about perfection!
Boxes are everywhere in product design, and they’re the perfect canvas for practicing grooves.
Need help with perspective? How to Draw in 3D from Imagination (Starting with Basic Perspective)
Step 3: Choose Where to Add Your Groove
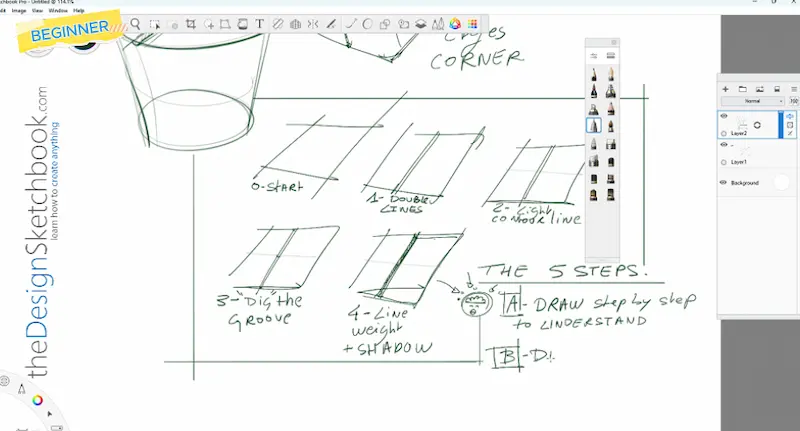
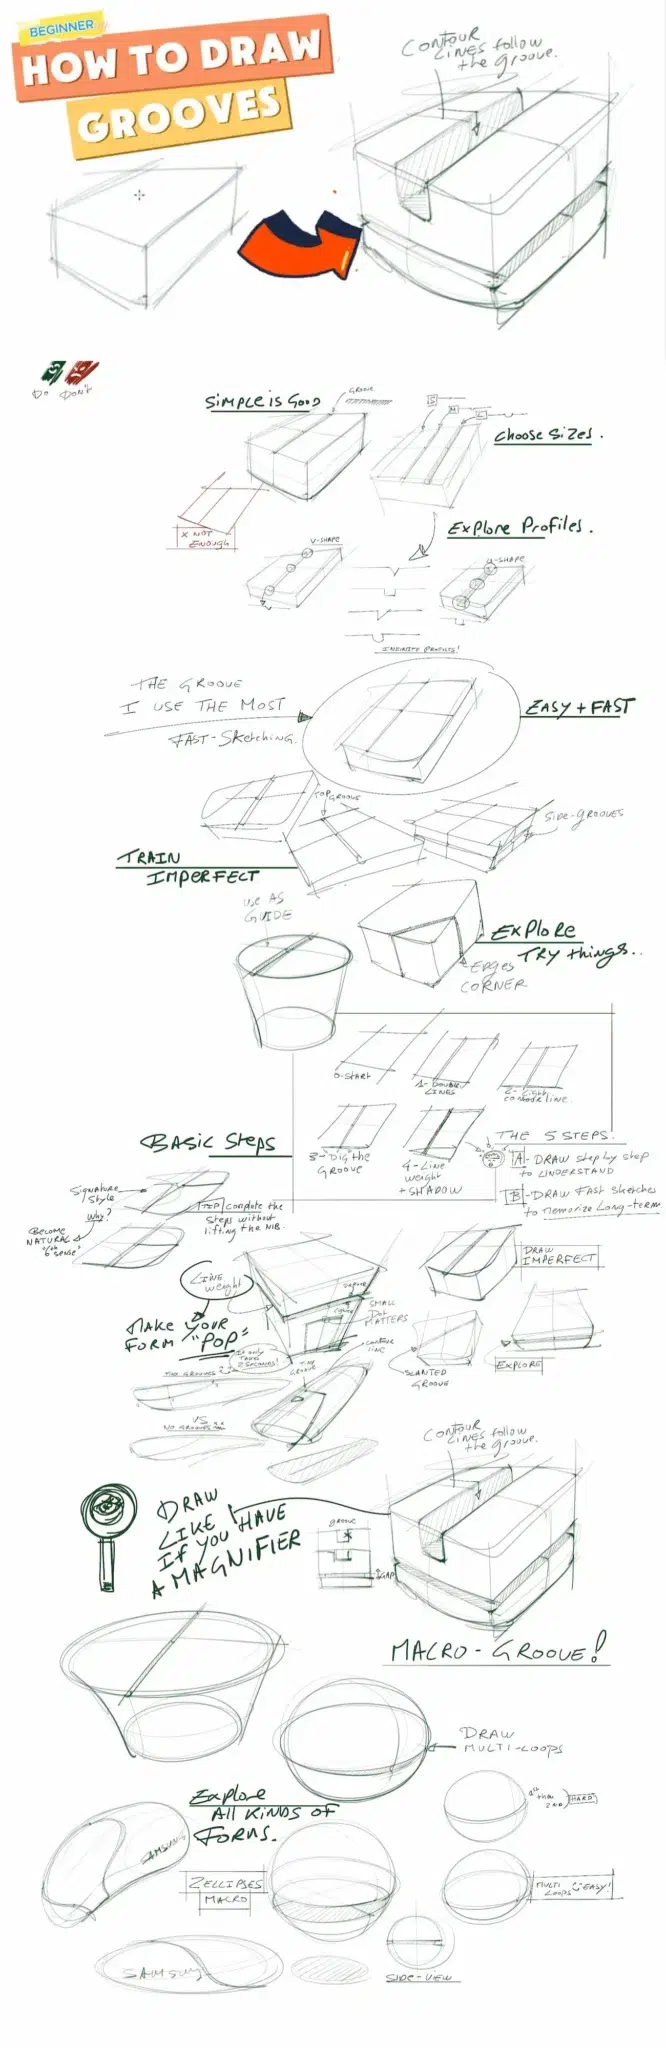
Get familiar with the 5 Steps to draw the grooves:
Decide where you’d like to add a groove.
It could be on the top, side, or even wrapping around a corner.
Grooves can be thin, thick, straight, or curved—try different placements and styles to see what you like best.
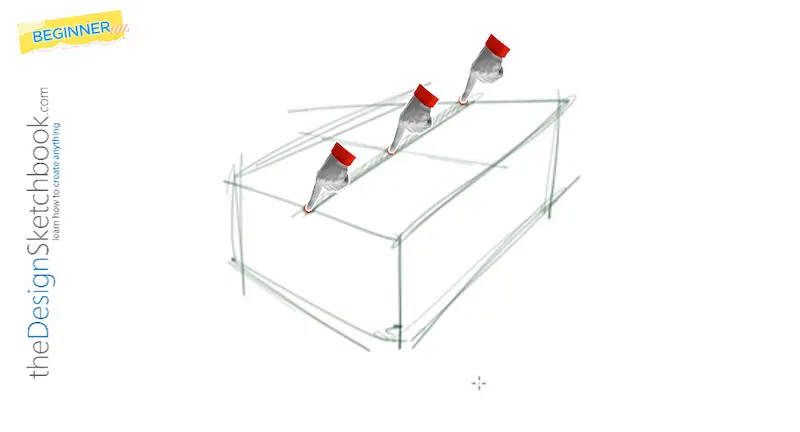
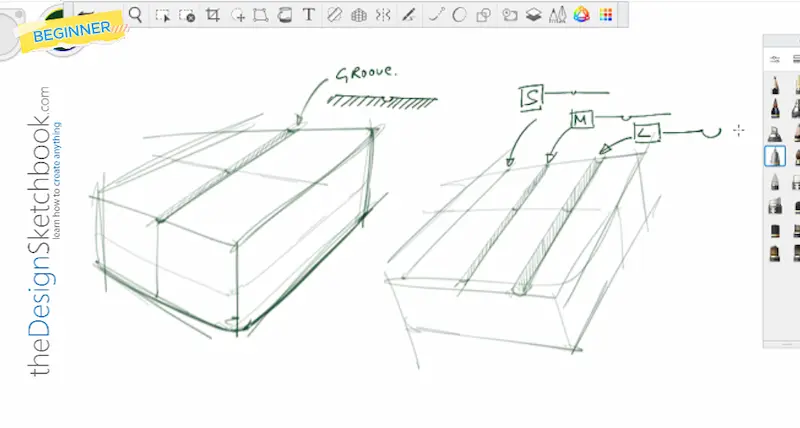
Step 4: Draw Double Lines for the Groove
Here’s the trick: instead of a single line, draw two parallel lines close together to represent the groove. This instantly gives your sketch a sense of depth.
You can experiment with different thicknesses—small (S), medium (M), or large (L)—just like you’d see on real products. Try to draw at least 3 different sizes of grooves:
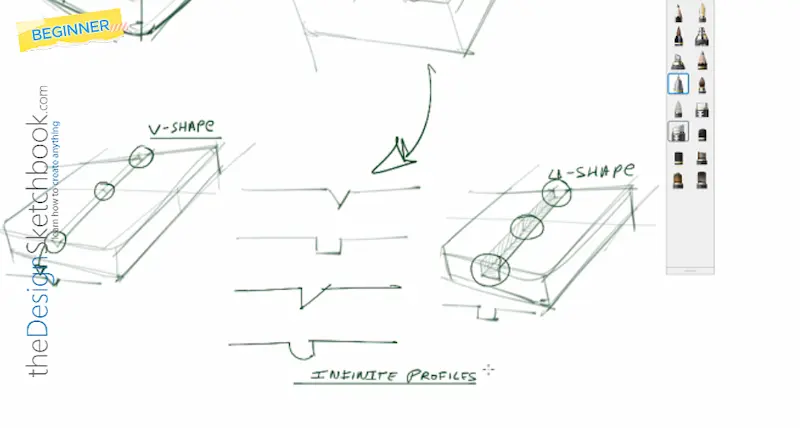
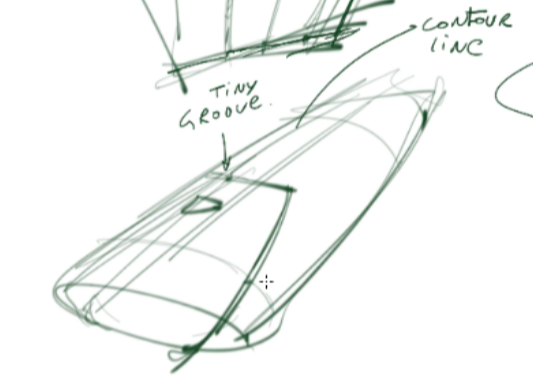
Step 5: Add a Contour Line Inside the Groove
Inside your double lines, add a very light contour line. This helps show the 3D shape of the groove and makes it feel like it’s really carved into the surface.

Try out different profiles: a V-shape, a U-shape, or even a combination. Let your imagination go wild!
Want to master contour lines? Discover how contour lines enhance your 3D sketches
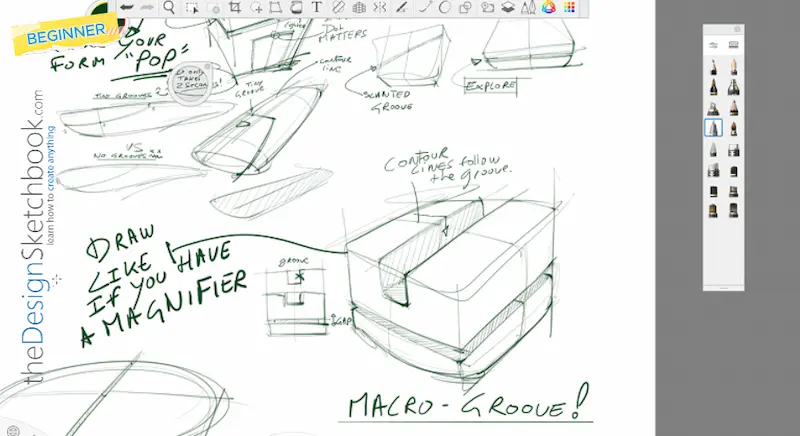
Step 6: Shade the Groove for Realism
To make your groove pop, add some shading inside it. Use a darker line or quick hatching to create the shadow where the groove is “dug in.” This tiny detail makes your sketch look much more tactile and realistic.
Learn how to draw cast shadow:
a. Cast Shadow | Parallel source of light from the Sun
b. How to Draw Cast Shadow | Diverging Source Light (from Projectors)
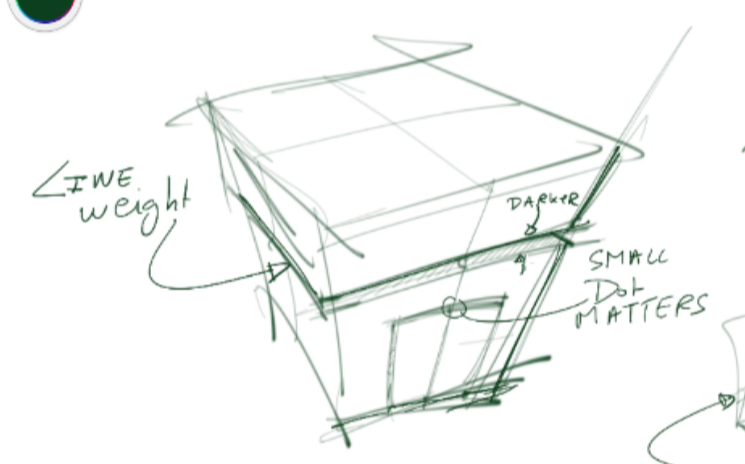
Step 7: Play With Line Weight and Contrast
Go over some of the edges around your groove with a slightly thicker line. This creates contrast and helps the groove stand out. Don’t be afraid to darken some lines.
Improve your line weight: Control your line-weight to make your sketches pop2
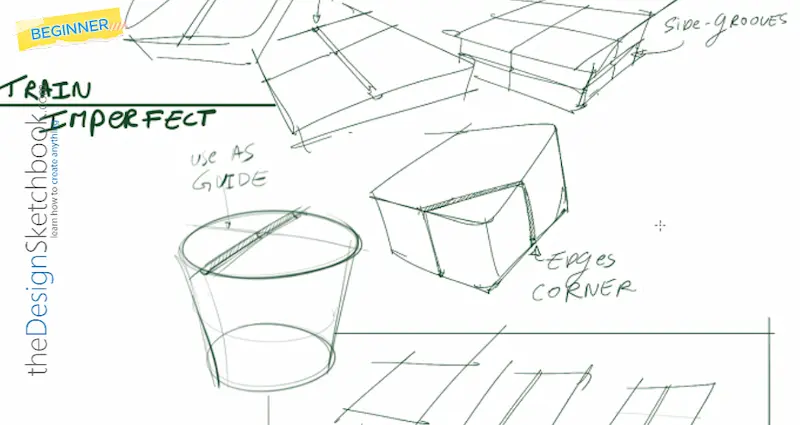
Step 8: Practice Fast Sketching
Try drawing grooves quickly, without worrying about perfection.
Fast sketching helps you get comfortable and lets your creativity flow.
Remember, being a bit imperfect can actually make your sketches more dynamic and lively.
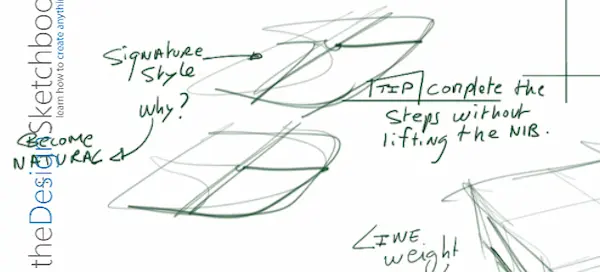
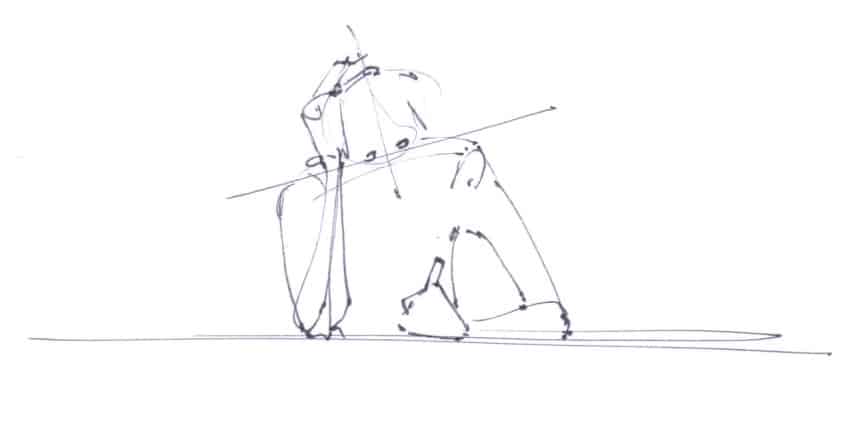
Below, I invite you to try the Signature style drawing style.
Draw fast without lifting your Nib. Play along with your line pressure.
Practice Fast-Sketching: How to Draw New Forms (Fast and Easy) in 10 steps
Step 9: Explore More Shapes and Techniques
Don’t stop at boxes! Try adding grooves to cylinders, spheres, or even organic shapes.
The more you practice, the more natural it will feel.
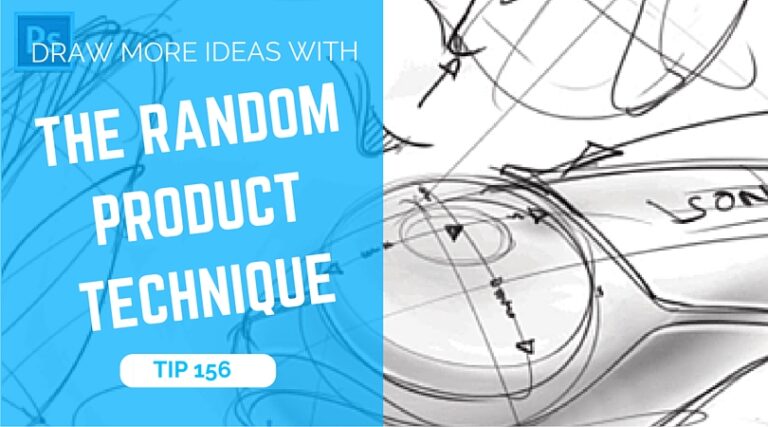
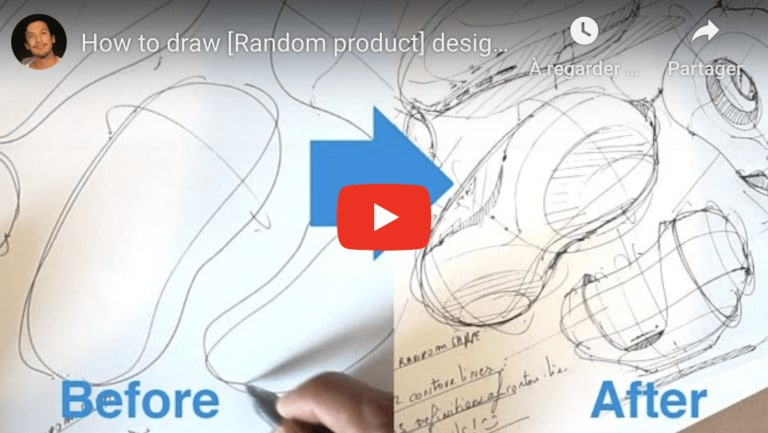
Bonus: Try the Random Product Technique!
If you’re looking for a fun way to boost your creativity and sketching skills, give the Random Product Technique a try.
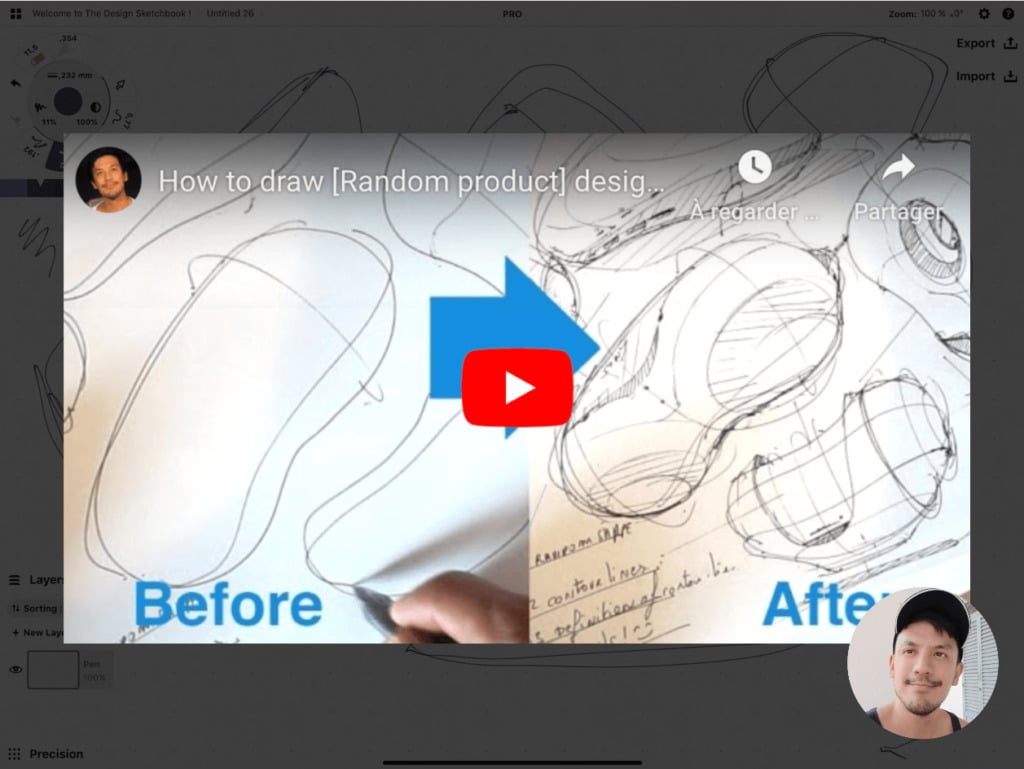
Here’s how it works:
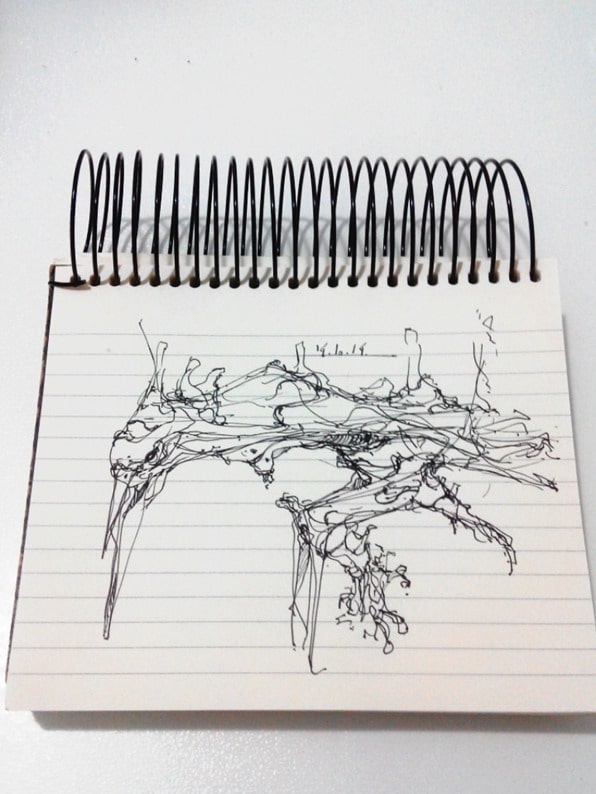
- Draw a bunch of random shapes on your paper—no need to plan what they are!
- Add contour lines to give them a 3D look.
- Layer on more contour lines for definition.
- Then, add product-like details: grooves, buttons, logos, screws—whatever comes to mind.
- This exercise is perfect for breaking through creative blocks and practicing new ideas without worrying about whether the product “works.” It’s all about exploring shapes and details, and you’ll be surprised how much it helps your design thinking!
Final Tips
- Look at real products around you for inspiration—notice how grooves and details are used.
- Mix up your groove profiles and placements.
- Add logos or little features to make your sketches look even more like real products.
If you want to keep building your skills, here are some more tutorials you might love:
- How to draw a sphere like a product designer
- Draw straight lines with confidence as a designer
- How to draw ellipses with precision and confidence
That’s it!
Keep practicing, stay playful, and most importantly, have fun.
Every sketch brings you closer to your own unique style.
And remember, don’t forget to check out the GoPro tutorial and the Random Product Technique for even more inspiration and practical tips.
Happy sketching!
Cheers,
Chou-Tac
Youtube Timestamps
00:02 Introduction & Starter Kit
00:15 What Are Grooves in Product Design?
00:30 GoPro Tutorial Reference
00:53 Groove Thickness: S, M, L
01:27 Exploring Groove Profiles (V, U, custom shapes)
03:34 Practicing Fast Sketching
03:48 Groove Placement: Top, Side, Corners
04:27 Why Groove Details Matter
04:44 Adding Grooves to Cylinders & Organic Forms
04:56 Step-by-Step Groove Drawing Demo
05:51 Five Steps to Drawing Grooves
05:57 Practice Tips for Beginners
06:23 Fast Sketching & Imperfection
07:37 Playing with Perspective & Shadows
12:09 Multi-Loop & Contour Line Tricks
12:51 Groove Techniques on Different Shapes
13:03 Random Product Technique (Happy Accident)
15:49 Final Tips & Encouragement
15:57 Outro & More Resources
Download the Original Tutorial file: Right Click + Save as…
NEXT DRAWING TUTORIALS


Add comment