How do you Draw product design from scratch?
Learn step-by-step how to draw simple forms and turn them into professional products with this video tutorial for beginner designers.
There are 3 easy designs to draw and practice now!
- From sketching 3 Simple Forms to Product Design!
Hey guys, I’m Chou-Tac.
Product design is all about taking simple forms and adding detail to them.
Today, we cover easy forms and designs to draw.
So let’s see how to draw simple forms to products.
I’m going to show you in this video,
one of the main principles of Product Design Sketching on how to create your own products from scratch.
TIP: Don’t be afraid of making mistakes!
Take a pen and paper and have some fun doodling; don’t look for perfection.
By following these steps you can turn simple forms into detailed products in no time!
From sketching 3 Simple Forms to Product Design!
Step 0 | Download Krita, the sketching app
So today I’m discovering with you the software KRITA that you can download on the website for free www.krita.org.
I am pretty curious about this software because of the quality of its brushes, which are used by many manga artists. So let’s make a try right here. (Feel free to draw on paper. The graphic tablet is optional)

Step 1 | Draw the 3 simple forms
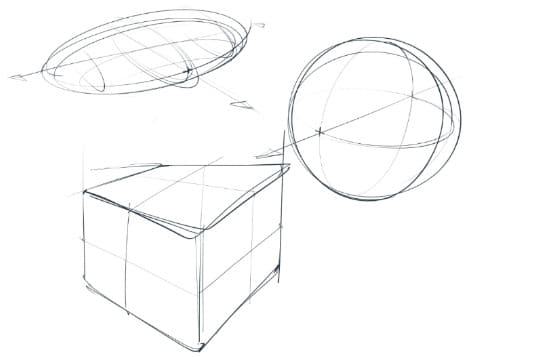
So you’re going to do one ellipse, one circle, and one cube.
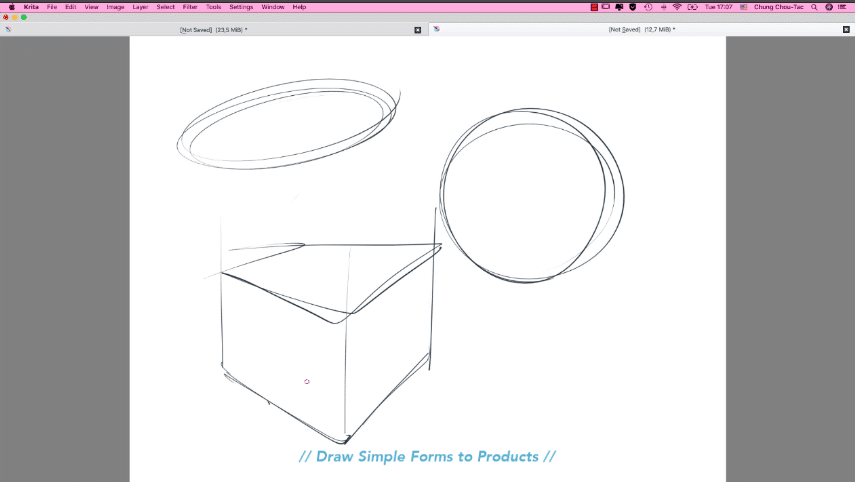
Step 2 | Draw The Contour Lines
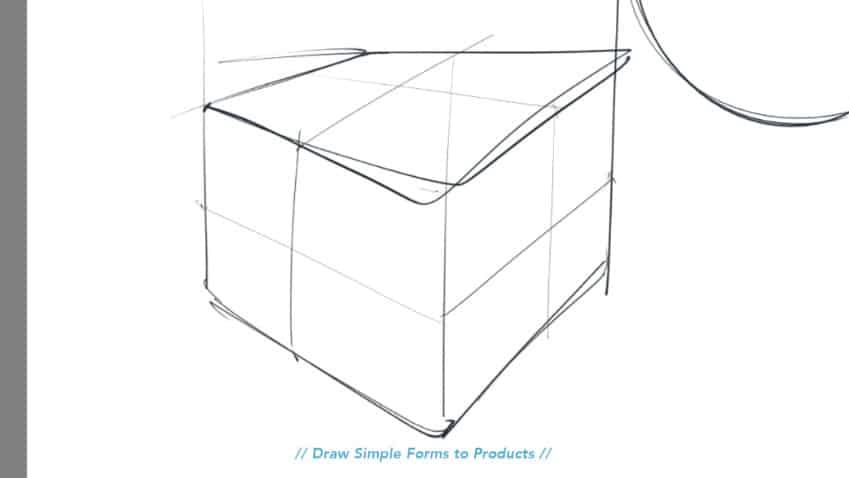
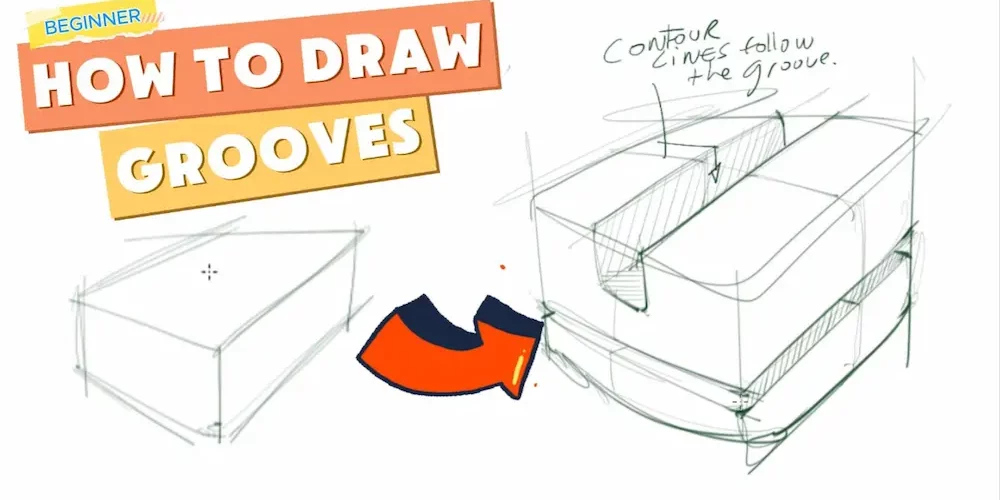
I start with the cube by drawing the Contour lines to give a better perception of the volume.
Contour lines are incredibly useful for product designers, as they provide a quick way to visualize the volume of a design without having to spend time adding gradients and shadows.
By drawing contour lines, a designer can quickly get an overall idea of what the final product will look like.
TIP: I like to round the corners.
The corners are not sharp like a perfect geometric form.
This roundness gives you more realism through a bit of imperfection.
Step 3 | Draw the XYZ Axis
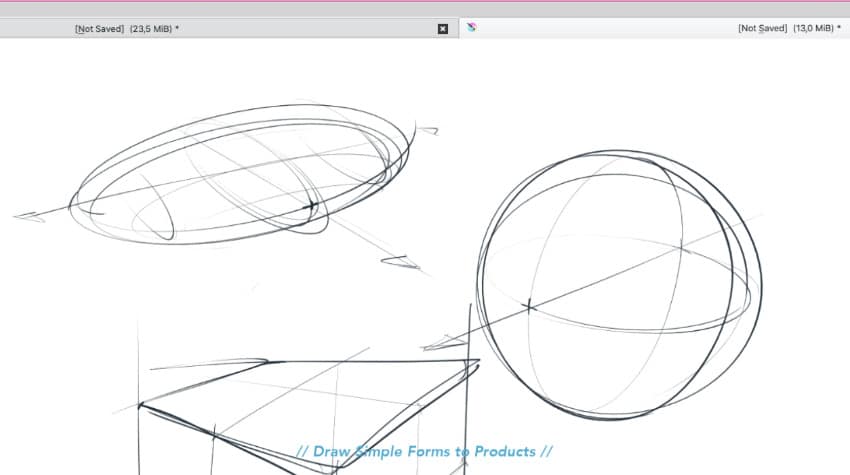
I draw the axis using arrows.
The XYZ axis are imaginary lines that introduce the 3 dimensions. (The Three-Dimensional Coordinate Systems)
One of the main rules in product design sketching is to draw in transparency.
As you can see, I imagine that these forms are actually transparent like made of glass.
TIP: If you look closer at the sphere, I added a small cross at the front intersection and back intersection.
It helps to gain clarity.
Step 4 | Draw the Details (Start from big to small details)
In ID sketching, we start from a general to details approach.
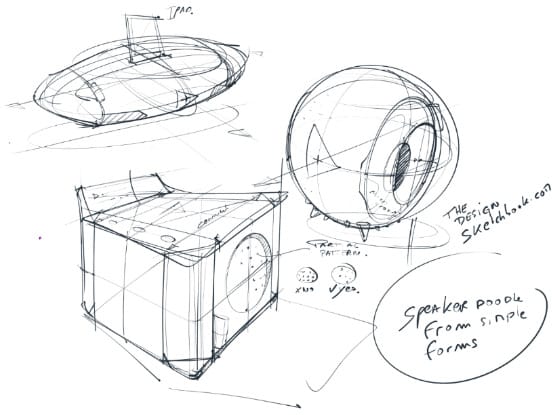
I use this sphere as the base of my product.
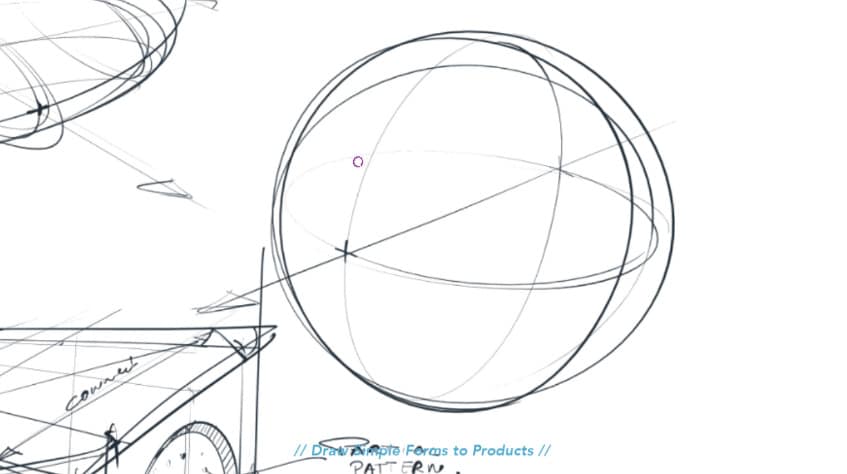
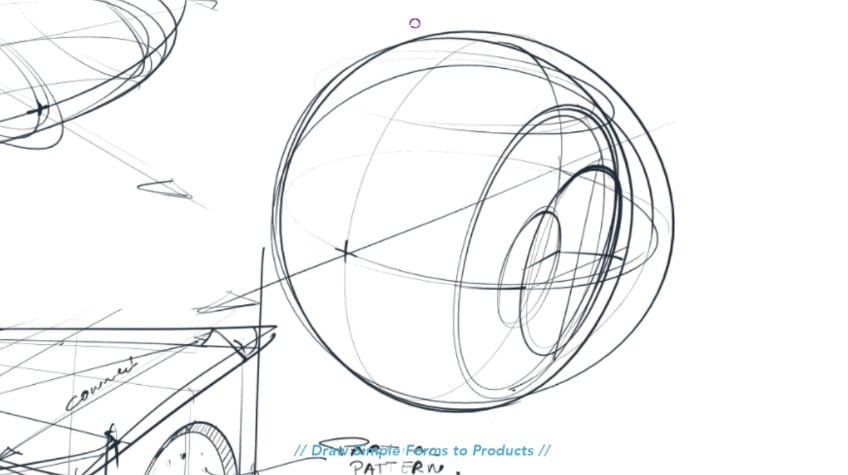
Draw the side speakers
Below, I draw a sound system on the side.
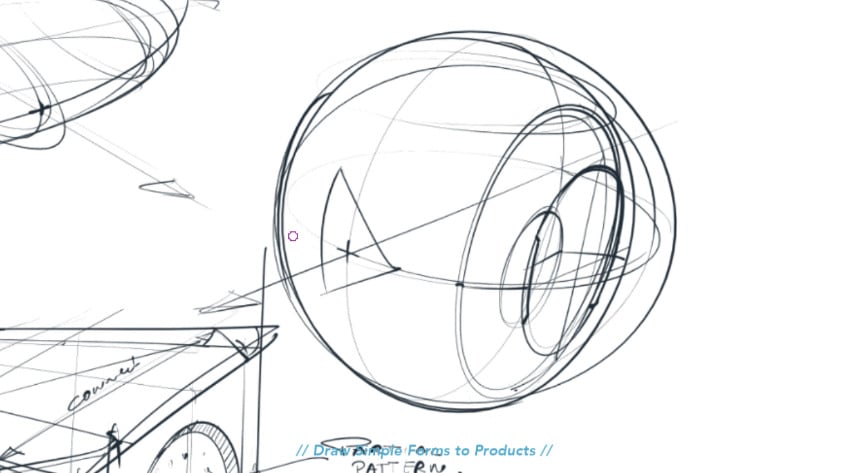
Draw the speaker interface
Now I add a simple button PLAY (the triangle icon) in front of the sphere.
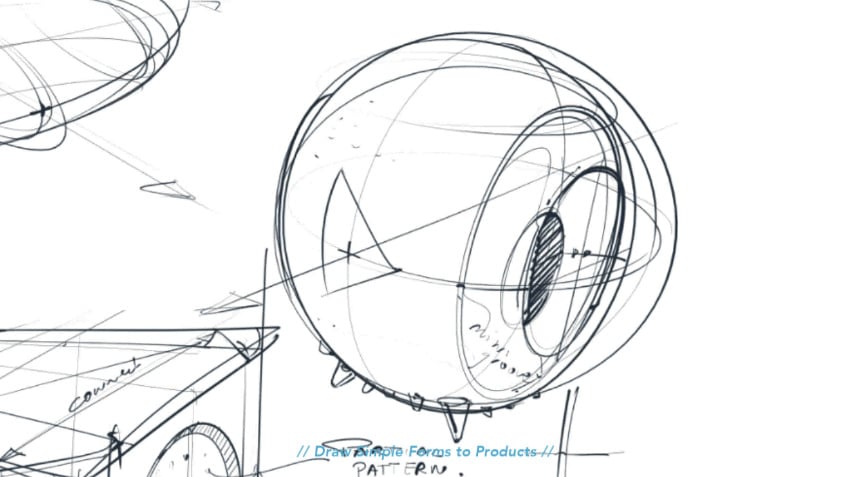
Take your time drawing Details
Taking your time to draw the details can create a great sketch!
As you can see here, I’ve added some contour lines to help show what’s going on in and out of this sphere.
I haven’t done much research yet – just doing a quick doodle as I go along.
Remember that it doesn’t take long to put down the main forms, but it will take patience and focus when adding small details.
Remember:
You don’t start by drawing the details.
It would be overwhelming, and confusing!
You start by drawing the main forms which are very simple, very basic forms.
Then you go on the details.
And always remember to follow the perspective
Step 5 | Draw the texture (using a partial approach)
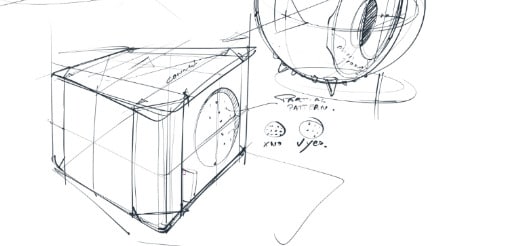
Here is a trick designers use when they draw the texture.
I add some little dots to represent the granular surface. I do not add them all over.
It would make your sketch pretty heavy to look at. A few dots are enough.
It’s a partial pattern.
Your brain will actually recompose everything.
TIP: You don’t have to plan all in advance.
I’m creating the design along the way. Sometimes, it produces happy-accidents.
It is when the lines you draw inspire you to new forms or new ideas for your product design.
EXPERT TIP | Inspiration Comes From Anywhere
Inspiration can come from many sources.
Whether it’s a book, an animation, or something you saw many years ago, those images are likely hidden deep in your mind.
Creating something new is about having fun and connecting different elements to see what happens.
As a beginner, take inspiration from other works but don’t always copy them. Modify them. Combine elements together to create something that comes naturally to you, and the result will be magical!
That is how you will create your own product from scratch.
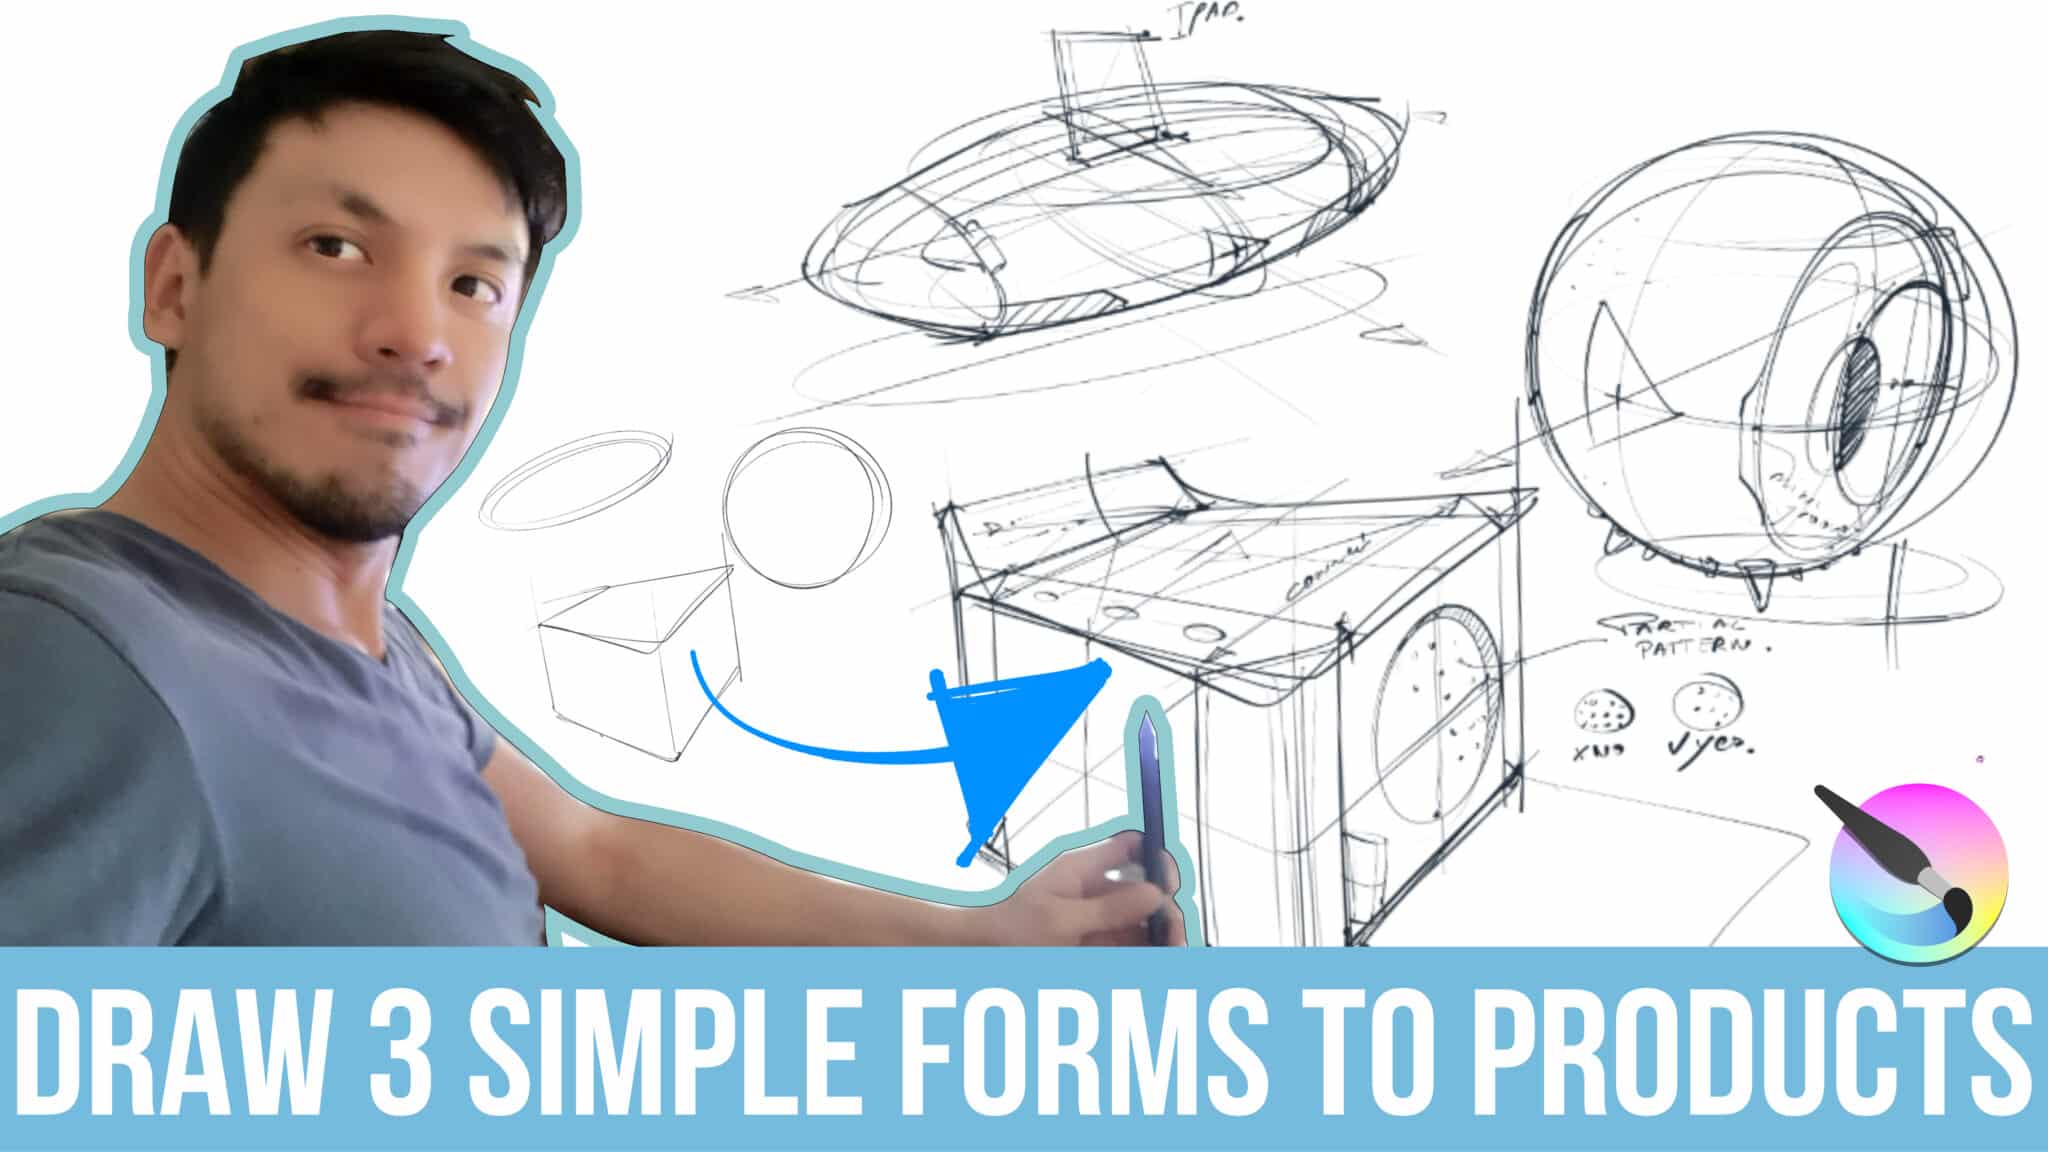
Alright, so you can see here the before and after of the simple forms of the product itself.
So remember to take a pen, do not hesitate to take some reference pictures on Google image for reference pictures, and have fun.
Do not wait any more, you are ready to draw!
I hope you had plenty of fun drawing with me!
I invite you to explore more tutorials for beginners or advanced levels on the Design Sketchbook blog.
Your Design Sketching Coach,
Chou-Tac






Add comment