HOW TO DRAW A COIN STEP-BY-STEP
How to draw a coin in 6 steps:
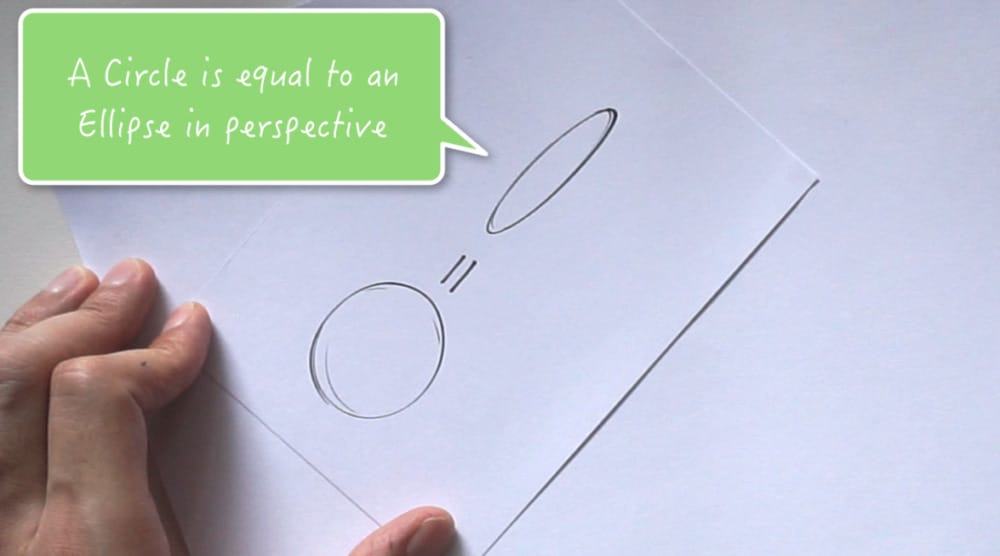
STEP #1
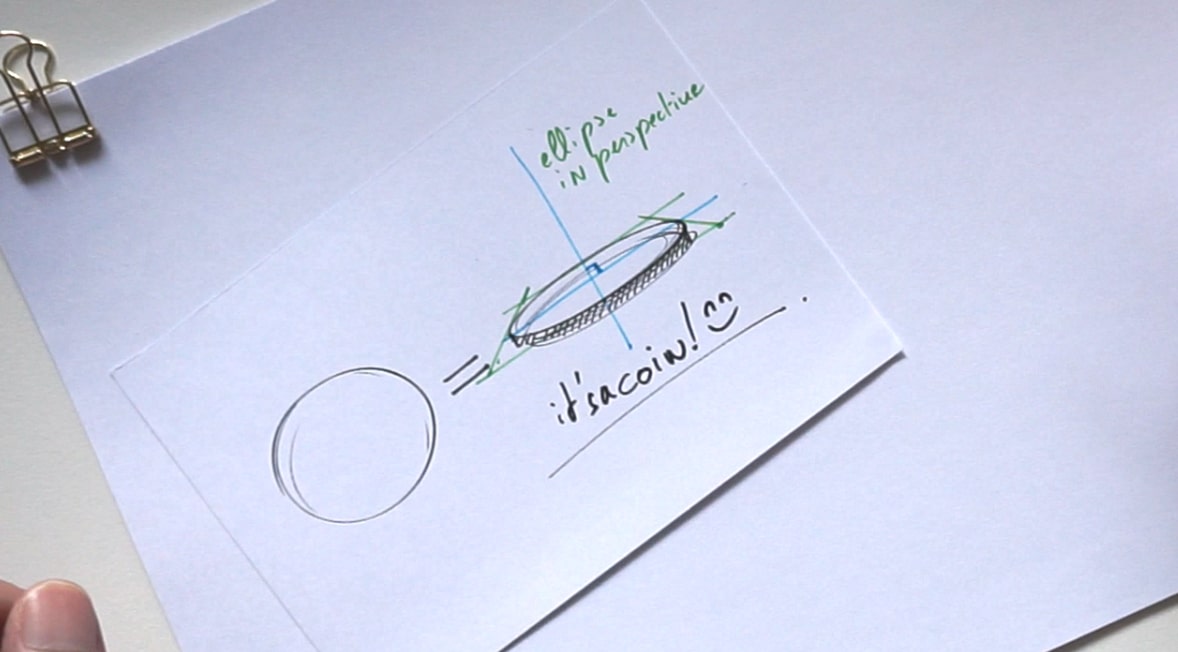
The first thing you need to know is: a circle is equal to an ellipse in perspective.
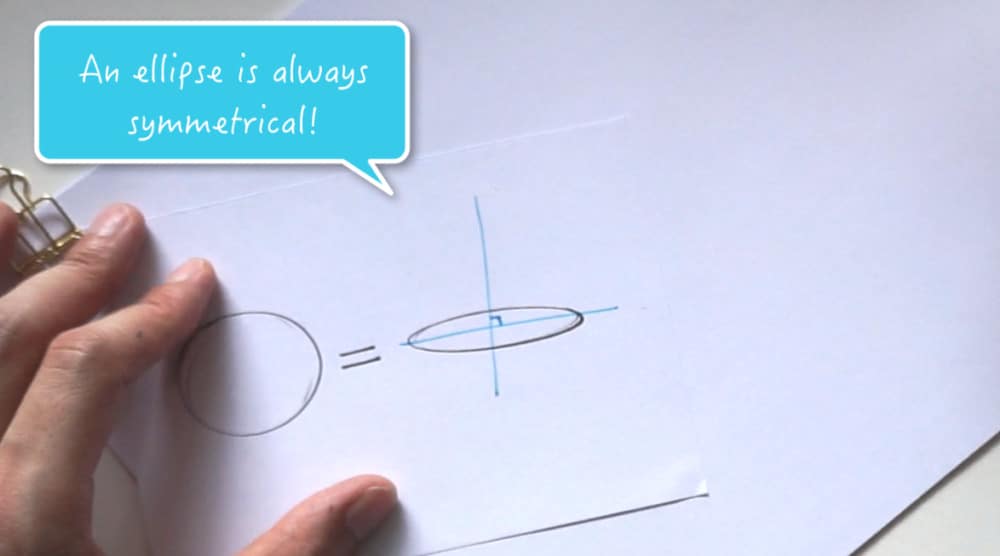
STEP #2
An ellipse is always symmetrical.
So you can make a try, think of a cup you are looking at the top of it from different angles. You will notice that you always see a perfect ellipse.
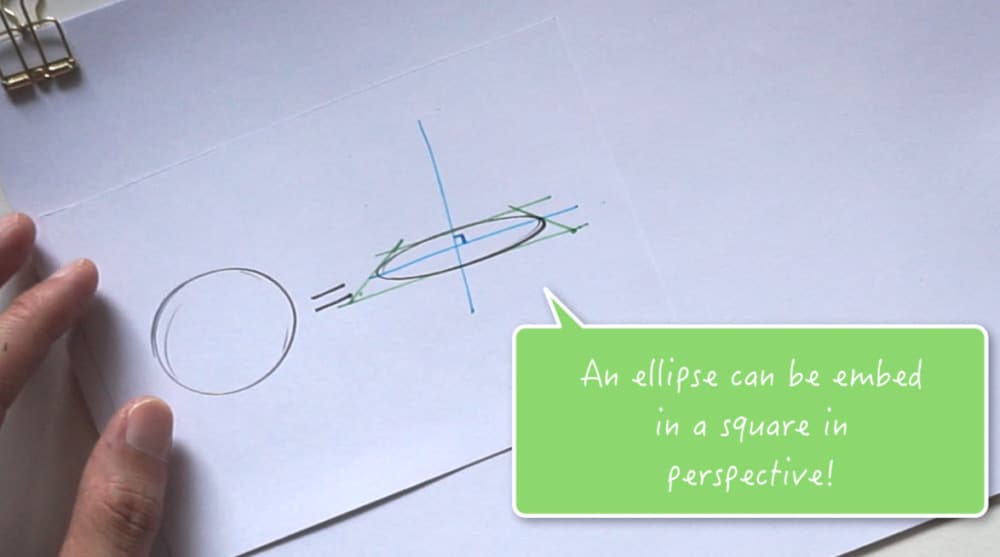
STEP #3
An ellipse can be embedded in a square in perspective, like how you can see here on the green lines. Basically, try to imagine a cylinder inside a box.
STEP #4
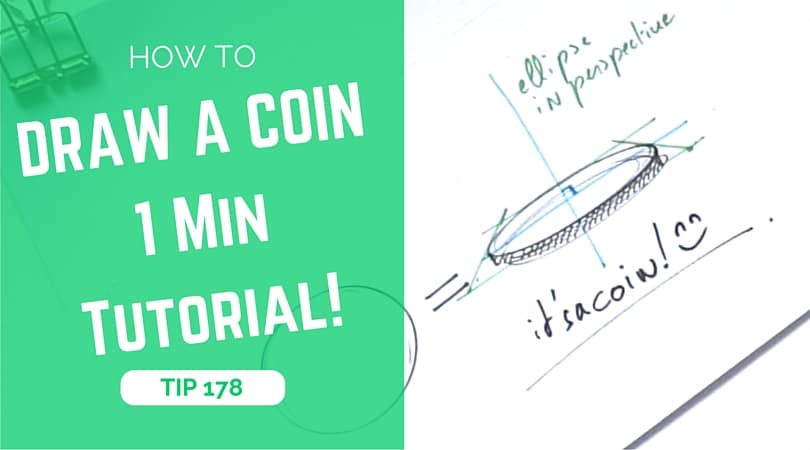
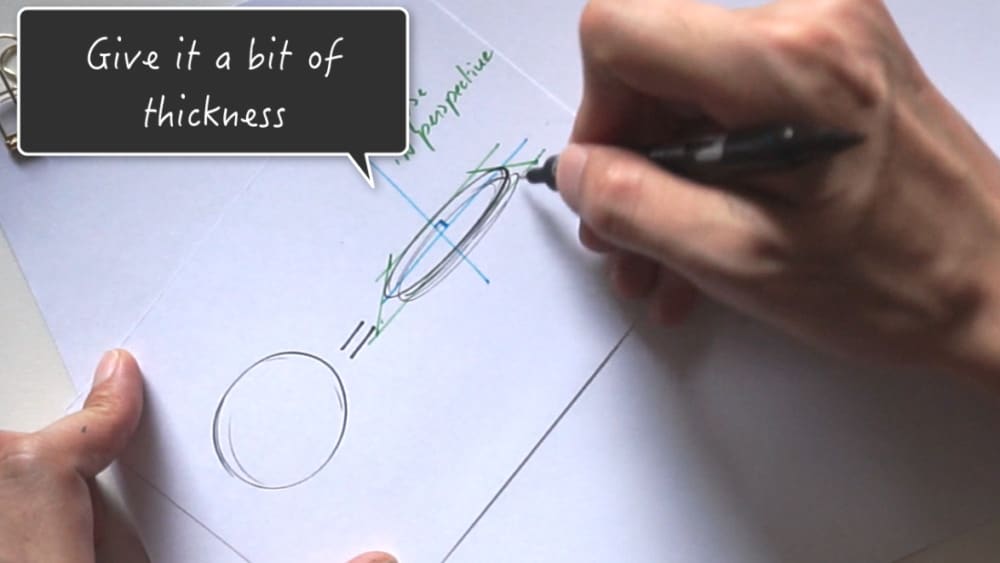
Now, to draw a coin, you just need a simple trick: add a bit of thickness.
To do so, draw another ellipse a few millimeters below.
STEP #5
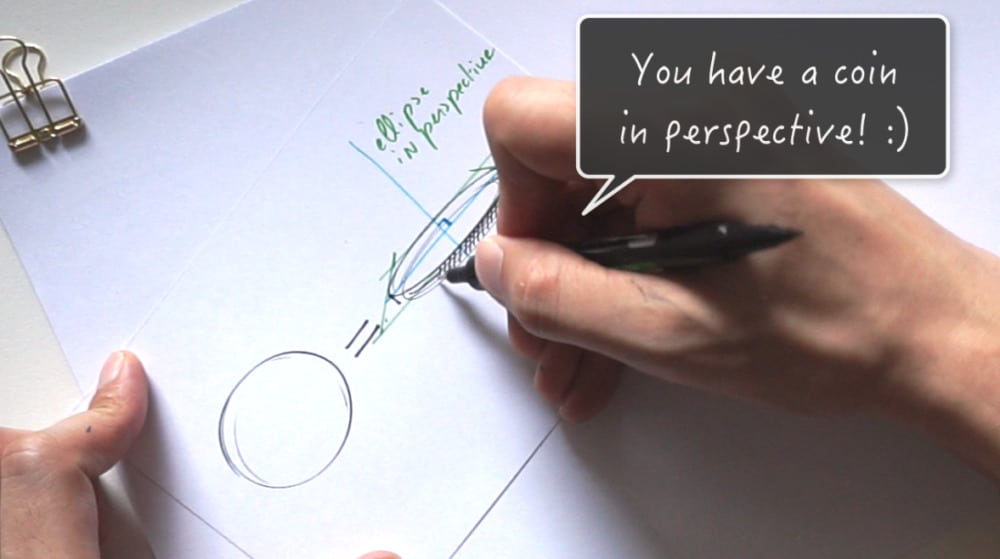
Add some hatching on the side.
STEP #6
Voila for the coin drawing!
STEP #7
Feel free to download the Designer Starter Kit to make your first steps in design sketching! I will show you more about how to draw cubes in perspective all step-by-step.





Hi Chou,
Your tutorials are all great! One minute or longer, doesn’t matter, keep them coming. I’m also one of your “independent learning” students in the Sketch Like the Pros class and love it. Would your ever consider combining all the screen shots from the modules into one massive e-book? I know we can download the different modules, but sometimes its nice just to flip through the pages and look at individual parts of a lesson without having to scan through the video. Anyways, it is just a thought. Keep up the great tutorials!
Hello Paul,
Thanks for your positive feedback about the course Sketch like the Pros. I appreciate. 🙂
Your idea of a flipping ebook is great! I take note of it.
I should prepare one as an extra present for you guys, student of the course.
Thank you!
Cheers,
Chou-Tac