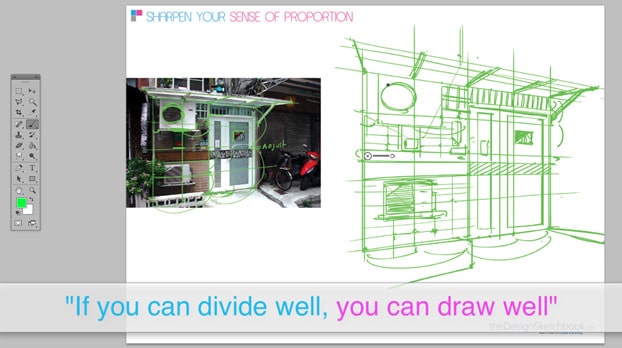
Objective
Hey guys, so today let’s see how you shall plan your sense of proportion. Just take a pen and piece of paper and go with me. What we want to do here today is to be able to divide everything as fast as possible.
Importance of Fast Division in Drawing
The aim when drawing faster is not having a faster movement of your hand but how your eyes and brain divide everything intuitively. You should be able to divide strokes by eight instantaneously. Usually, people tend to measure each part one by one, which leads to irregular spacing.
Recommended Technique: Dividing by Two
I recommend dividing by two, then dividing by two again, because our brain is better at using divisions than guessing. This division technique is much faster and more reliable than guessing.
Practice and Application of Strokes
Try to practice different lengths of strokes. Quick sketching allows freedom to go fast, and in real life, this technique is very convenient because most things are symmetrical.
Example of Observing and Dividing a Temple
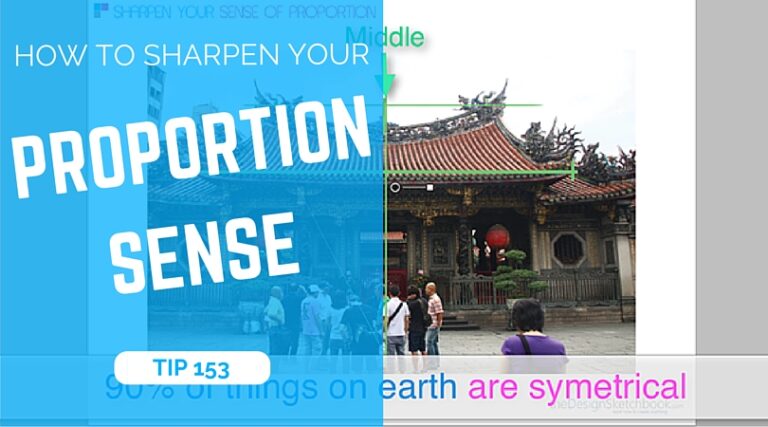
Here is a simple example of a temple picture from Taiwan. You observe and divide it by two, noting that the lantern hides half the body of the temple and the pillars represent a quarter of the width. This simplifies observations and helps you decompose objects faster.
Improving Your Sense of Proportion Anywhere
You can sharpen your sense of proportion anywhere and anytime by observing objects around you like lights, phones, or printers and dividing them into eighths. This is how you improve passively.
Conclusion and Call to Action
Hope this helps. If you’re passionate about design sketching, feel free to download the Designer Starter Kit and make your first steps in design sketching. See ya!
Feel free to download the Designer Starter Kit to make your first steps in Design sketching.




Add comment