Today we continue our beginner journey with the 2nd video of the series of 6
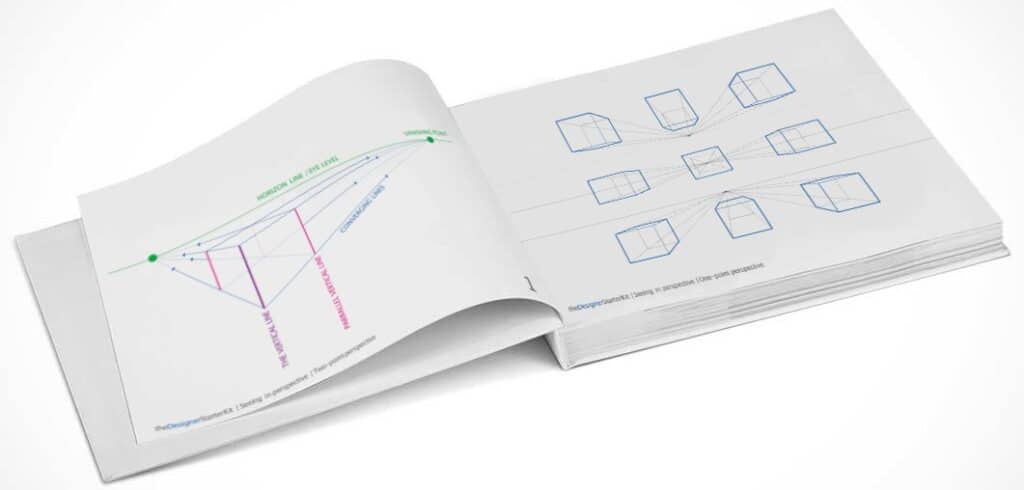
illustrating the Designer Starter Kit book
(If you do not have it yet, you can receive it for free here.
VIDEO 2/6
How to draw a perfect square.
If you have done well in the previous tutorial about How to make straight lines, this tutorial will be much easier for you.
Some of you may wonder. What is difficult about drawing a square? Why do we need a tutorial for that?
The thing is that there are multiple ways to draw anything (even simple one), and it happened that some ways give more results than others. Keep that mindset of getting results smarter, you will gain a lot of efficiency for more complex drawings in the future.
Video tutorial in pictures below
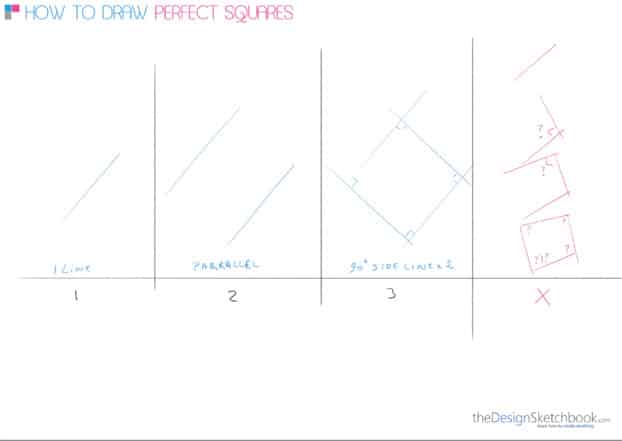
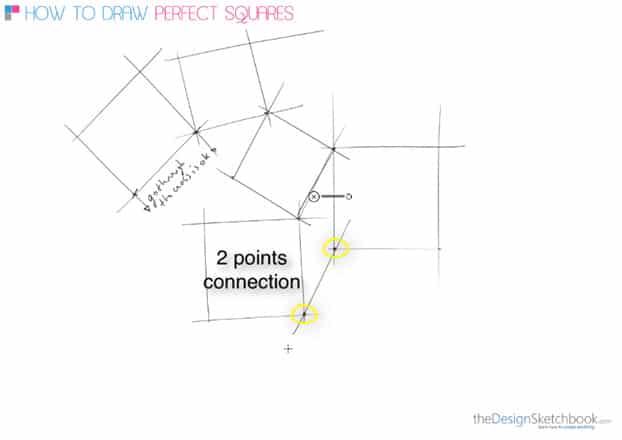
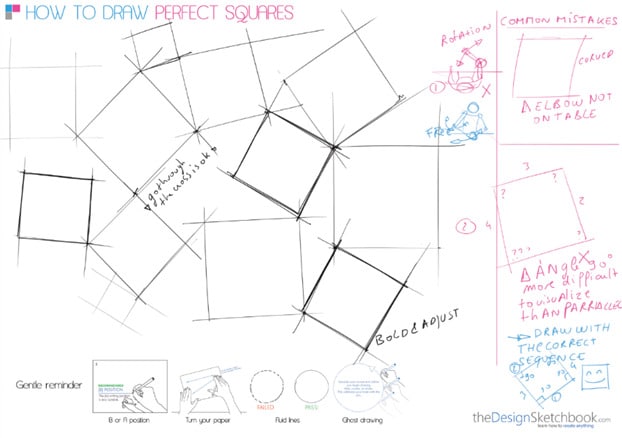
1- Draw a line, 2- Draw its parallel, 3- Add the sidelines. 4- Do NOT try to guess every single 90° corner.
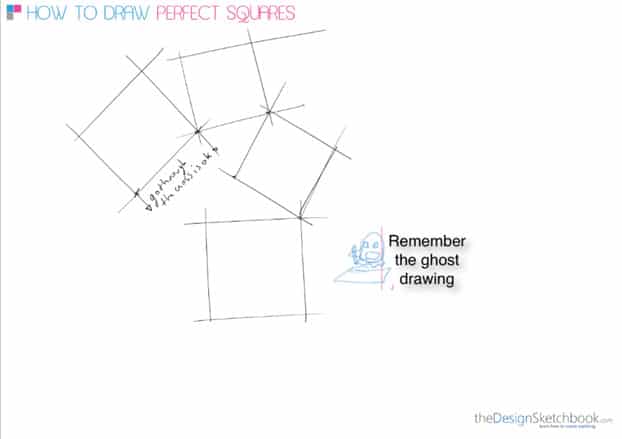
Remember to use the Ghost drawing
Add more square connecting the dots.
TadaA!
You have a beautiful piece of art to display on your wall 😛 Just kidding.
Take several sheets of paper, and draw a lot of squares of different sizes.
TIP: You can write down the date, keep it as an archive.
Repeat the process one time in a while and keep track of your progression.
See you for video number 3 for more design sketching basics!
Once again, these videos are linked to the Designer Starter Kit. To enjoy the series of tutorials better, I recommend you to download it first.




[…] How to draw a perfect square […]