Today is sunny and happy like I love!
I’ve prepared for you a step-by-step video tutorial about:
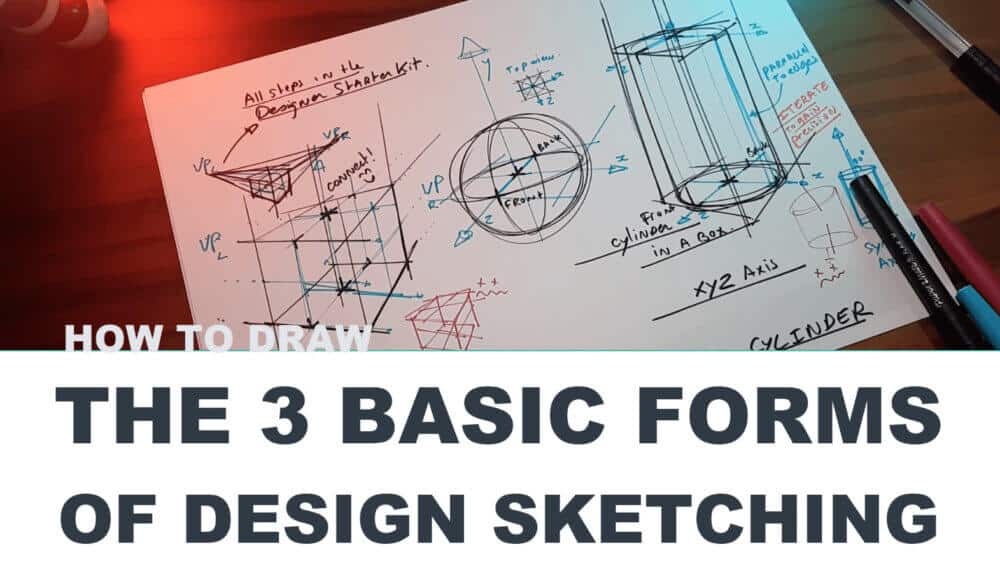
The 3 basic forms of Design Sketching you absolutely need to know.
- The cube
- The sphere
- The cylinder
Remember, every complex form, product, character or environment will start with one of these forms.
Why? Because a secret of advanced sketching is to always start with simple forms to build them.
This is why we should always take time to learn the foundations with care.
How to Draw a 3D Cube, Sphere, and Cylinder
- How to Draw a 3D Cube, Sphere, and Cylinder
- How to draw the three basic forms of design sketching.
- Draw with me
- Use the basic perspective to draw a 3D cube
- Draw forms very fast with contour lines
- Draw quick thumbnails
- Draw a sphere easily using ellipses
- The cylinder is inside a box
- Spot the XYZ axis
- Start with a light pen pressure
- Iterate on top of your sketch
If you are a true beginner,
remember to download the Designer Starter Kit first.
You learn the basics of sketching and perspective
Get some paper and a pen, here we go!
- Draw with me
- Use the basic perspective to draw a 3D cube
- Draw forms very fast with contour lines
- Draw quick thumbnails
- Draw a sphere easily using ellipses
- The cylinder is inside a box
- Spot the XYZ axis
- Start with a light pen pressure
- Iterate on top of your sketch
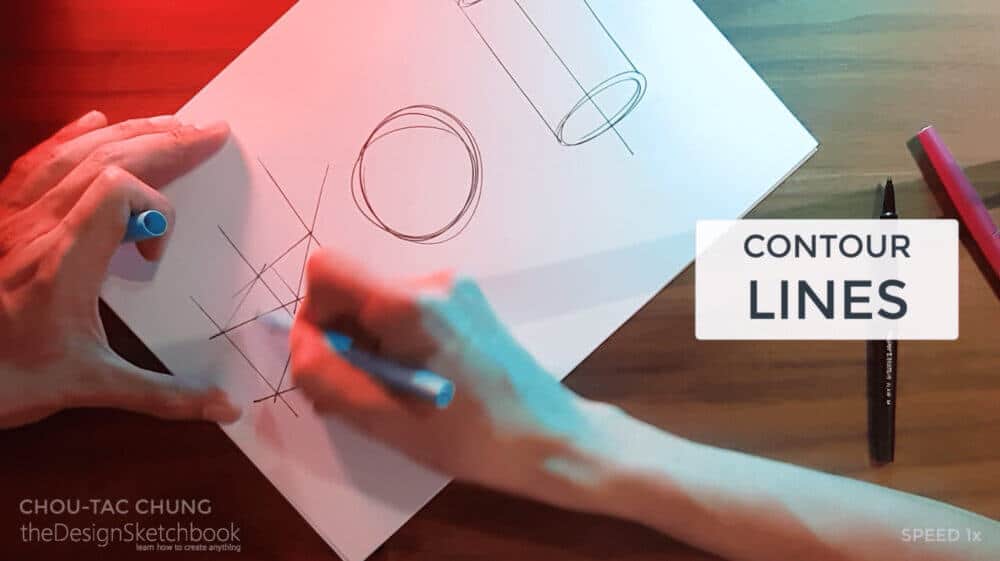
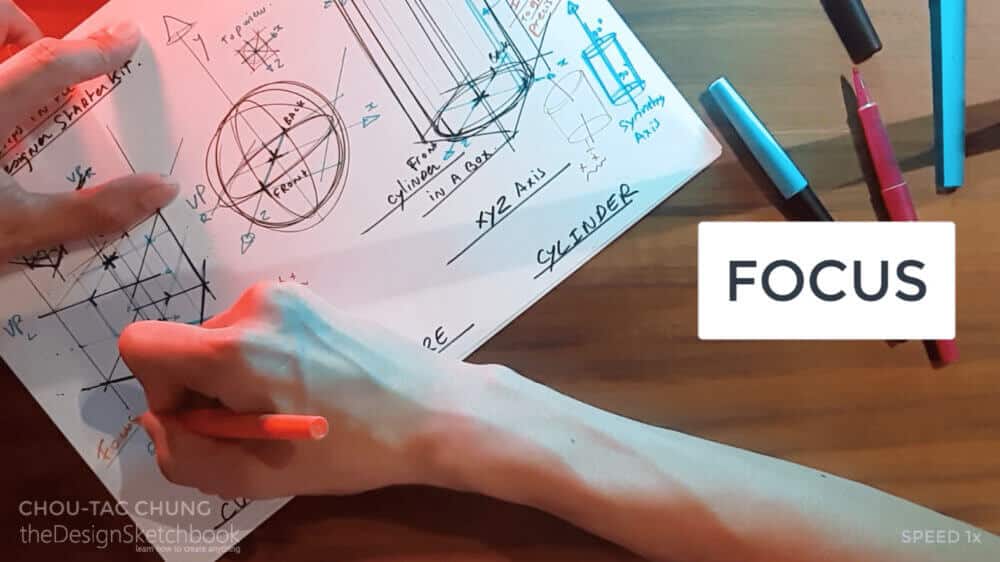
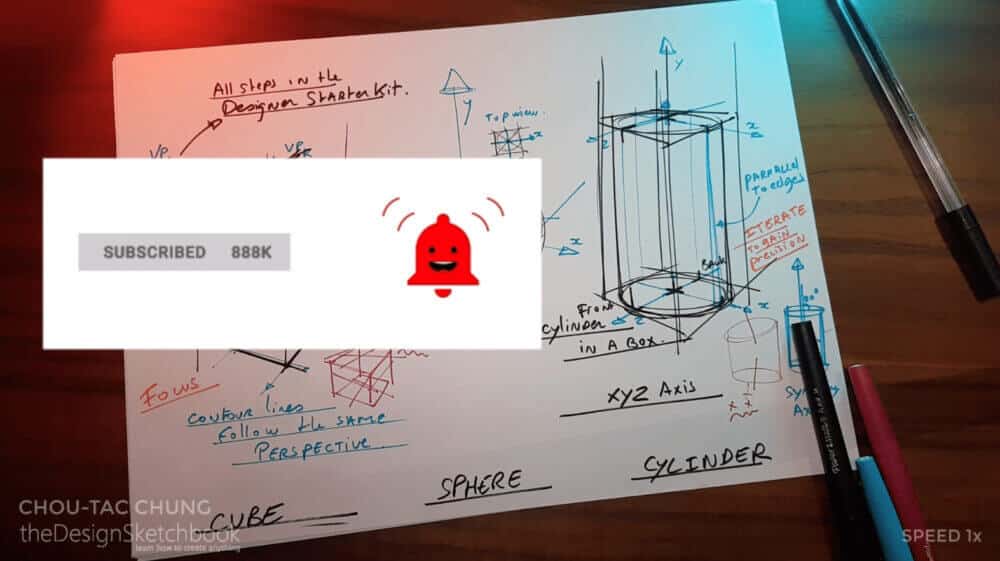
How to draw the three basic forms of design sketching.
Welcome to TheDesignSketchbook.com, I am Chou-Tac.
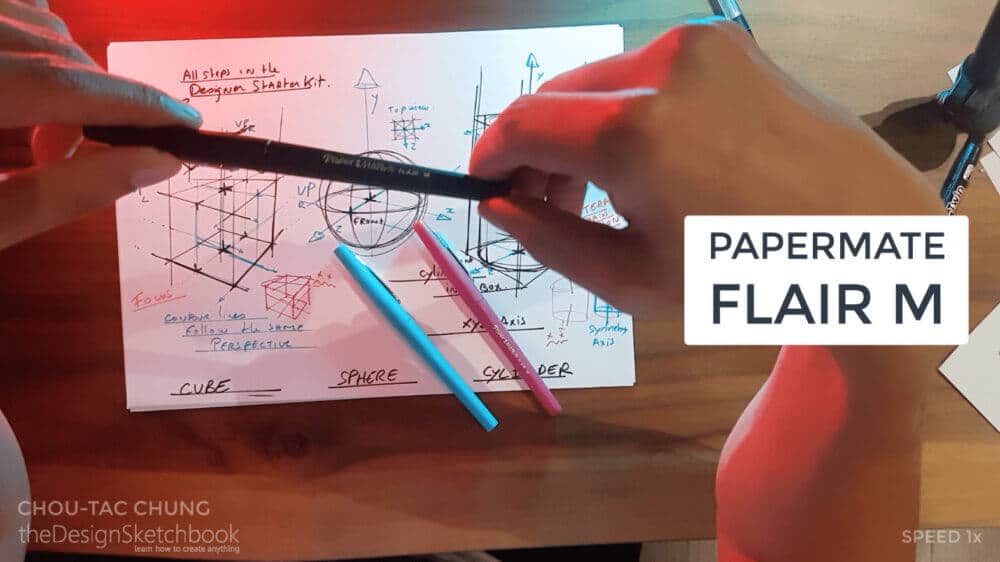
I invite you to take a piece of paper and ballpoint pen or markers such as a Papermate flair and let’s start.
Draw with me
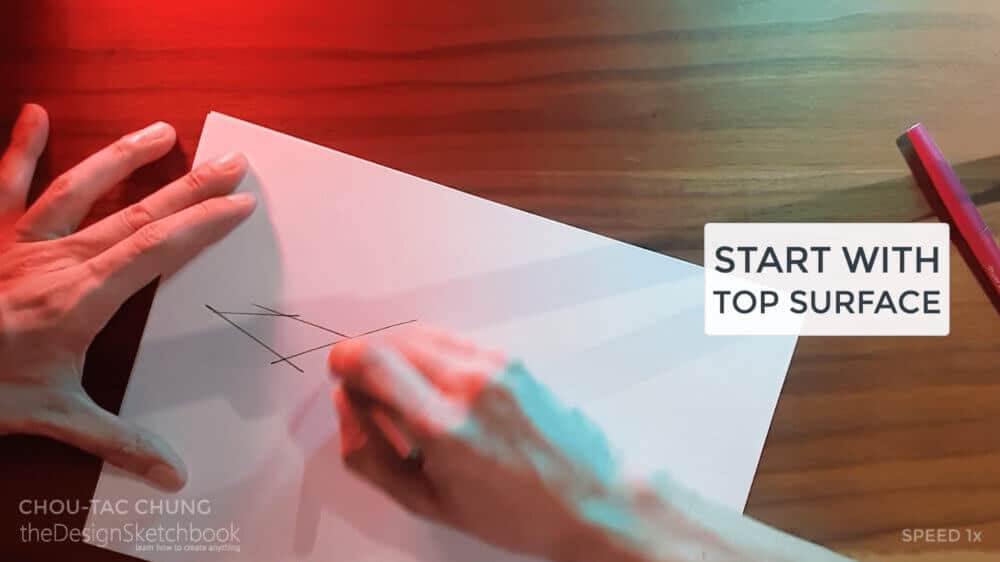
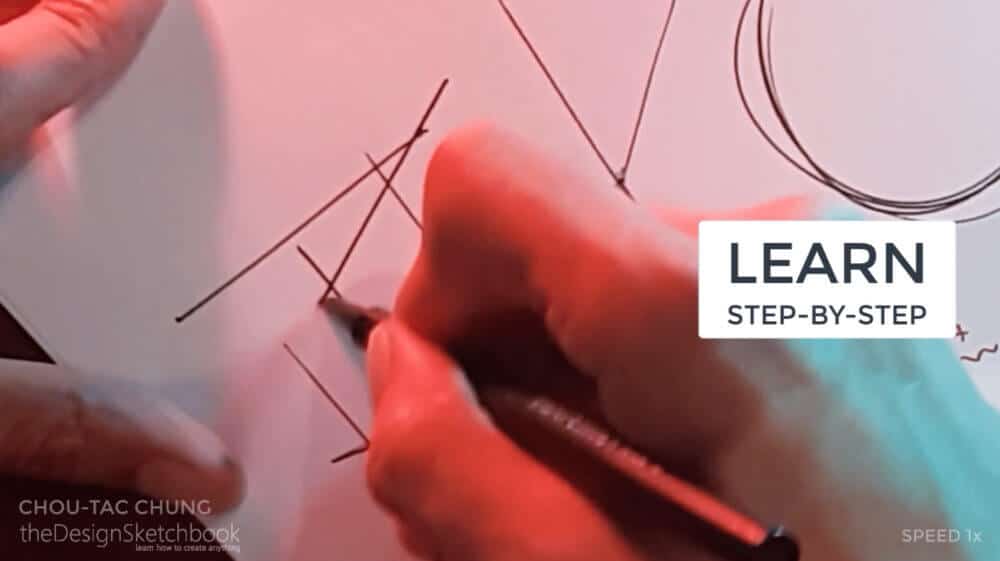
First, I’m going to draw a cube here for the first form and as you can see, I start with the top surface first then I draw the vertical lines to the bottom and I will draw the bottom surface then.
Use the basic perspective to draw a 3D cube
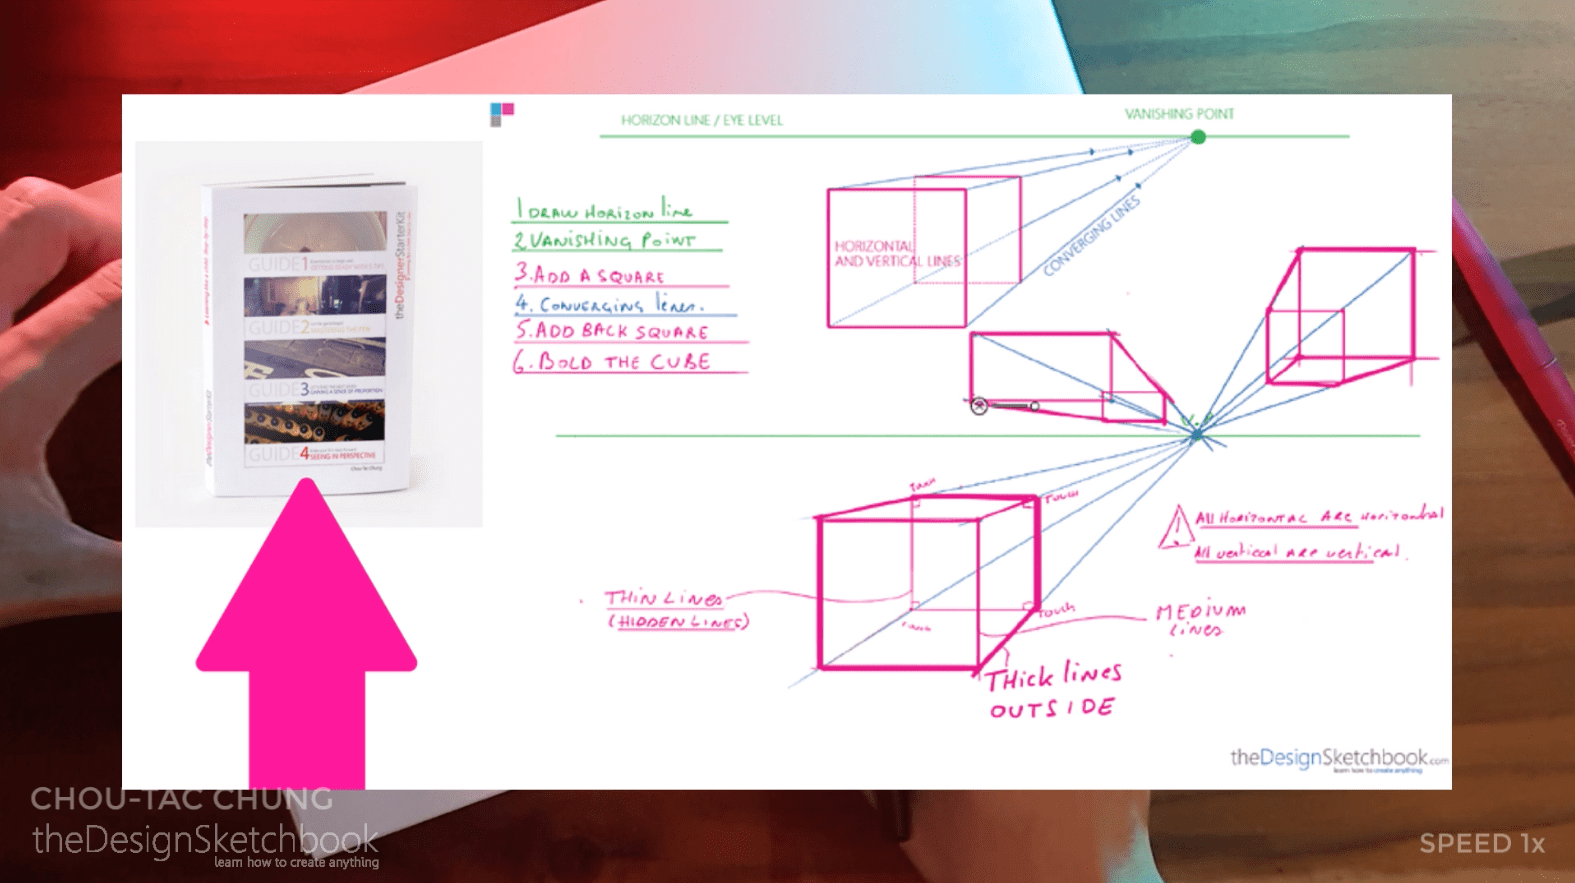
And this is how I will complete that cube. That’s the way that you can easily visualize your cube when you’re drawing it. And of course, if you are a true beginners I invite you to download the Designer Starter Kit where you will get all step by step to know how to draw a cube in perspective.
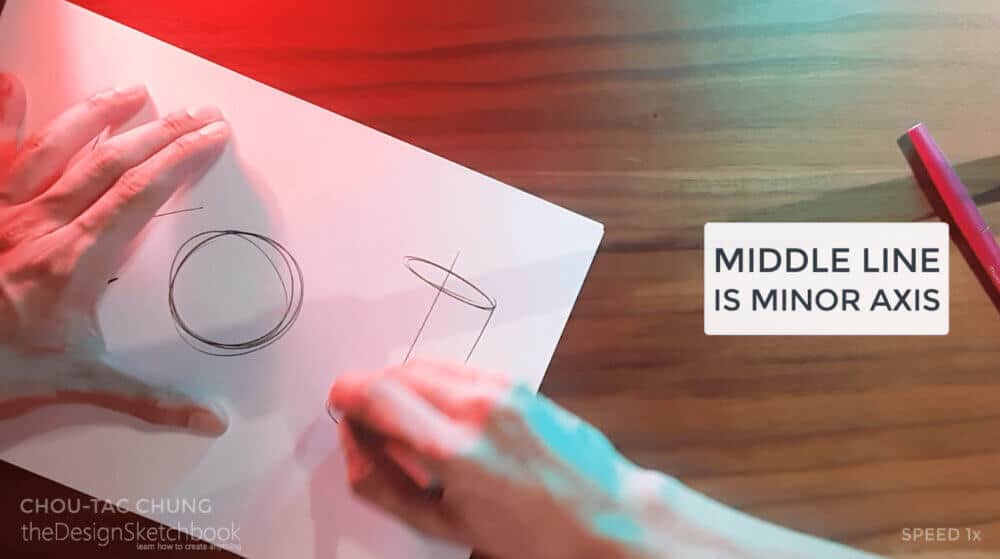
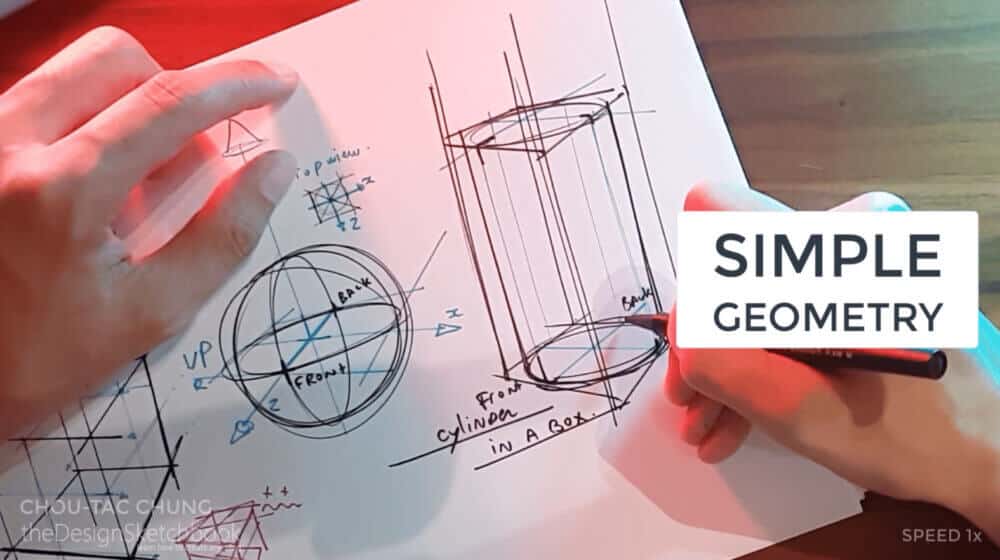
The second form here is a sphere but it’s for now just a circle. And here on the third one is a cylinder as you can see:
- The top ellipse and the bottom ellipse are different.
- The top ellipse is thinner.
- The bottom ellipse is wider
Then I just connect. The middle line is a minor axis.
We will go through more later.
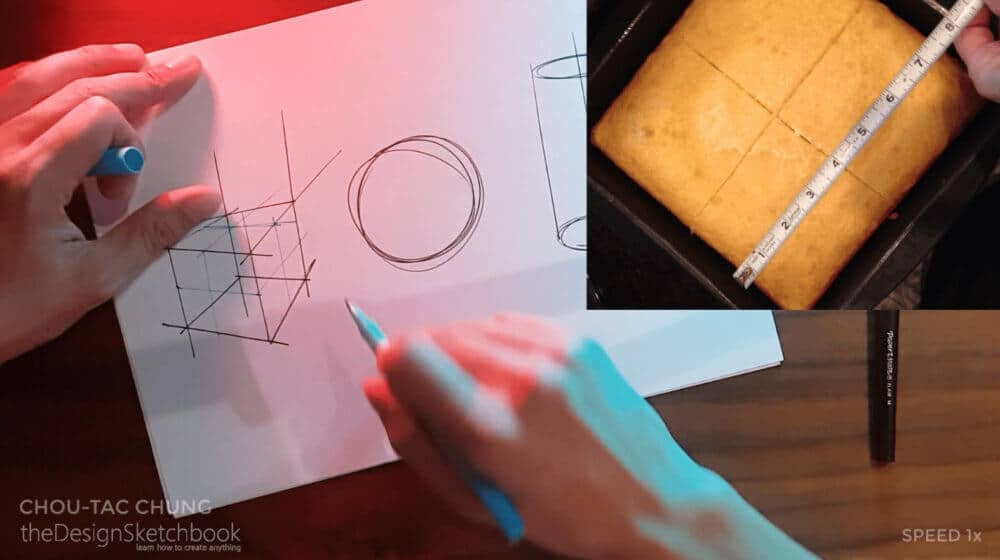
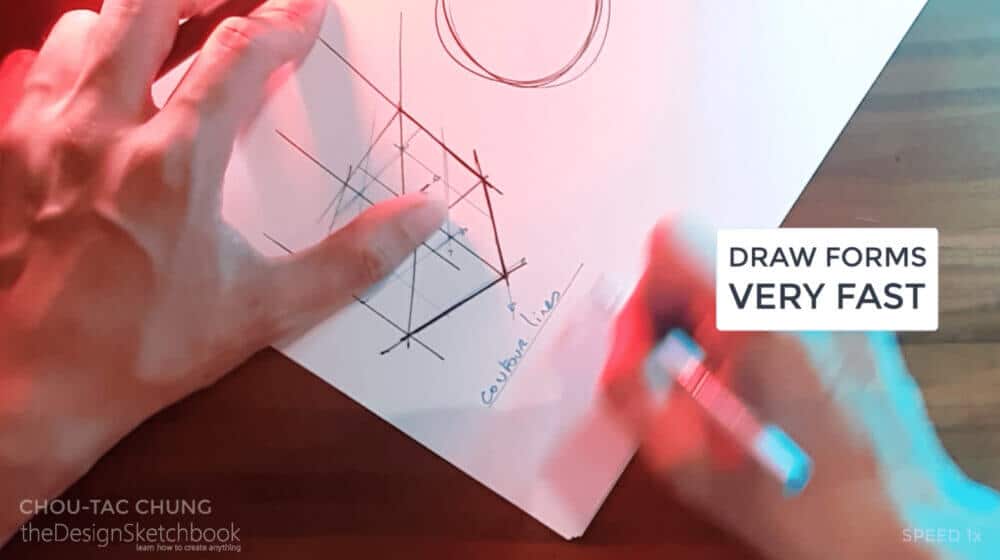
So now what I want to draw is to do what I want to do is the contour lines. Basically the contour line is what I use mainly for as a centerline is that I’m dividing the 3D forms into two.
Draw forms very fast with contour lines
Like if you would see, like this box, let’s say it’s the cake, I have a knife to cut it, cut it like in the middle, in a horizontal way, and in a vertical way as well. And the same for each side.
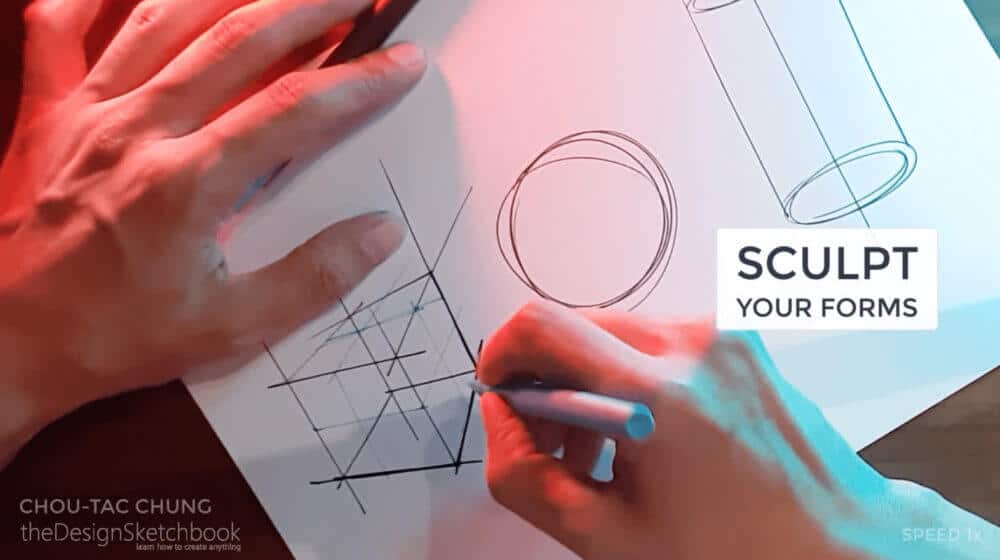
This is very convenient for you whenever you are going to draw some products that are more complex because you will subdivide your basic form so you can kind of like sculpting, sculpting it.
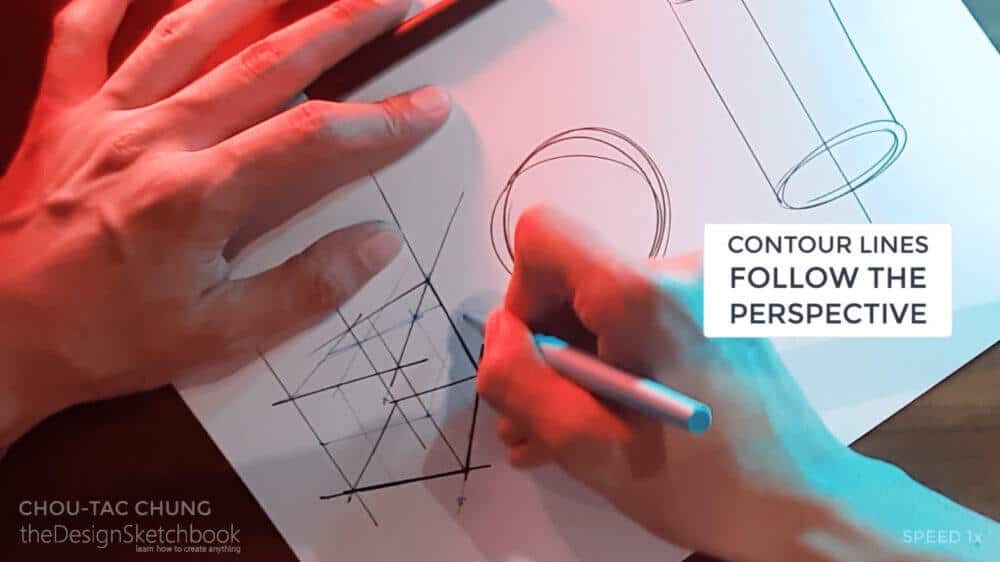
And make sure that you come to an angle so follow your perspective.
It’s something that is going to be used anytime ever not even if like the contour lines on something invisible.
They allow you as a product designer to draw forms very fast with few lines only – instead of a regular shading with a pencil.
Instead of shading, you draw fast the contour lines to feel the surface.
You can see and read, the common mistake is that you’re trying to guess and in the end, everything looks awkward because you don’t really know why you don’t know how to justify but actually they’re sort of very simple and they just need the basics.
Draw quick thumbnails
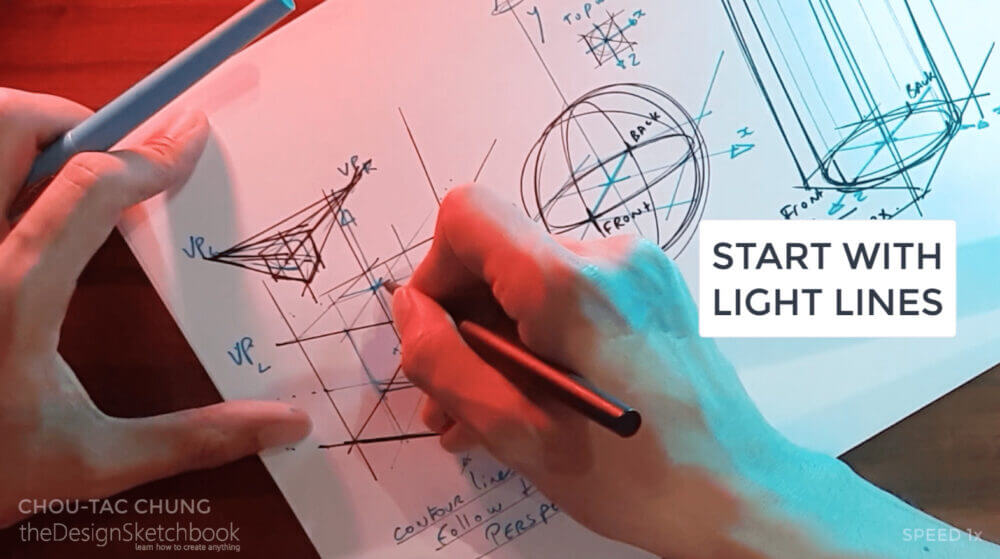
Here let’s draw a very quick thumbnail of what you will find in the Designer Starter Kit.
So once again, you will find it, you will find all step by steps in the guide. So just give me your email and I will send you the guides to show you everything on the Designer Starter Kit.
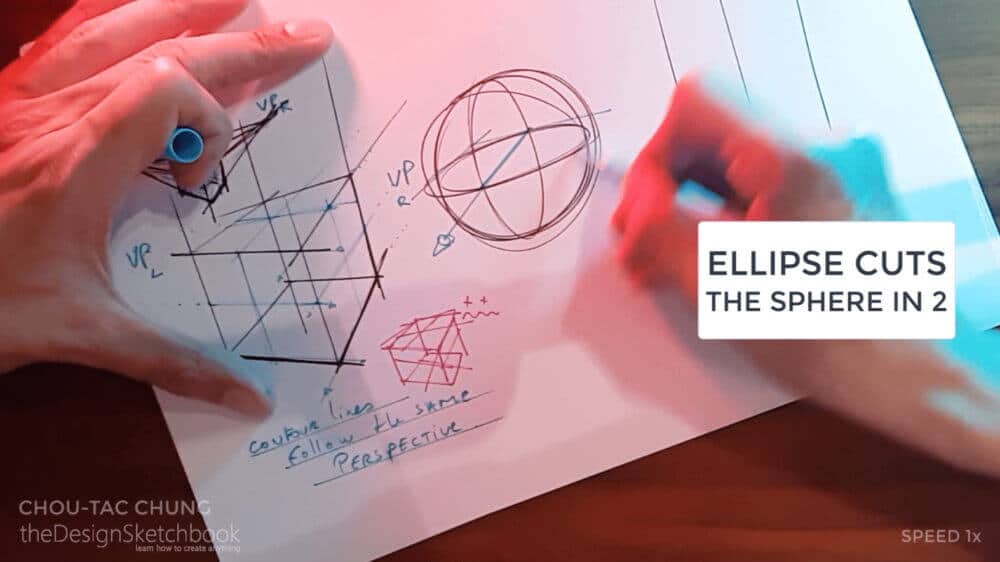
So here on the surface, I can see here I draw some diagonals, so I can get the center and the contour line will go through the center and I can just connect to the vanishing point.
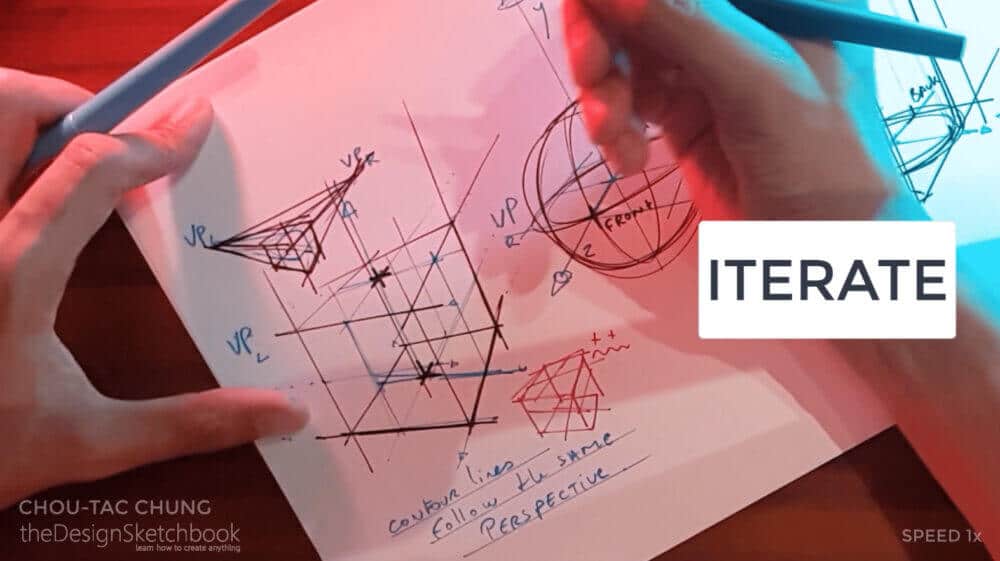
Here we go. So as I told you, we make sure that the contour lines follow the same perspective. They also joined the vanishing points but are all behind. So for the two-point perspective here, there is a vanishing point on the right and a vanishing point on the left. Here we go.
Right, Left.
When you know the basics you can avoid drawing all the perspective set to save some lines and clarity.
Draw a sphere easily using ellipses
So as you can see here for the sphere with just two additional ellipses I got here the transformation from a simple circle in 2D to a sphere in 3D. And when I join here I’ve got extra access which is going to help me to better visualize tree dimensions.
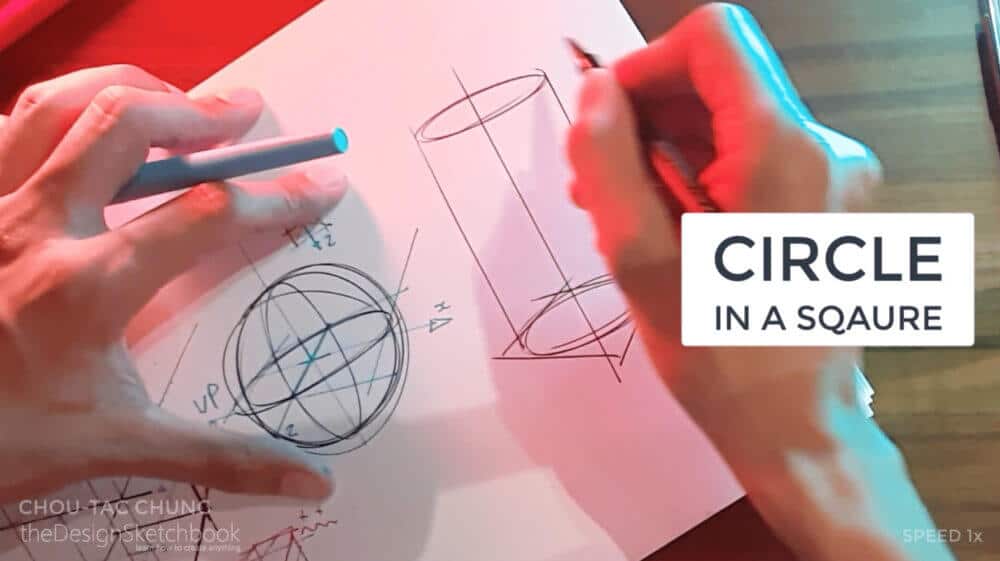
When you draw this, let’s say to explain how to confirm this sphere here but cut this little ellipse that cut the sphere in two is that you can imagine that this is actually from the top view a circle which is on the plane.
The circle is embedded in the square in perspective. Then I draw the contour line and I got the x and the z-axis and then I can draw the vertical to get the y-axis.
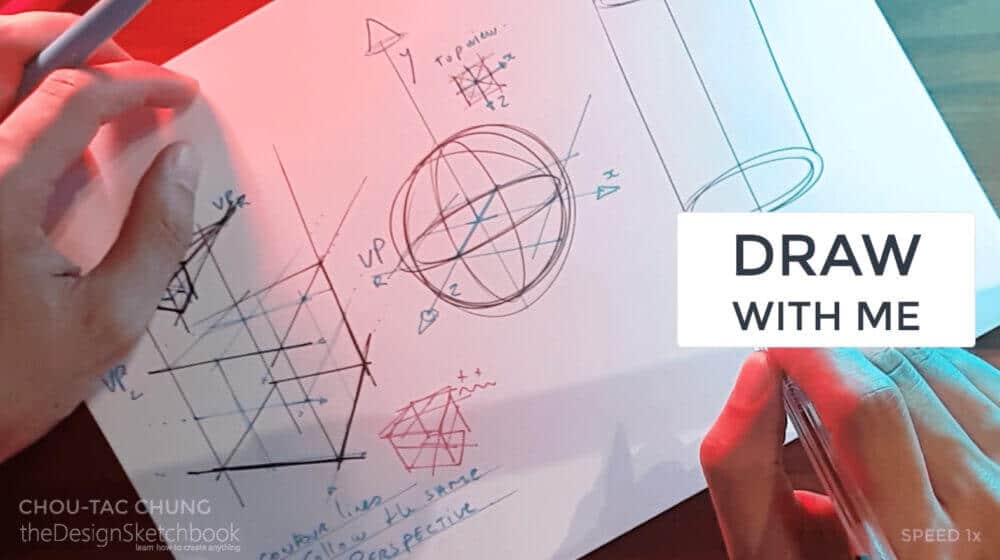
So in three dimensions, you have X, Y, and Z-axis going through the center of this sphere.
It is pretty magic, right?
So here is a quick preview of what you can do with these three simple forms of perspective.
So here from the top view, basically you have a square, you have a circle which is inside and then you draw the diagonals. And the diagonals, you will draw the contour lines that split the square and the circle in two vertically, horizontally. So you have four parts.
Okay, four equal parts. It’s like a game.
So I invite you to not hesitate to make a pause on this video to rewind a bit and draw with me at the same time.
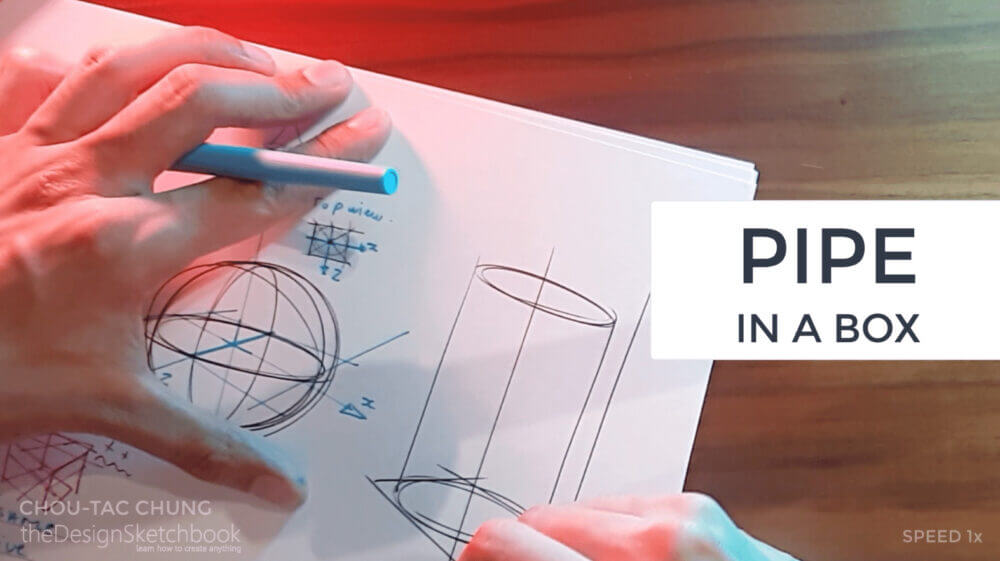
Here we go like for the cylinder is actually the same logic. You have to think that the ellipse is actually a circle for the top view and is embedded in the square.
It is like you have a tube here, like a pipe, which is inside the box. Let’s say you are buying a maybe like a can which is inside the packaging, a box. This is what you need to draw and imagine and from there from the box, it will actually help you to the contour lines of the cylinder.
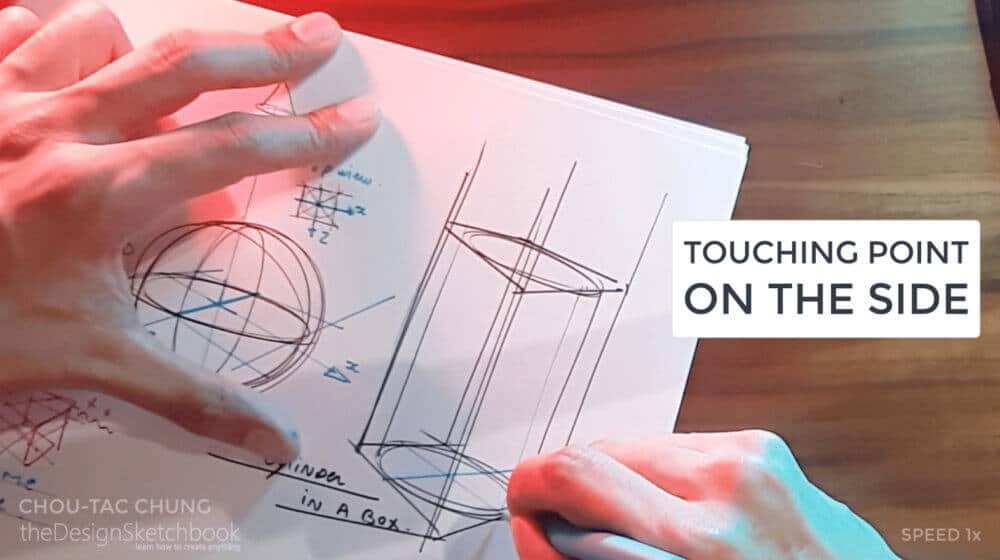
The cylinder is inside a box
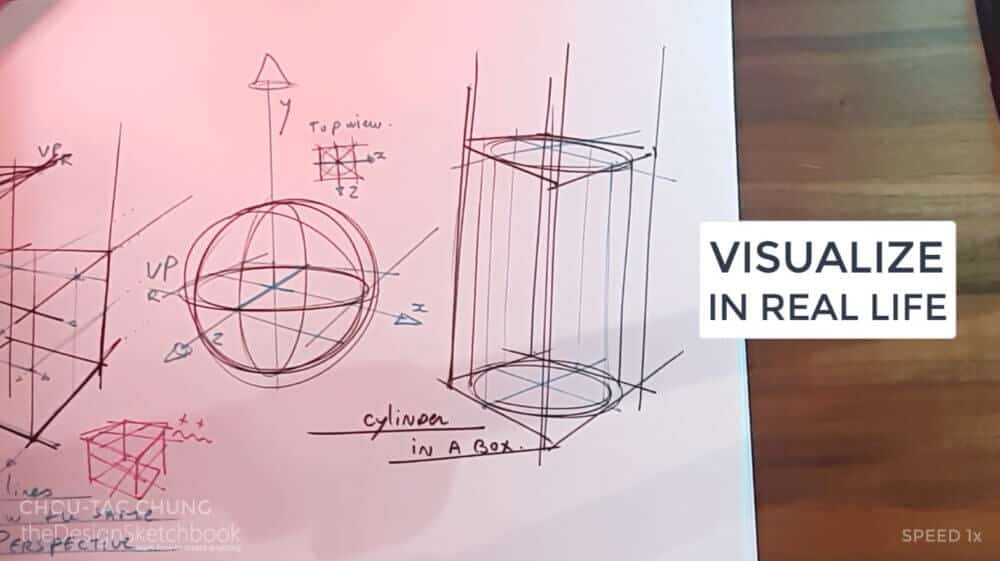
Alright, so the cylinder is inside the box. And then thanks to the box, it helps me to draw the Contour lines. As you can see here on the side, the contour line is the touching points of the pipe on the box. Like imagine that you have the packaging form of the box in front of you, you put a pipe inside with those contact points, which is going to be all along the Vertical surface.
Try to visualize in real life your sketch into a real product. And that’s going to really help you to better draw in 3 dimensions.
It’s not just a 2d paper just a sketch in the 2D paper. It is a representation in your mind of something real.
So I’m doing this small corner to help you to show you that what is in front and what is on the back to gain clarity in your sketch.
So this little cross. This is the front. This is the back.
This is just to clarify. To to make sure that in one half a second you can understand your drawing.
Front and the back.
It’s all about simple geometry:
Spot the XYZ axis
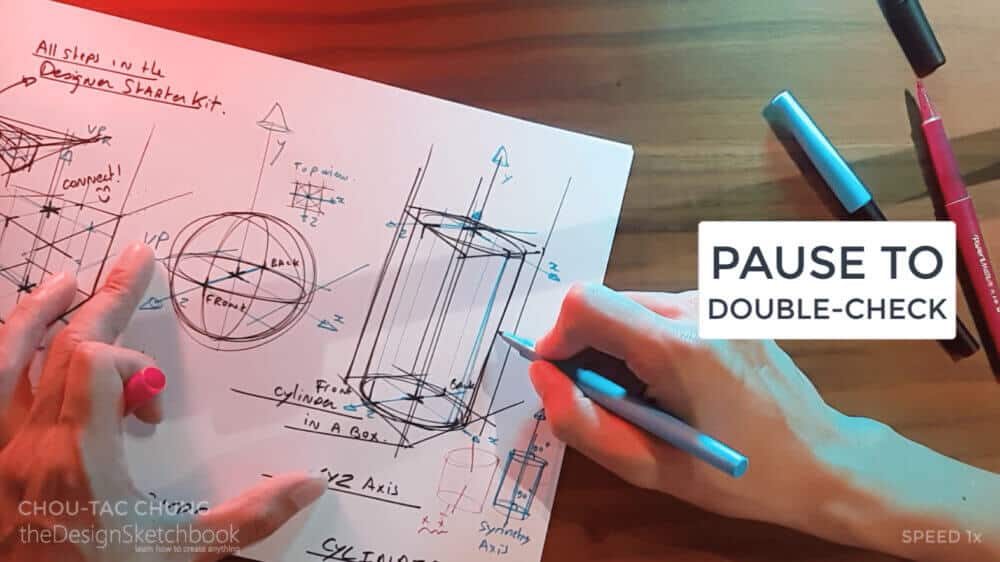
Here we go. And as you can see here, I got well defined my x y z axis right here. We can also notice that the y-axis is actually going through the center of the top surface and the center to the bellow surface. And this is just like a projection. These two so faces are connected.
It’s pretty magical, right?
And I love this game, because when you understand it and take the time to practice it with the right step the right order the steps then everything is which is really cool because you have understood how simple is the geometry of design sketching.
Here we go. So I got iterate a bit.
Start with a light pen pressure
So remember to draw always starting with Light lines. So it allows you some more margin to maneuver with your mistakes. So, you can iterate on top when something is not correct.
From the cube, the top and below the surface I got highlighted with these little stars like these crosses in three dimensions the center of the top surface, the center below the surface and I joined them.
And that’s the box that actually you could draw the cylinder inside if you want to.
Because for the cylinder I got draw with a reverse-engineered just to show you that actually you can draw the cylinders first. And then when you understand the basics of perspective, you can complete the box around.
And we got the cube, the sphere, and the cylinder as the three main basic forms of design sketching.
And when you enjoy your cylinder, make sure that you take your time to make things neat in the way that makes sure that your ellipses are well horizontal and the minor axis goes to the middle.
And use it as a symmetry axis. Okay?
Iterate on top of your sketch
Okay, one more time.
If you feel overwhelmed at this stage that’s normal because it’s just that you don’t know instead below this is why I invite you to get all the techniques on the guides. Right there. All right?
So here is the cube, the sphere, and the cylinder.
Here some iterations because I realized that my contour lines were not vertical like the edges.
So it is good to some time to just take a little pause and double-check. Because one of the main key to success this is the focus. Right, make sure it’s parallel to the edges. Okay?
This is one of the key of success. Whenever something can be adjusted, go ahead. It’s not about being perfect every time, but you have to iterate to gain some precision. Alright?
So you can draw with precision and also with some very fee lines as well.
So remember to keep focus, right here. Draw with some light lines. And this is how you keep going with confidence all along.
And remember to close the cap of your pen when you finish your session because they can dry so fast. I was drawing with the Papermate flair M. And this is one of my favorite pens that I can also recommend you very much.
I hope you enjoyed this video and I see you for the next one.
Remember to subscribe to the blog to get future articles and tutorials!
See you guys!
Cheers,
Chou-Tac






1 comment