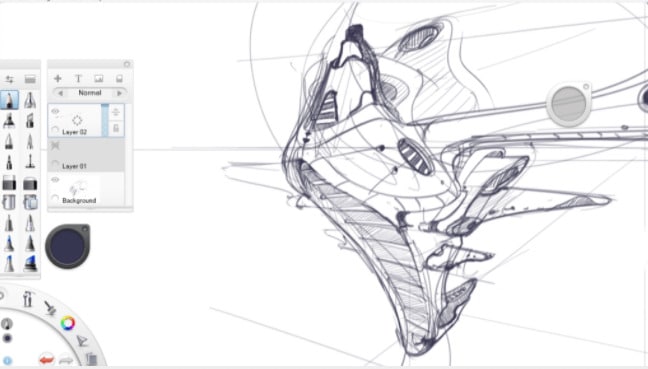
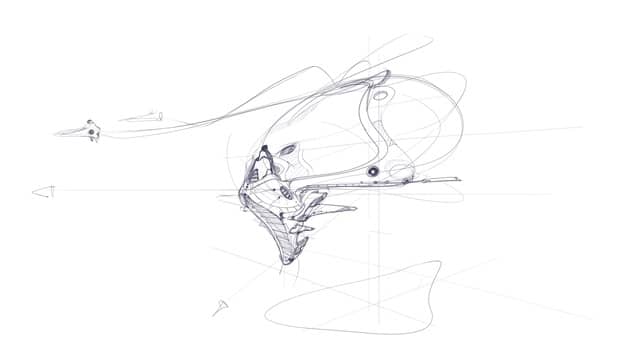
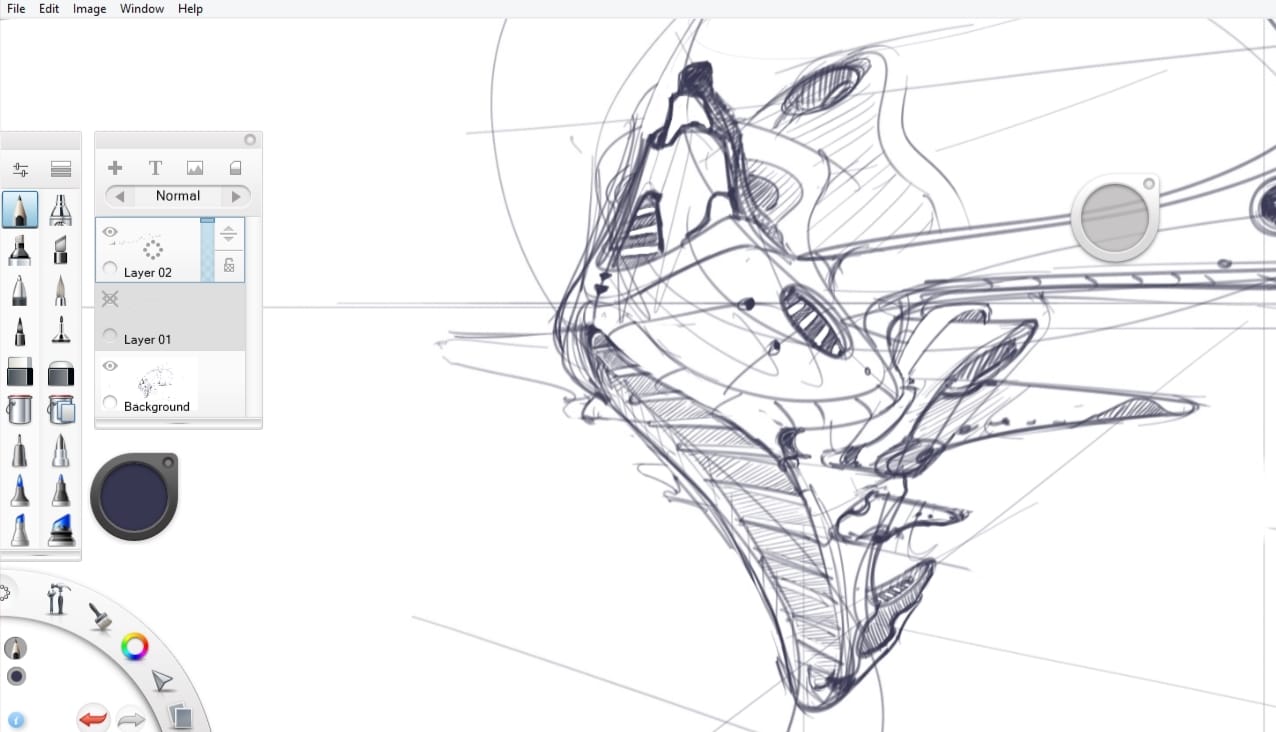
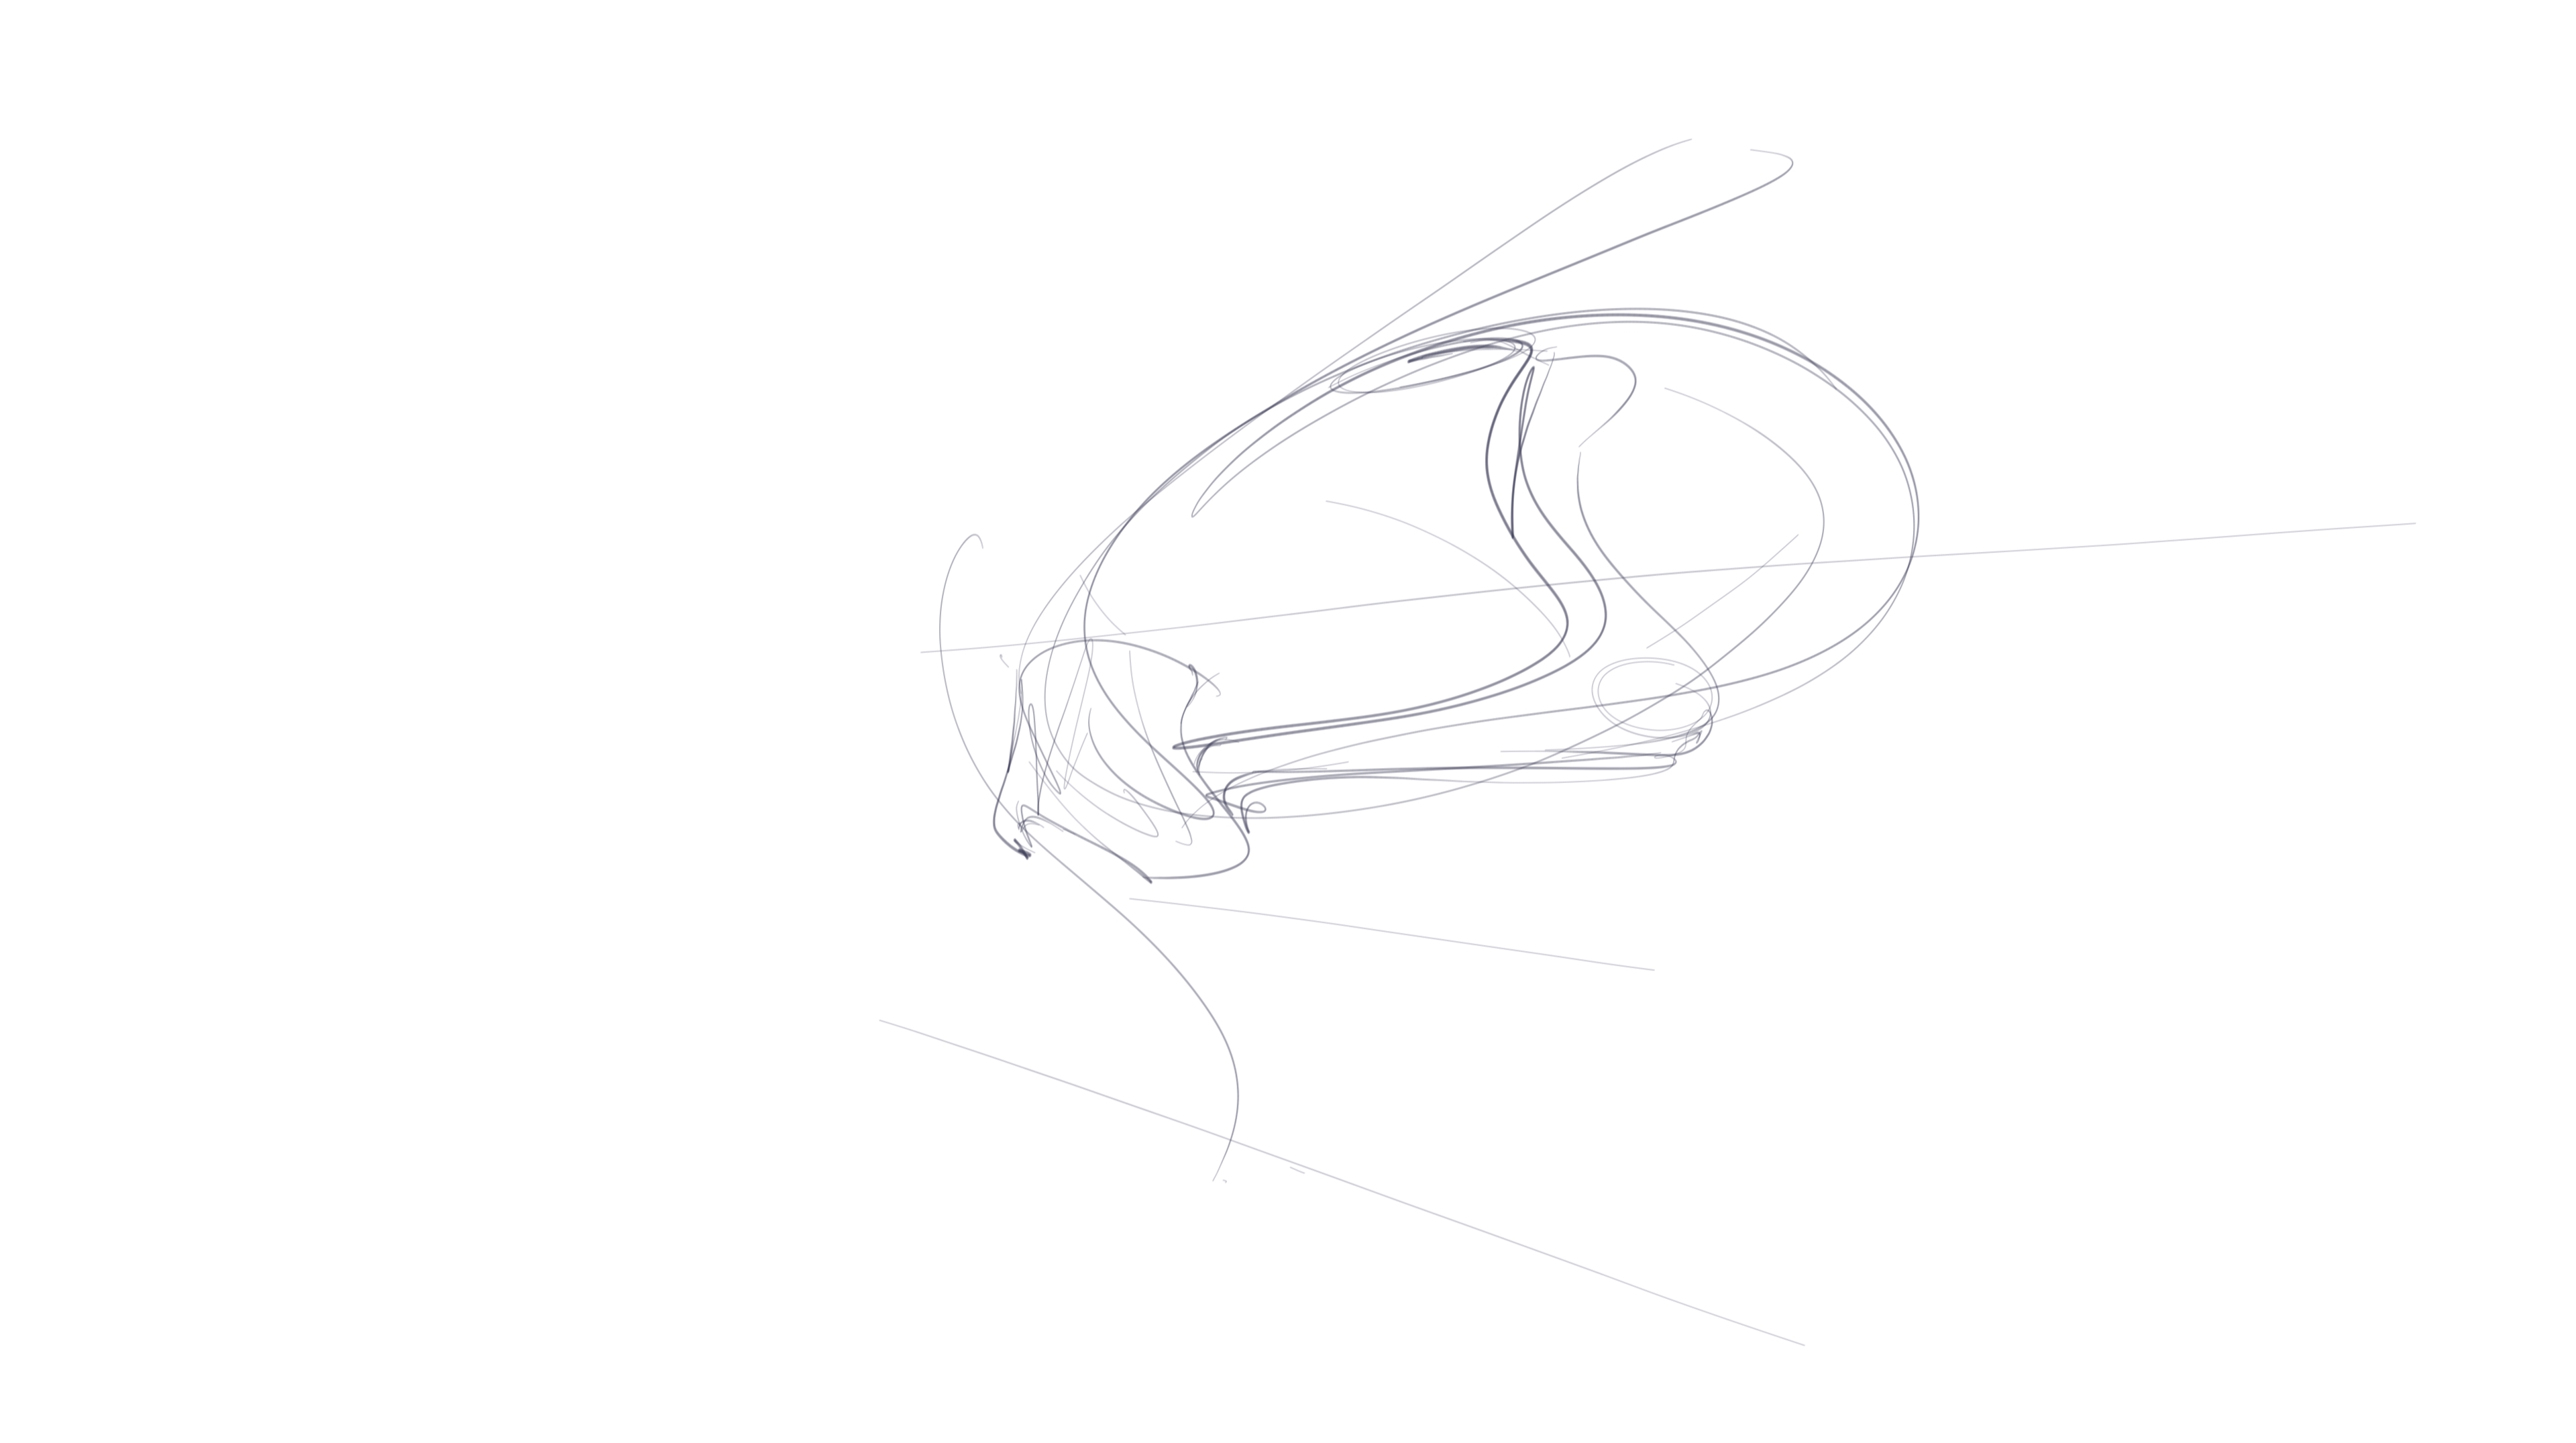
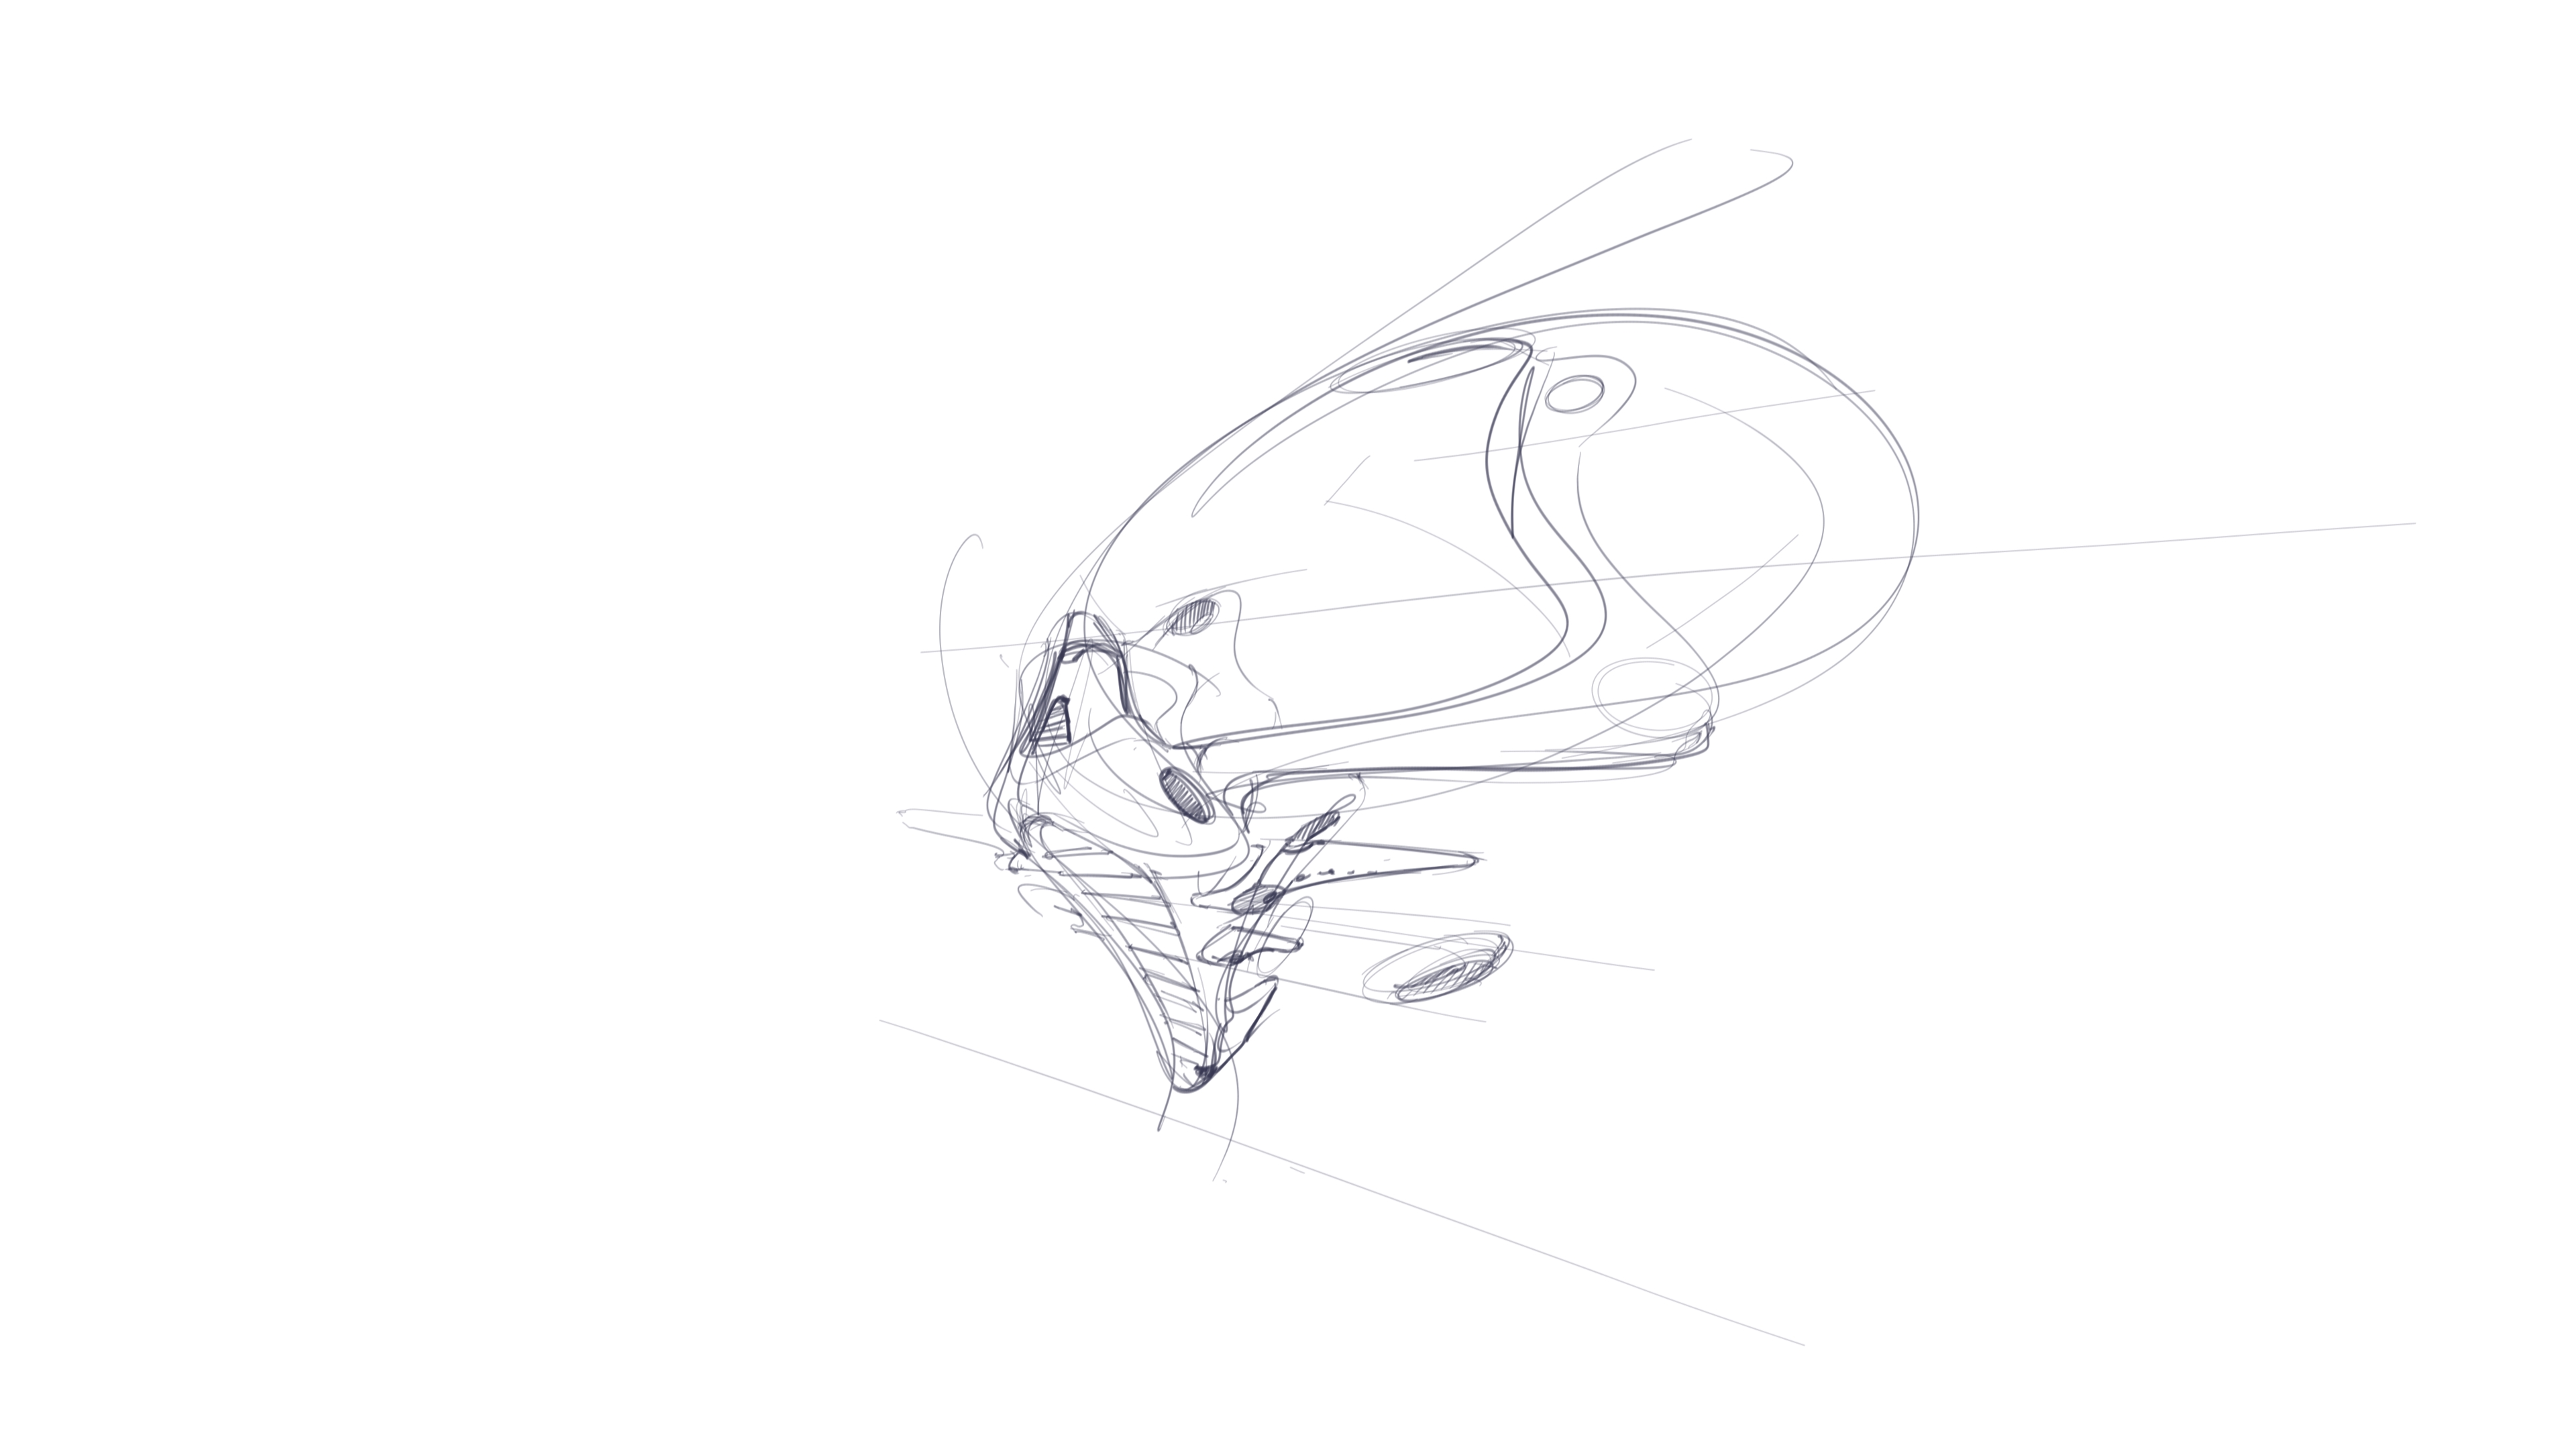
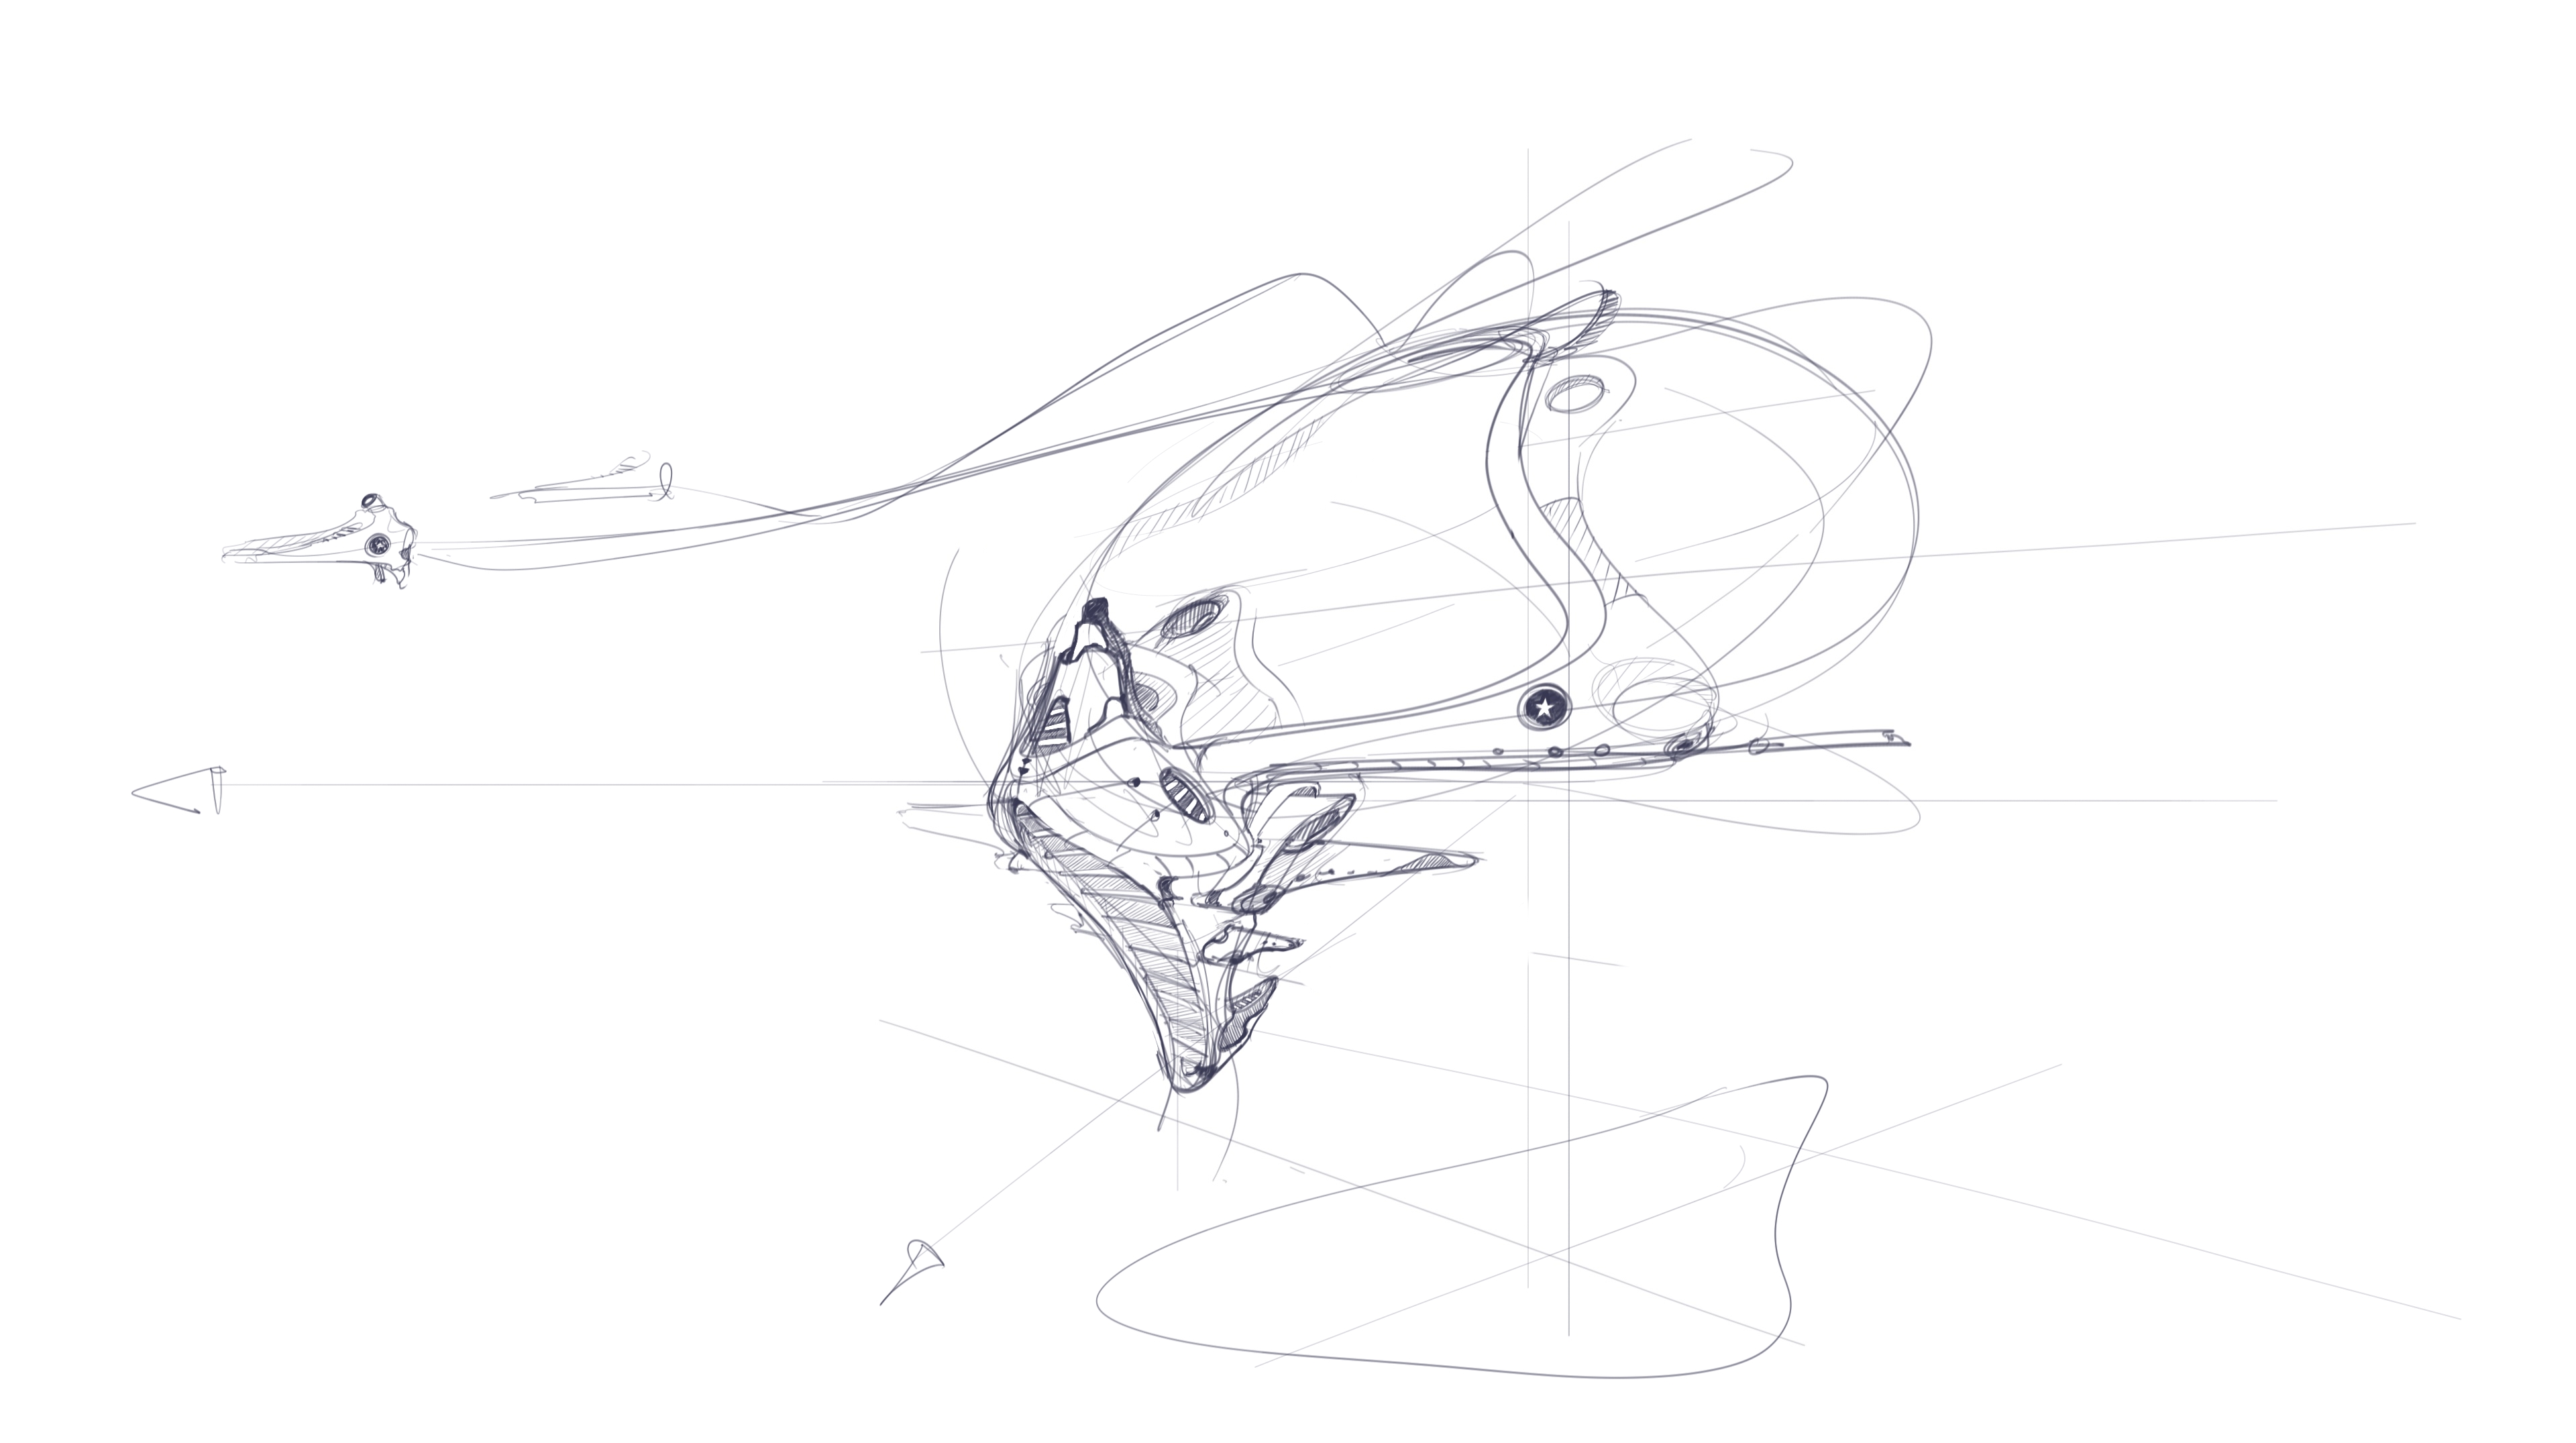
Being not satisfied with the previous “Sketch 5 | Concept diving mask”, I decided to sketch a new version of it. Sketching on a graphic tablet is not only about learning how to use the digital pen, but also the keyboard shortcuts.
Your right hand is drawing with the pen, while your left hand is on position ready to use the shortcuts on the keyboard.
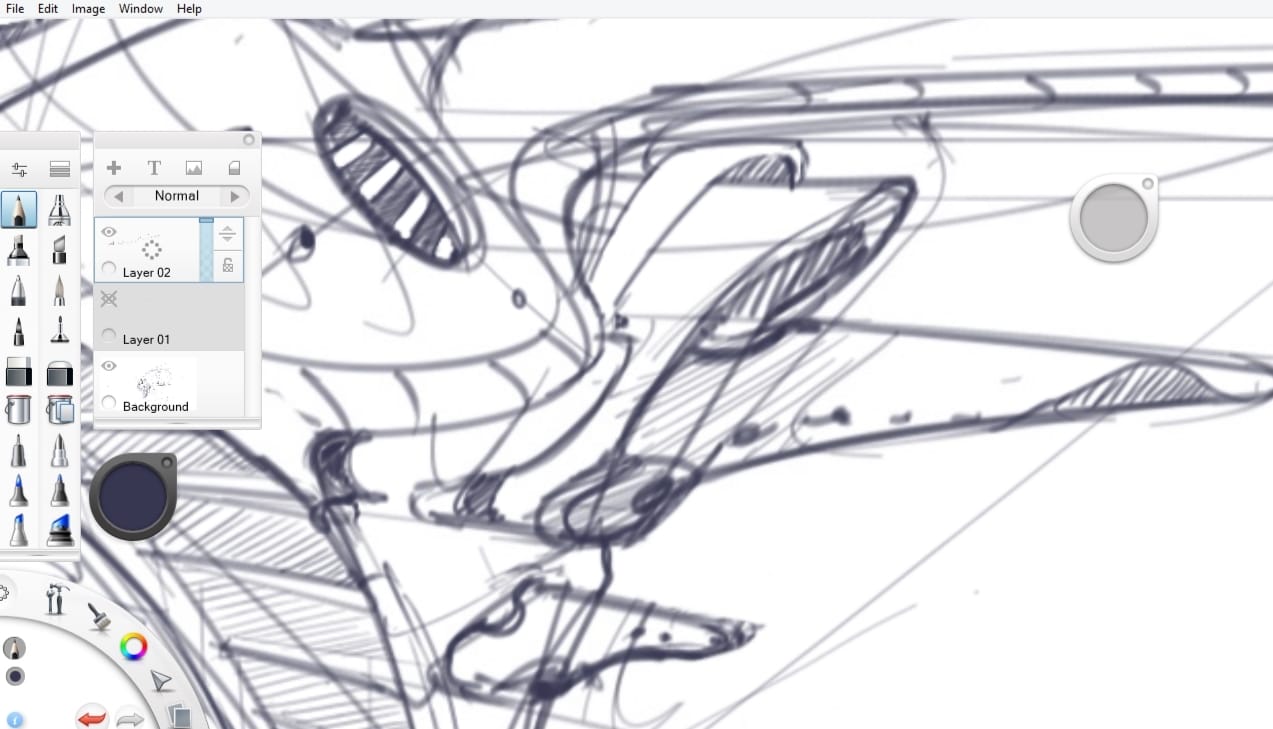
TIP 6 Sketch with keyboard shortcuts
Use the zoom in [Ctrl +]
and zoom out [Ctrl –] function using a keyboard shortcut.
Press and Hold [SPACE BAR]
to drag the working space with your mouse or digital pen.
With these 3 shortcuts, you will create beautiful details.
Being right-handed, I mostly keep my left hand on the keyboard.
- The pinky finger stays above [CTRL].
- The thumb above the [SPACE BAR].
- The index remains ready to complete the shortcut.
Remember to set a minimum of 200dpi for your resolution so you can zoom in anytime, and still have a good quality of lines.
TIP 7 Don’t ruin your sketch
Do not focus on the details AT START.
You may lose focus on the overall shape and idea.
If you start drawing clumsy, don’t try too long to correct your mistakes.
Just redo a new sketch.
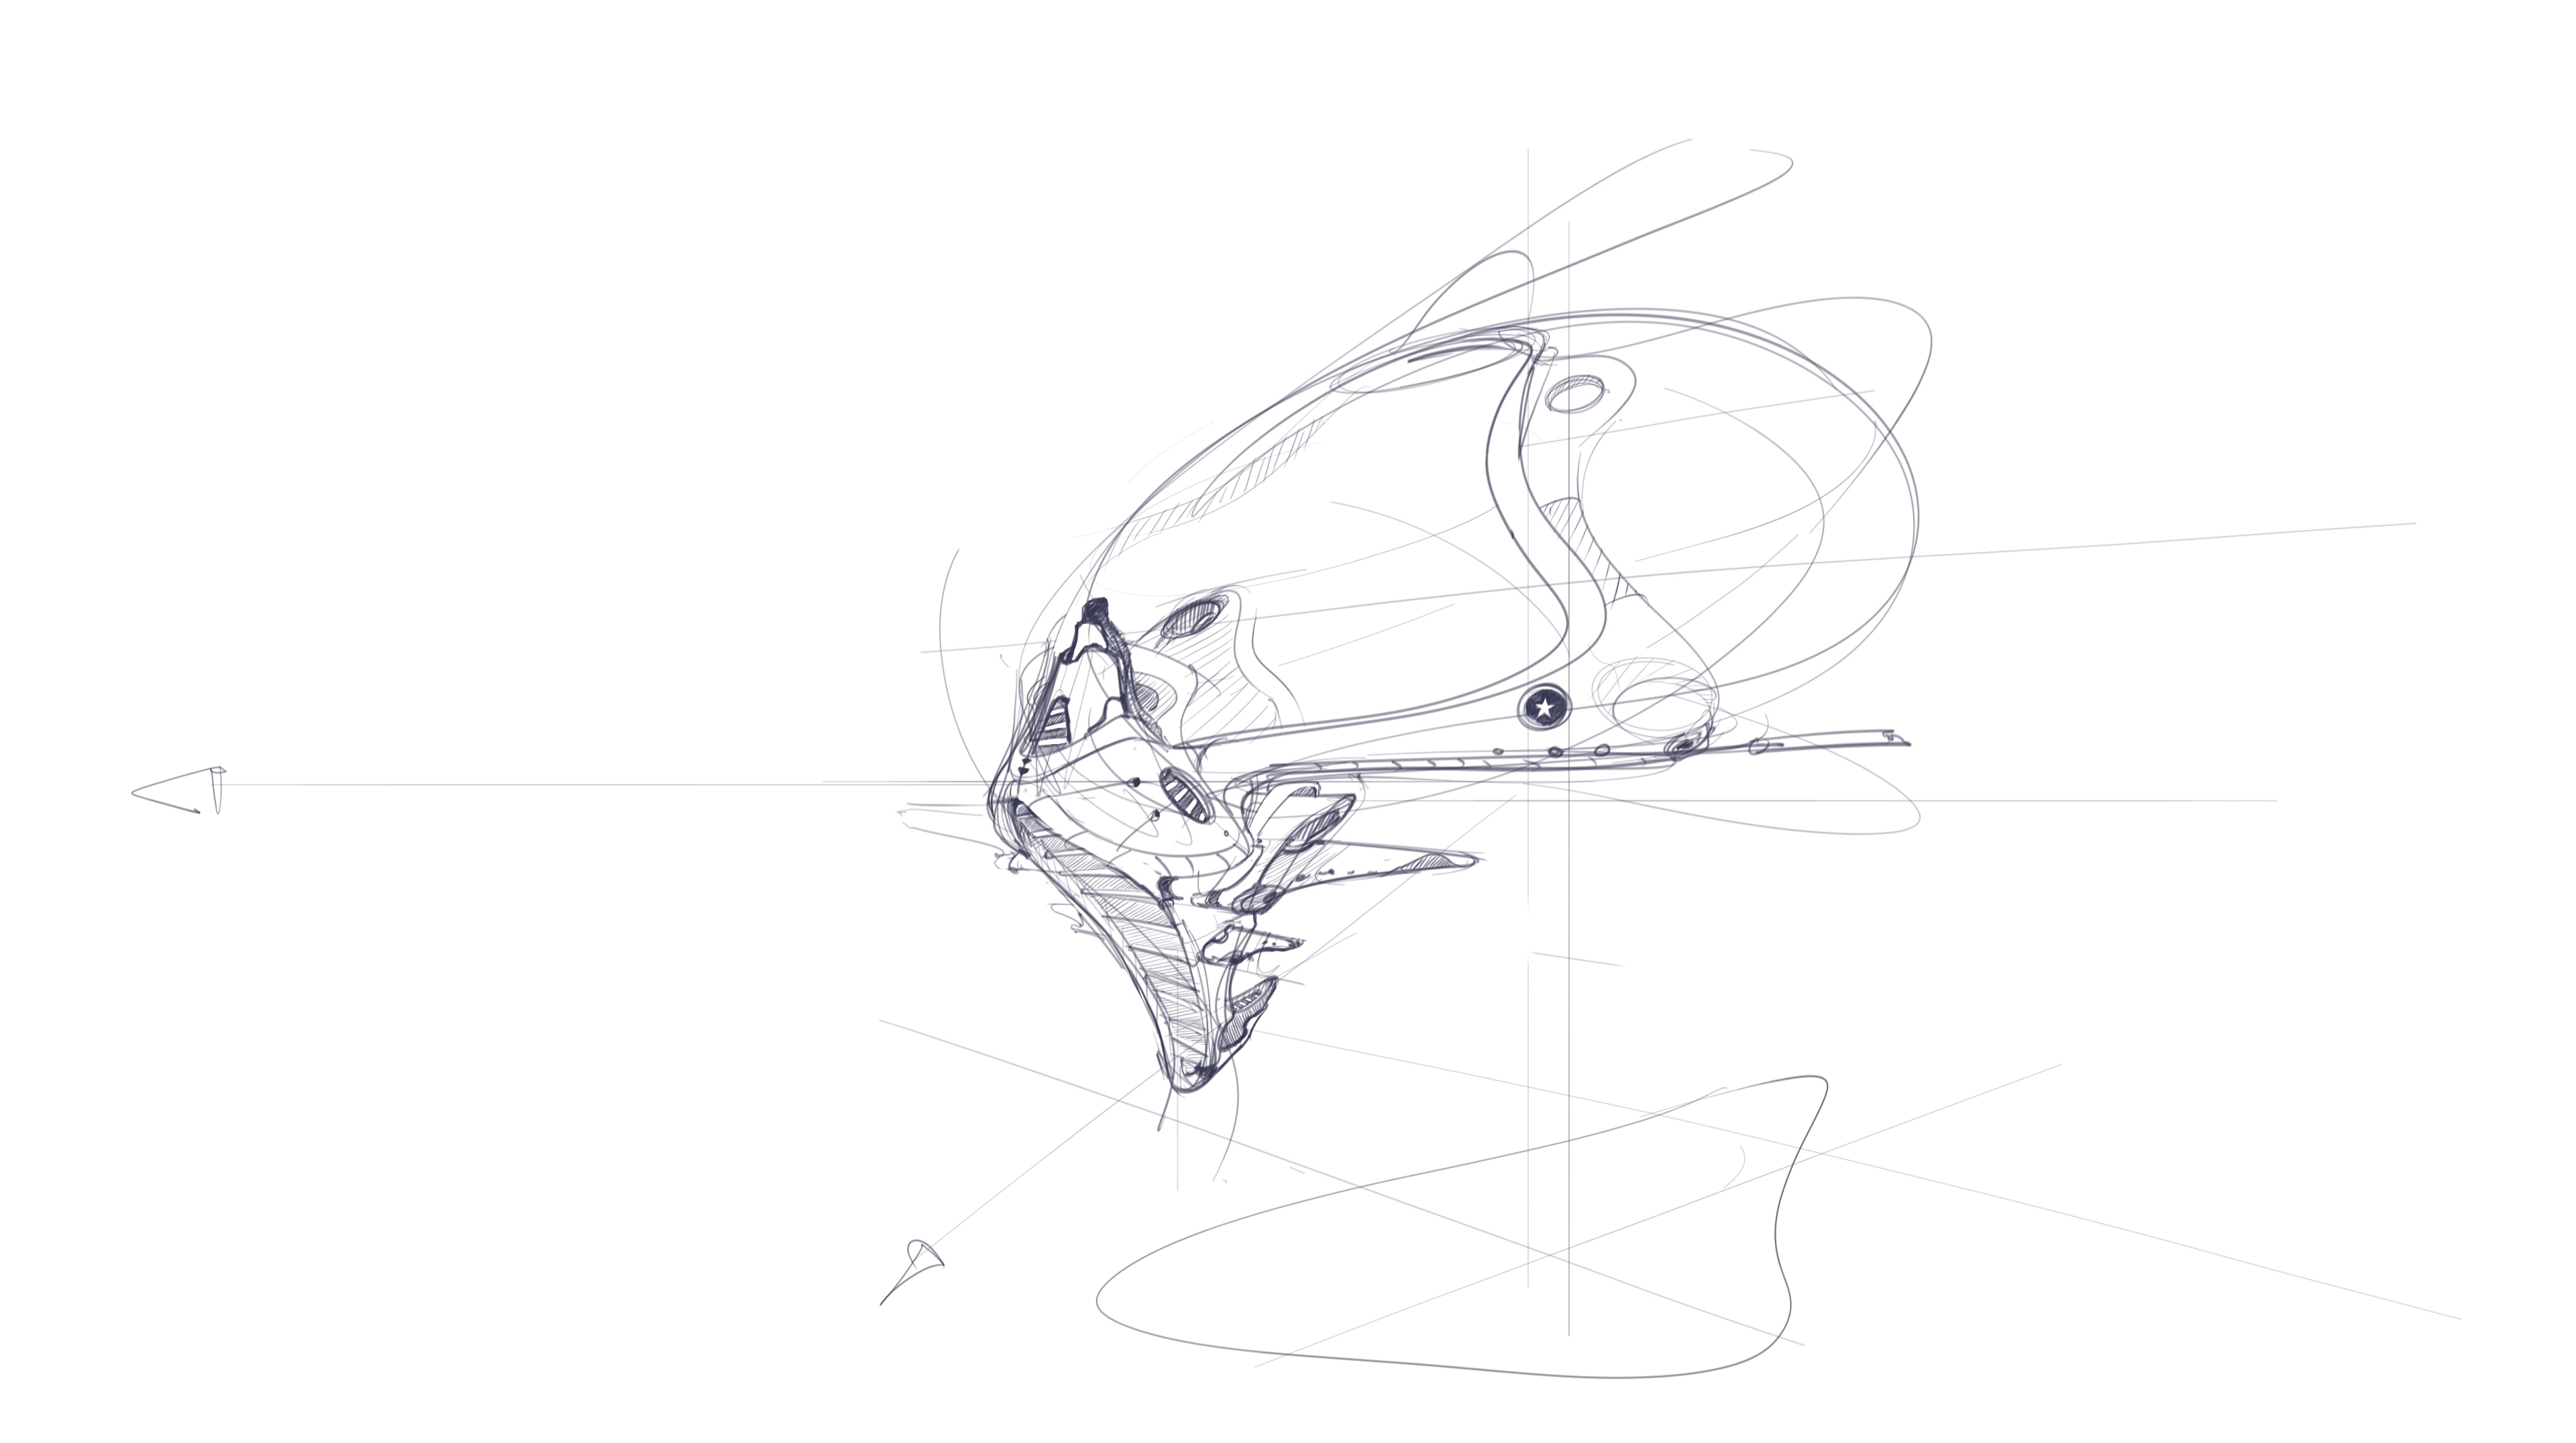
That’s all for today!
Does the result look better than the previous sketch?
If you like it, share it with people you like!
If you want to make your first steps in drawing, I invite you to download the Designer Starter Kit to start learning with the basics of perspective step-by-step.
The Designer Starter Kit exercises in 6 videos:
- How to draw straight lines
- How to draw a perfect square
- How to draw awesome circles
- How to sharpen your sense of proportion
- How to draw a cube with 1 point perspective
- How to draw a cube with 2 points perspective
Once again, these videos are linked to the Designer Starter Kit.
To enjoy the series of tutorials better,
I recommend you guys to receive the book first.


Yes you are right! I usually keep on and on… Sometimes is a good thing and others not!