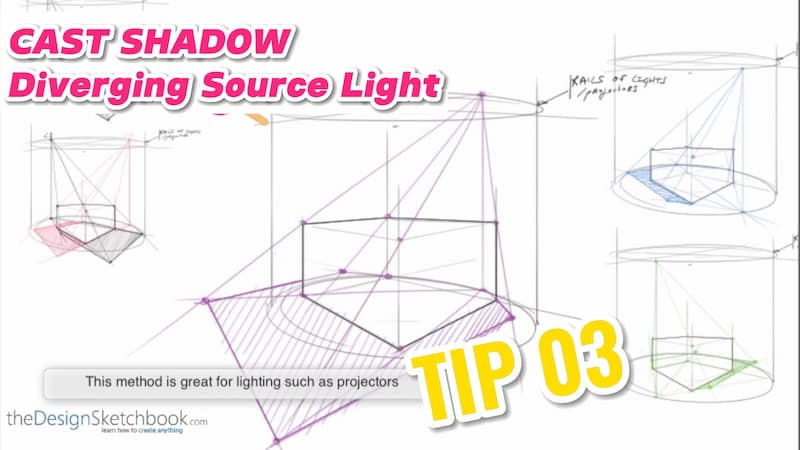
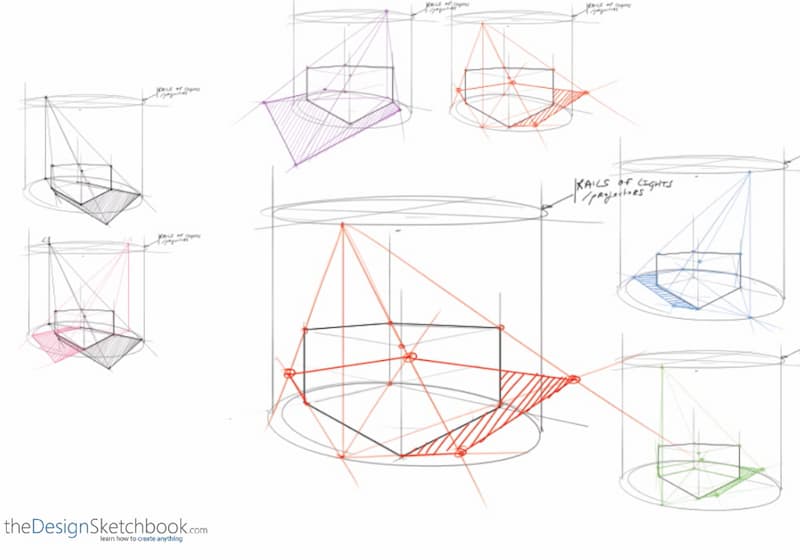
1. Draw cast shadow with multiple sources of lights
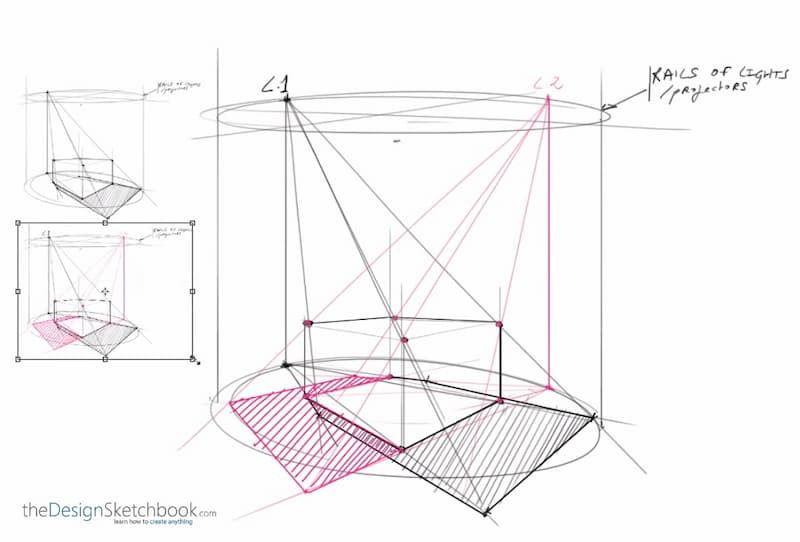
Cast shadow with 2 projectors
Cast shadow with a closer projector to the volume.
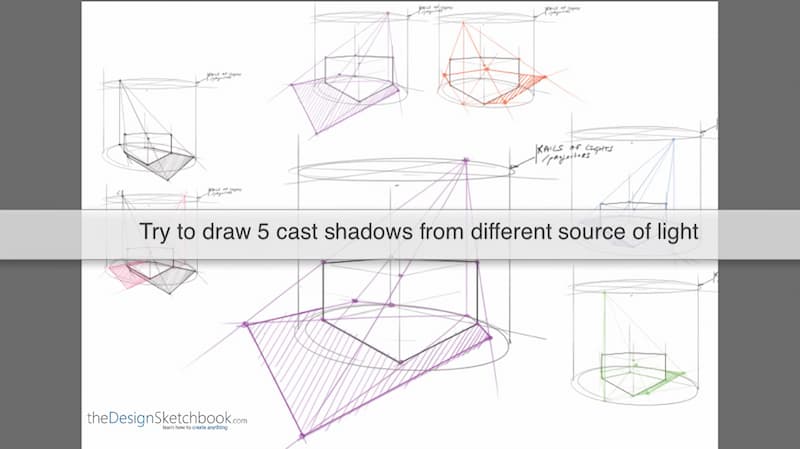
Try to draw a few and test a minimum of 5 different sources of light. Take a pen and let me know how it goes in the comments below!
Note: Try to draw Cast shadows without using any ruler to trace the straight lines. It’s a good habit to take from the start. If needed, you can click here to get a tutorial on how to draw straight lines without a ruler.
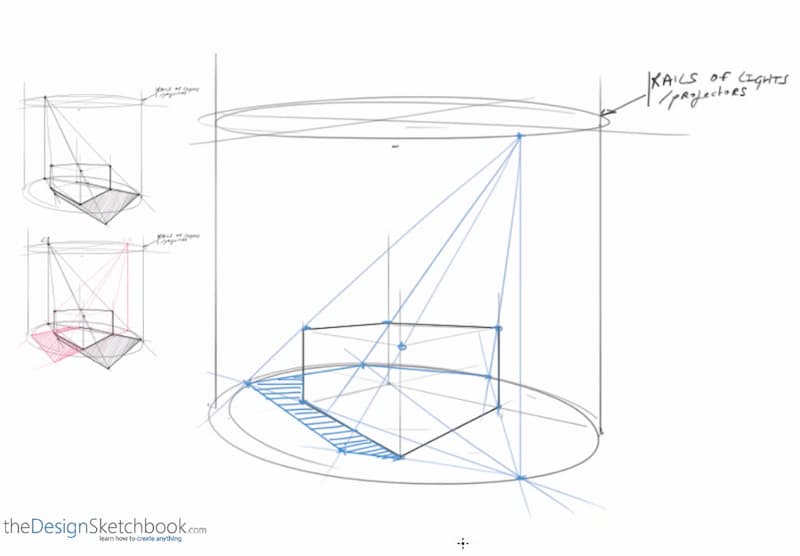
2. Cast shadow with front source light
The blue light comes from the front of the cylinder.
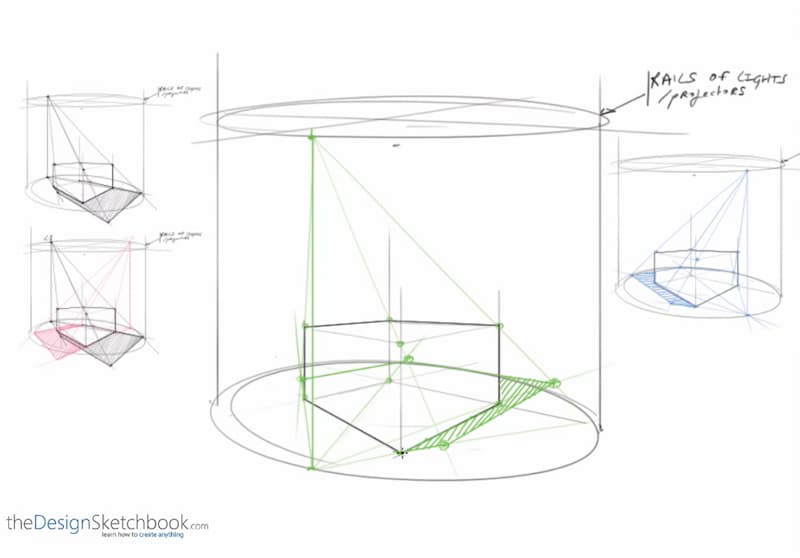
3. Cast shadow with back source light
The green light comes from the front of the cylinder.
4. Draw infinite possibilities of source lights
Feel free to resize the cylinder with rails to explore an infinity of possibilities for light sources.
The purple light comes from behindTry multiple sources of lights
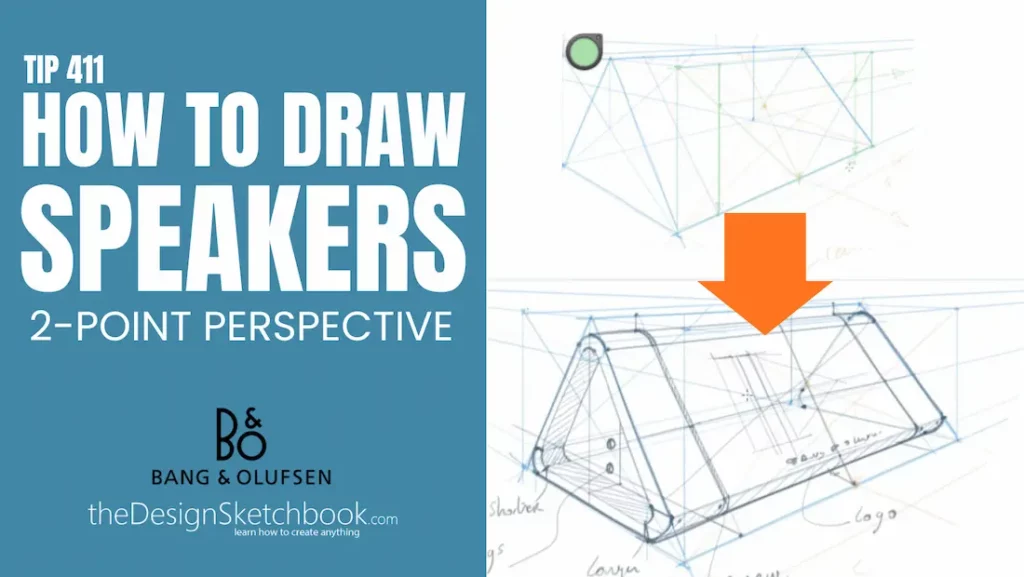
Learn how to draw a cool speaker step-by-step with this easy tutorial for beginners. Start with simple basic shapes, add details like speaker cones and buttons, then shade to add depth. Perfect for improving your observation skills and mastering drawing tech objects with fun, clear instructions …
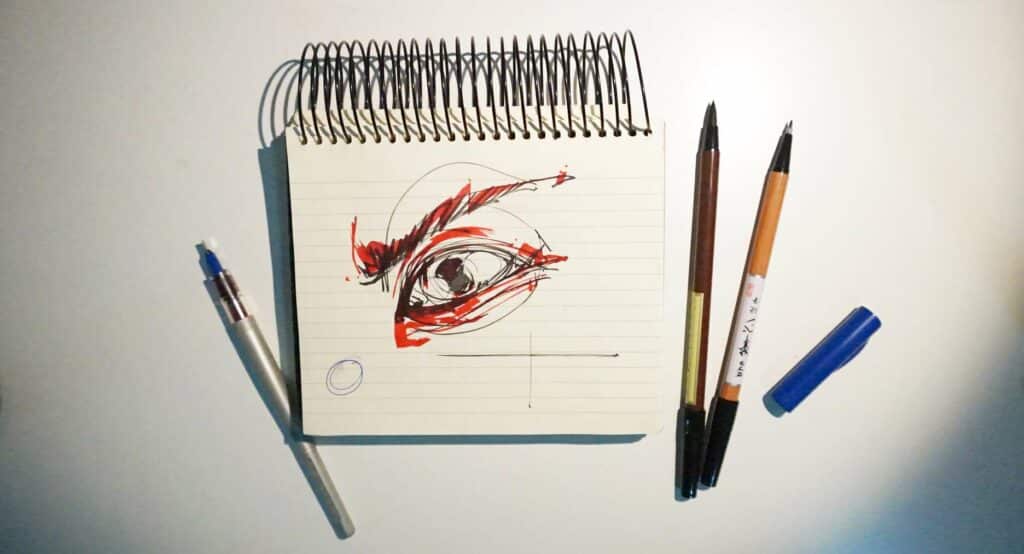
Drawing lifelike eyes starts by seeing them as 3D spheres. Follow Chou-Tac Chung’s practical tips to master pen pressure and volume in your sketches. Perfect for aspiring product designers aiming to elevate their creative work with realism and depth …
Choosing the right ballpoint pen can transform your sketching. This guide helps designers test pens effectively, focus on real drawing conditions, avoid ink blobs, and pick affordable yet high-quality tools. Elevate your artwork today with the perfect pen! …
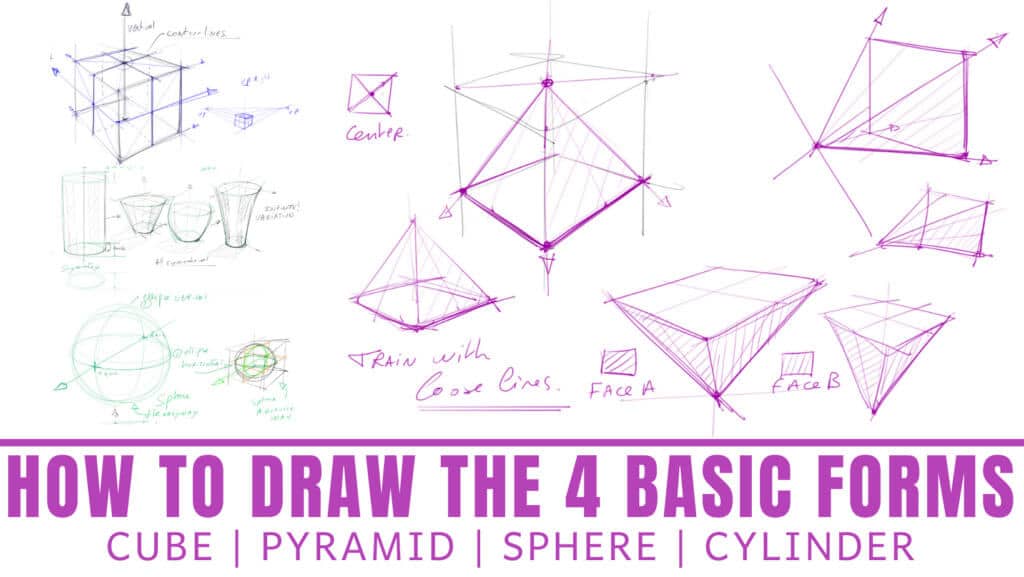
Visualize and draw in 3D with “How to Draw the 4 Basic Forms (for Artists & Designers).” Here’s how you can master the foundational shapes essential for all! …
In design sketching, it’s essential to know how to represent ideas fast, especially during the preliminary phase of research of a project. We are not yet looking for “sexy drawings”. We want to allocate more time at thinking, and multiply the number of sketches. Less time we spend for one …
Hello! I'm Chou-Tac, a Product Designer from France.
If the sketching methods I’ve acquired aid me in my life and in my industrial design career, I believe that they can also help you reach your dream goal as a student or professional designer.
Leave a comment in the blog or send me an email at choutac@thedesignsketchbook.com : )
your cylinder does my head in,I thought the light source had to be shown at a right angle to the floor but that just looks like you have drawn the light on the rail at the top, but at the front of the cylinder and then connected it to the floor at the back. 🙂


your cylinder does my head in,I thought the light source had to be shown at a right angle to the floor but that just looks like you have drawn the light on the rail at the top, but at the front of the cylinder and then connected it to the floor at the back. 🙂
i’ve never seen someone teach shadows easier than this 😀 … thanks alot for sharing this with us ^_^
Ahah, when I created this “technique of projector rails”, I also wished people taught me like that too lol.