Saad is an architect with a strong interest in product design. Despite working daily in his routine, he realized that his sketching skills remained weak. He was stuck in his comfort zone.
He began drawing every day and tried to mimic other product designers’ work but didn’t see much improvement.
Why? Because, as he said, he was just mimicking.
The real key to progress is to go back to fundamentals.
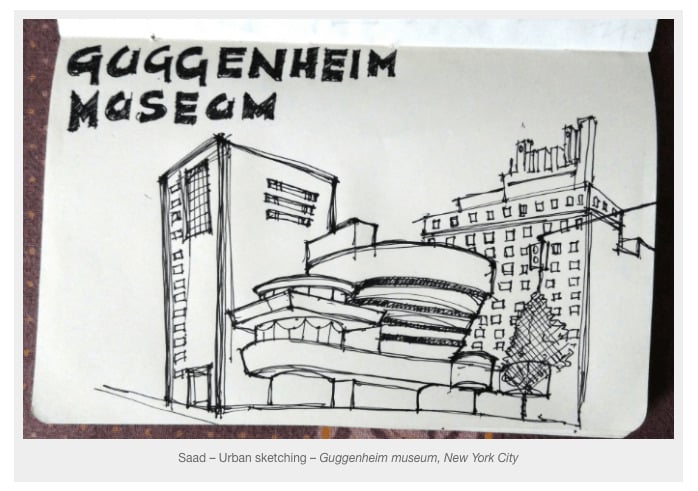
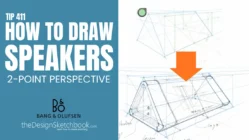
Saad sent me one of his sketches (see below) and asked:
Q: How do I start drawing well in perspective?
From his sketch, I could see that he used an urban sketching approach, drawing only the outlines visible from a single point of view. While this is useful for capturing specific scenes, as a product designer, you need to simplify the scene into basic volumes to draw from imagination.
Let me explain the strategy in 5 key steps:
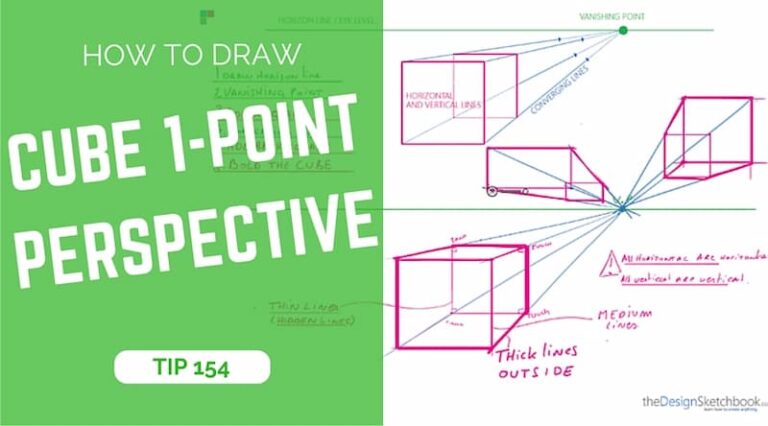
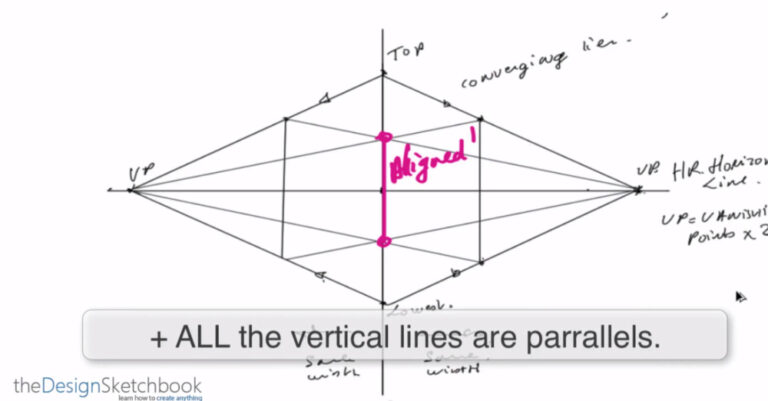
Step 1 Observe the scene with perspective rules
- Observation is 80% of the job.
Take your time to analyze the scene carefully. Identify the horizon line and the converging lines that create perspective. - Know more about perspective: How to sketch with 1 and 2 point perspective (with Time lapse video)

Step 2 Identify the simple volumes
- Scenes are full of details, and it can be overwhelming to know where to start. The trick is to begin with the general shapes before focusing on details.
- Start by dividing the scene into larger shapes—cubes, cylinders, cones. Your goal is to get the proportions right, not to add details yet.
- Remember to see and draw things in transparency. draw not only what you see but also the hidden lines, as if the buildings or objects were made of glass.
Step 3 Draw with a light pressure pen
- Always start your sketches with a light pressure of pen.
- If you make any mistake: readjust your lines with a slightly bolder one.
- Start sculpting the shapes with darker lines.
- By contrast, the construction lines and mistakes fade.
Step 4 Add details
- The scene is set up with good proportion. Now, it’s time to refine your sketches by adding windows, doors, urban furniture…
- To make the scene happening, draw people !
Step 5 Bold the shapes
- For the last step, you decide what the viewer should see first.
- The Guggenheim museum is the point of attraction. Bold it more, and let the behind building lighter.
- Your objective here is to control the viewer eyes to focus on what is important.
- TIP: Don’t bold every single building with the same intensity.
With practice this step will become your own routine, like automatic.
Remember, if you want to progress, you can’t skip the fundamentals.
Train following these steps, and you will see tremendous difference in your sketches.
You will be used to draw volumes in 3 dimensions, and get ready to draw from your imagination. I recommend you to read more in the related articles below to carry on improving and practice !
See you !
And feel free to download [the Designer Starter Kit] for a good start at Design sketching.
Related articles
Add people in your scenes to bring life to your drawings
https://www.thedesignsketchbook.com/sketch-17-090914-from-a-starbucks-window-paris/
3Create new background in few minutes using reference pictures.
https://www.thedesignsketchbook.com/sketch-21-150914-how-to-set-up-a-background-in-few-minutes-street-bender-ii/

More tutorials about drawing in perspective


1 comment